
Greetings intrepid explorers! Penny here with our latest installment of ToTs. How many stencils do you have? I am (not entirely) embarrassed to say that I don’t actually know!? Let’s just agree that there are many few stencils in my stash and move along (fair enough? ;) For today’s exercise, I have chosen a 6x6 inch stencil that reminds me of the of the gently rolling waves that the dolphins frolic in at the Seaside Sessions house at the beach….

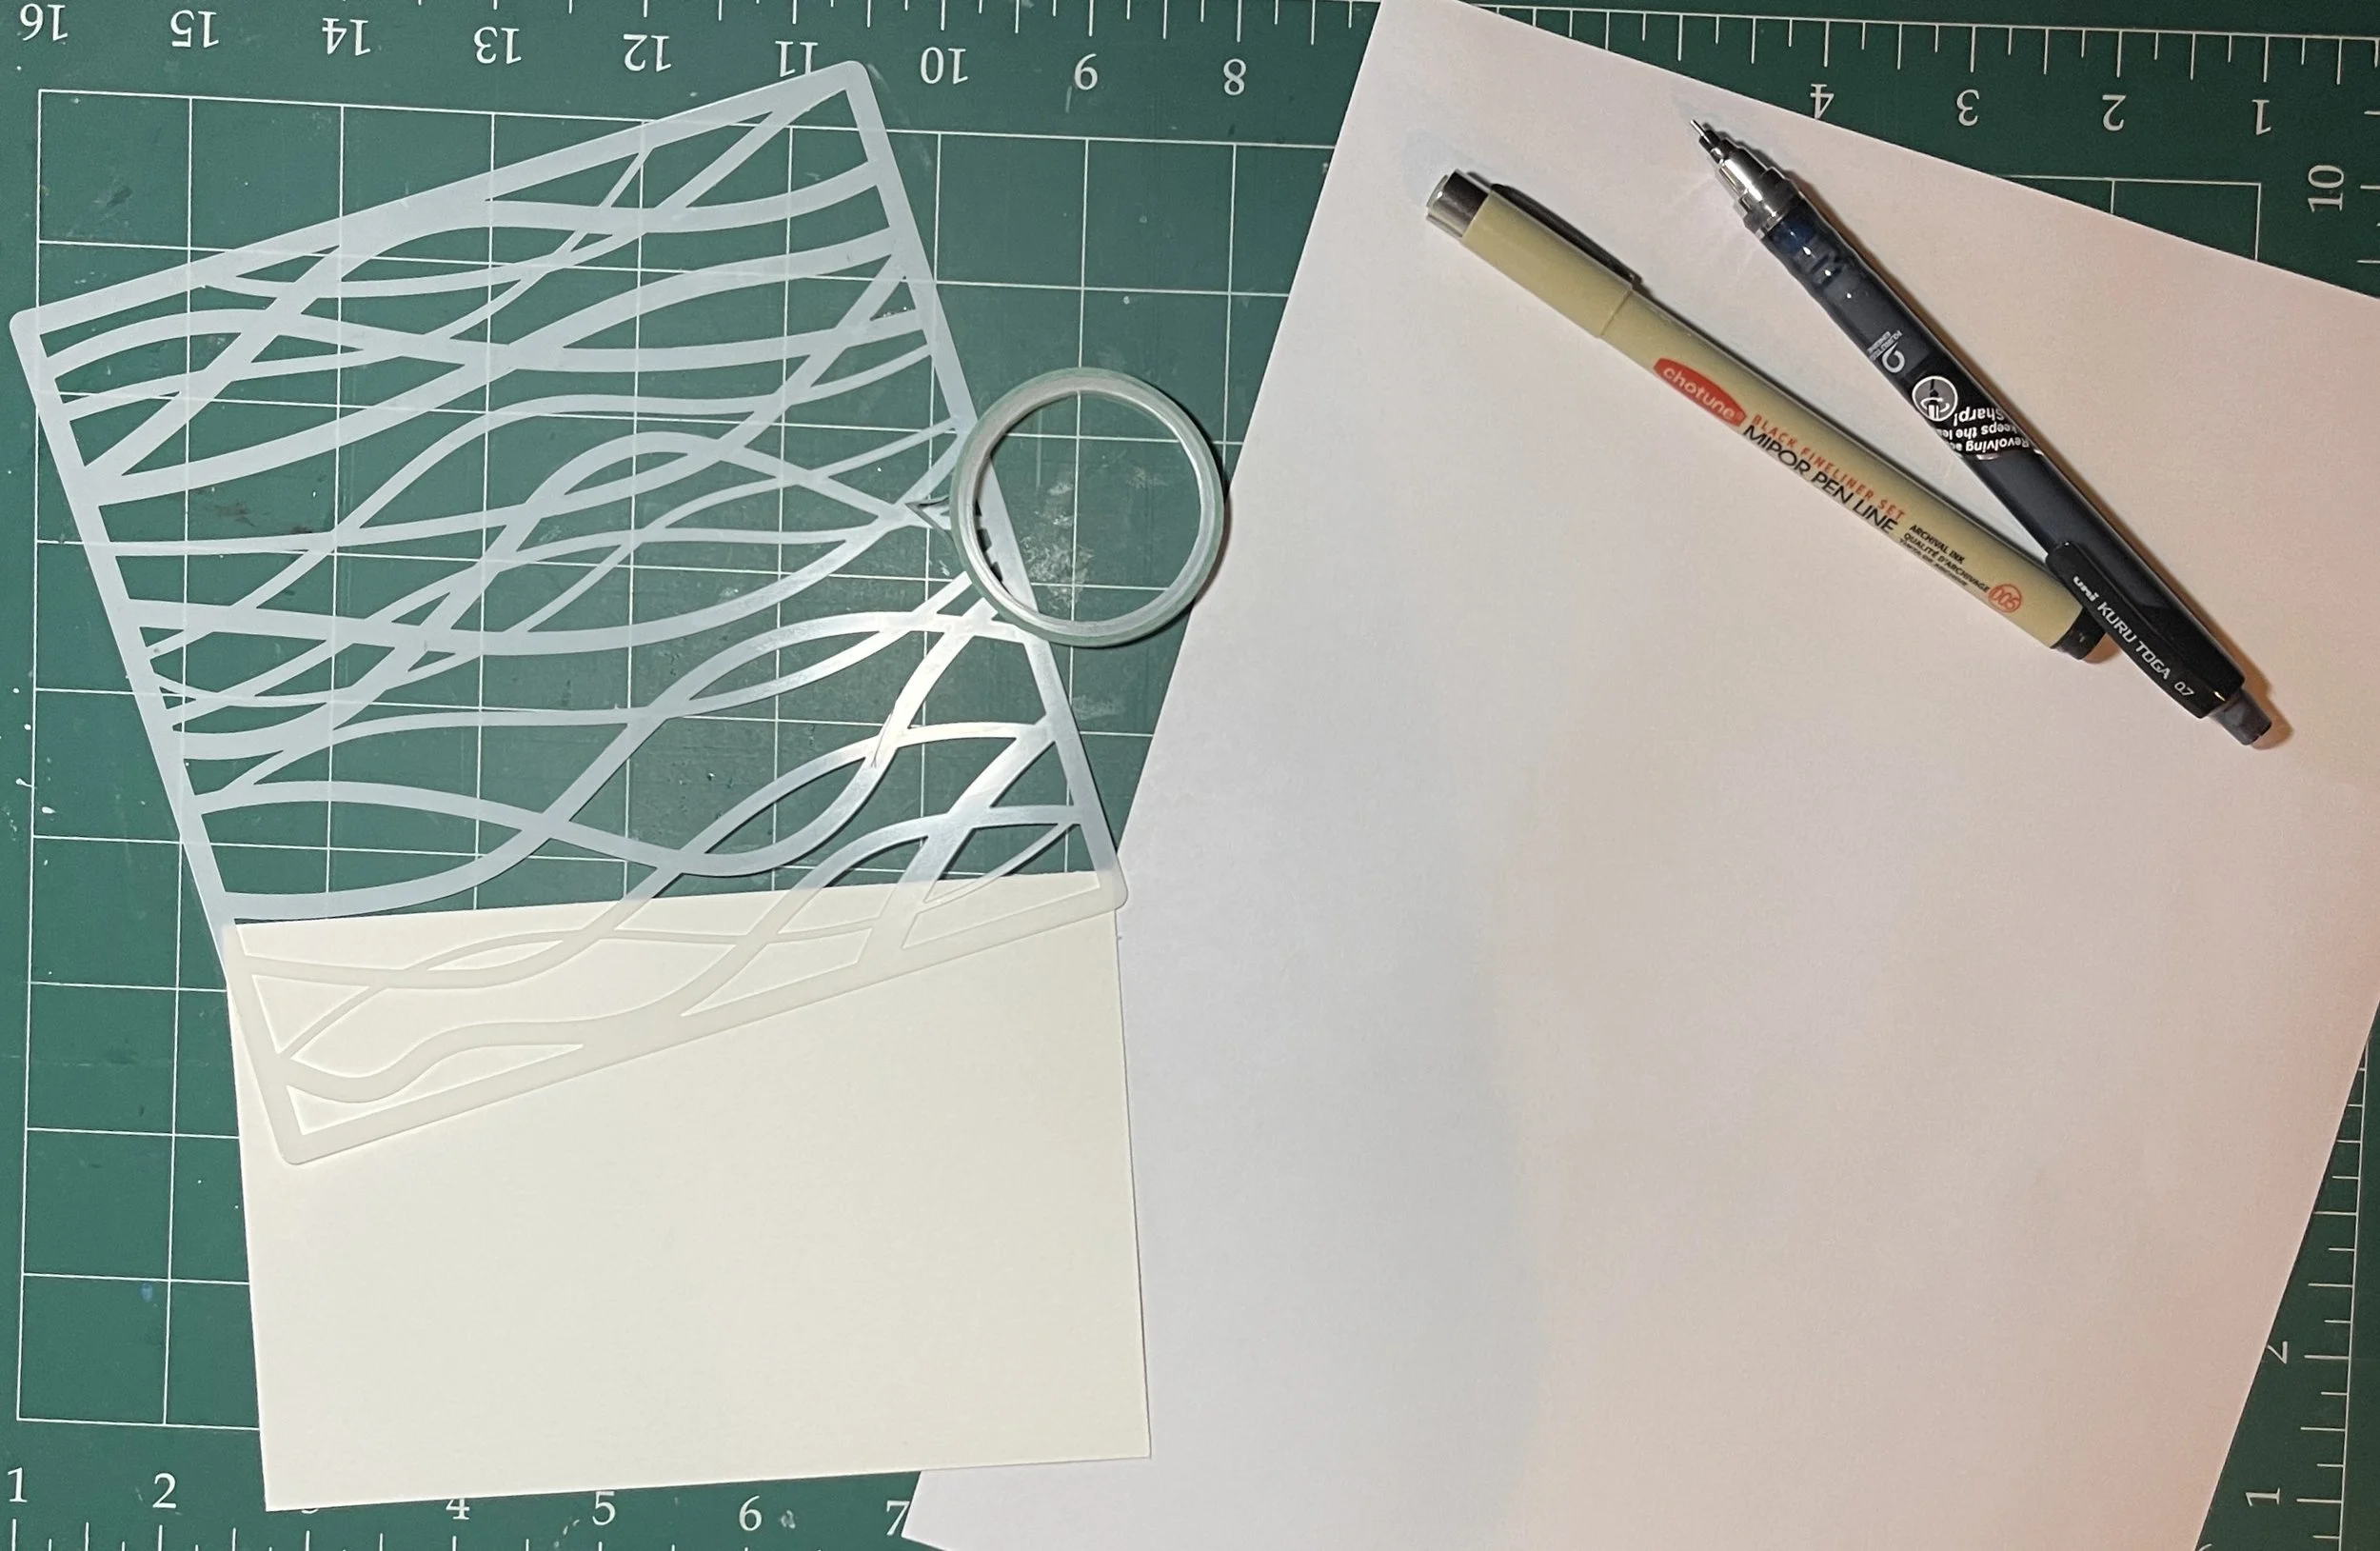
Having chosen my stencil, I grabbed a few postcard blanks (these were cut from larger pieces of 140# watercolor paper) and gathered a few other helpful bits (a mechanical pencil, a Micron pen [0.3], a 1/4 in. roll of washi tape, a fine line grey gel pen (not shown here), and a few blank sheets of copier paper).
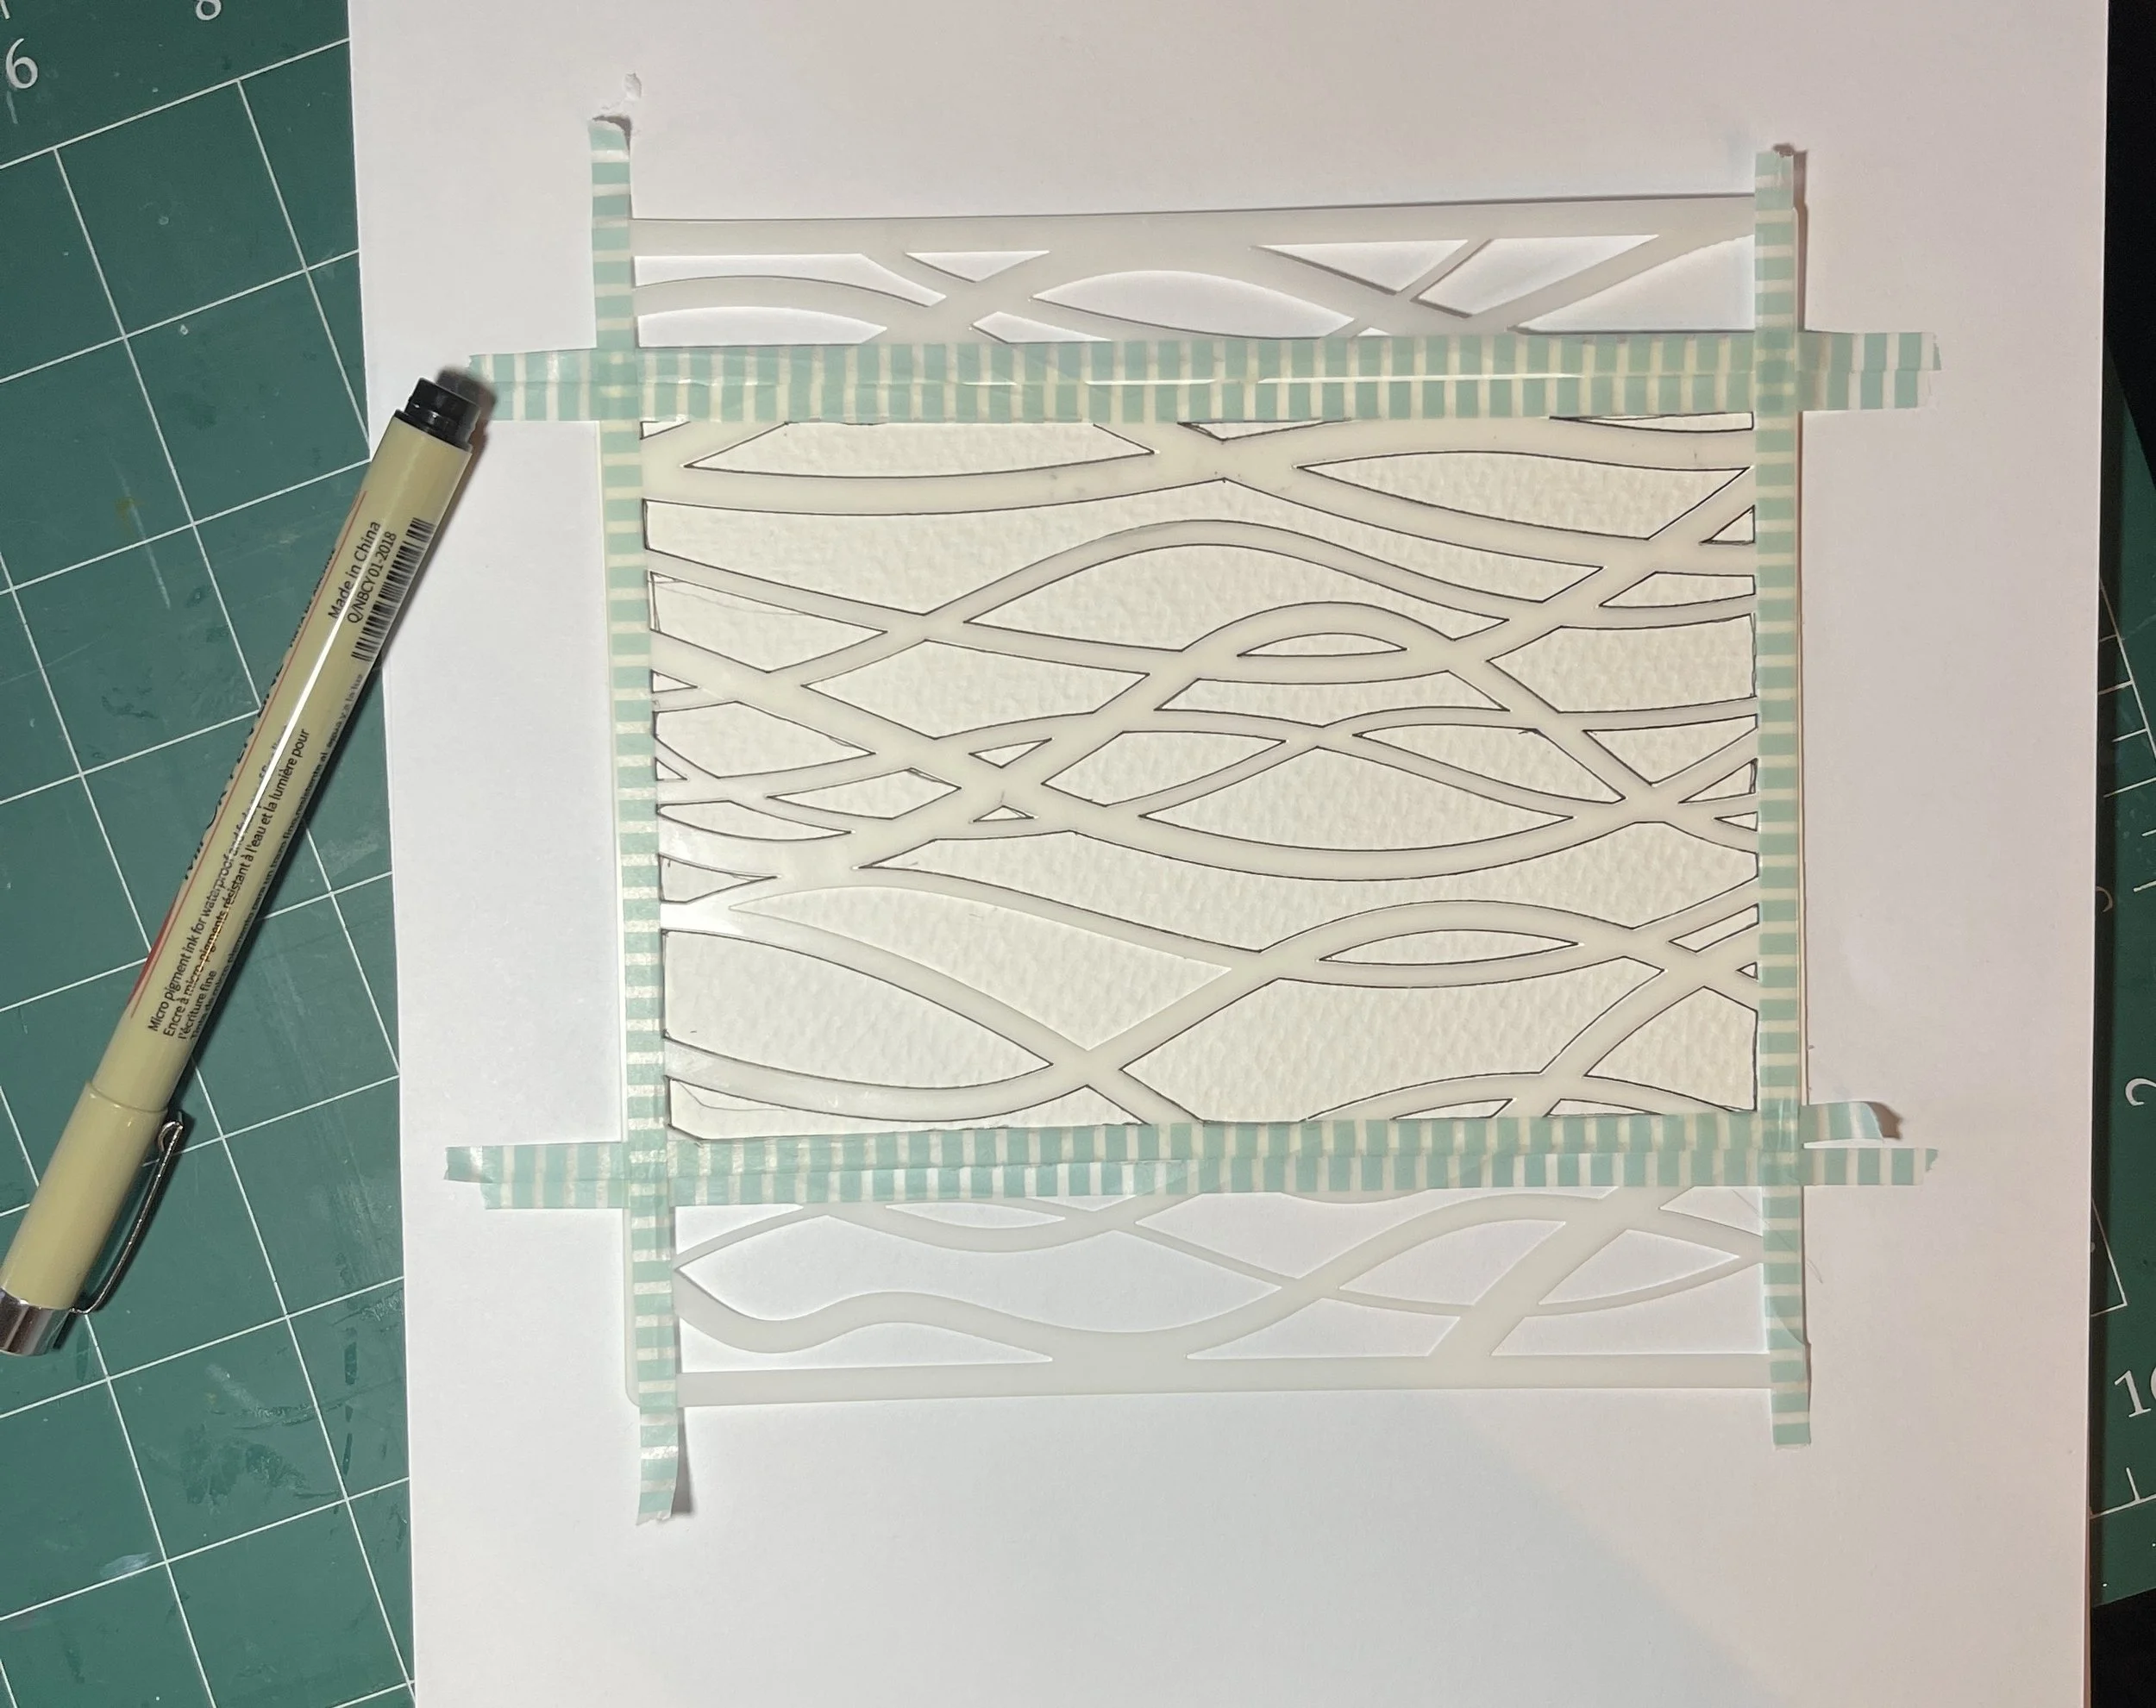
To begin, I anchored the blank postcard and the stencil to the blank copier paper with washi tape. The washi tape I selected is the same width as the border of my stencil - this ensured even borders all the way around my postcard. I traced each of the openings on the stencil onto my postcard using the Micron pen. Additionally, so the I would have a “map,” I also traced the corresponding openings onto a blank sheet of paper and numbered them (not shown here).
Remember our friends from ToTs #003 - Security Envelopes? They make a triumphant return this week to fill the sections of my stencil (same thing, only different)! After numbering the openings on my “side sheet,” I used a selection of security envelopes to make the “puzzle pieces” to fill the design. For the tee-niny openings that would be impossible to fill with paper, I used varying shades of blue markers/gel pens.
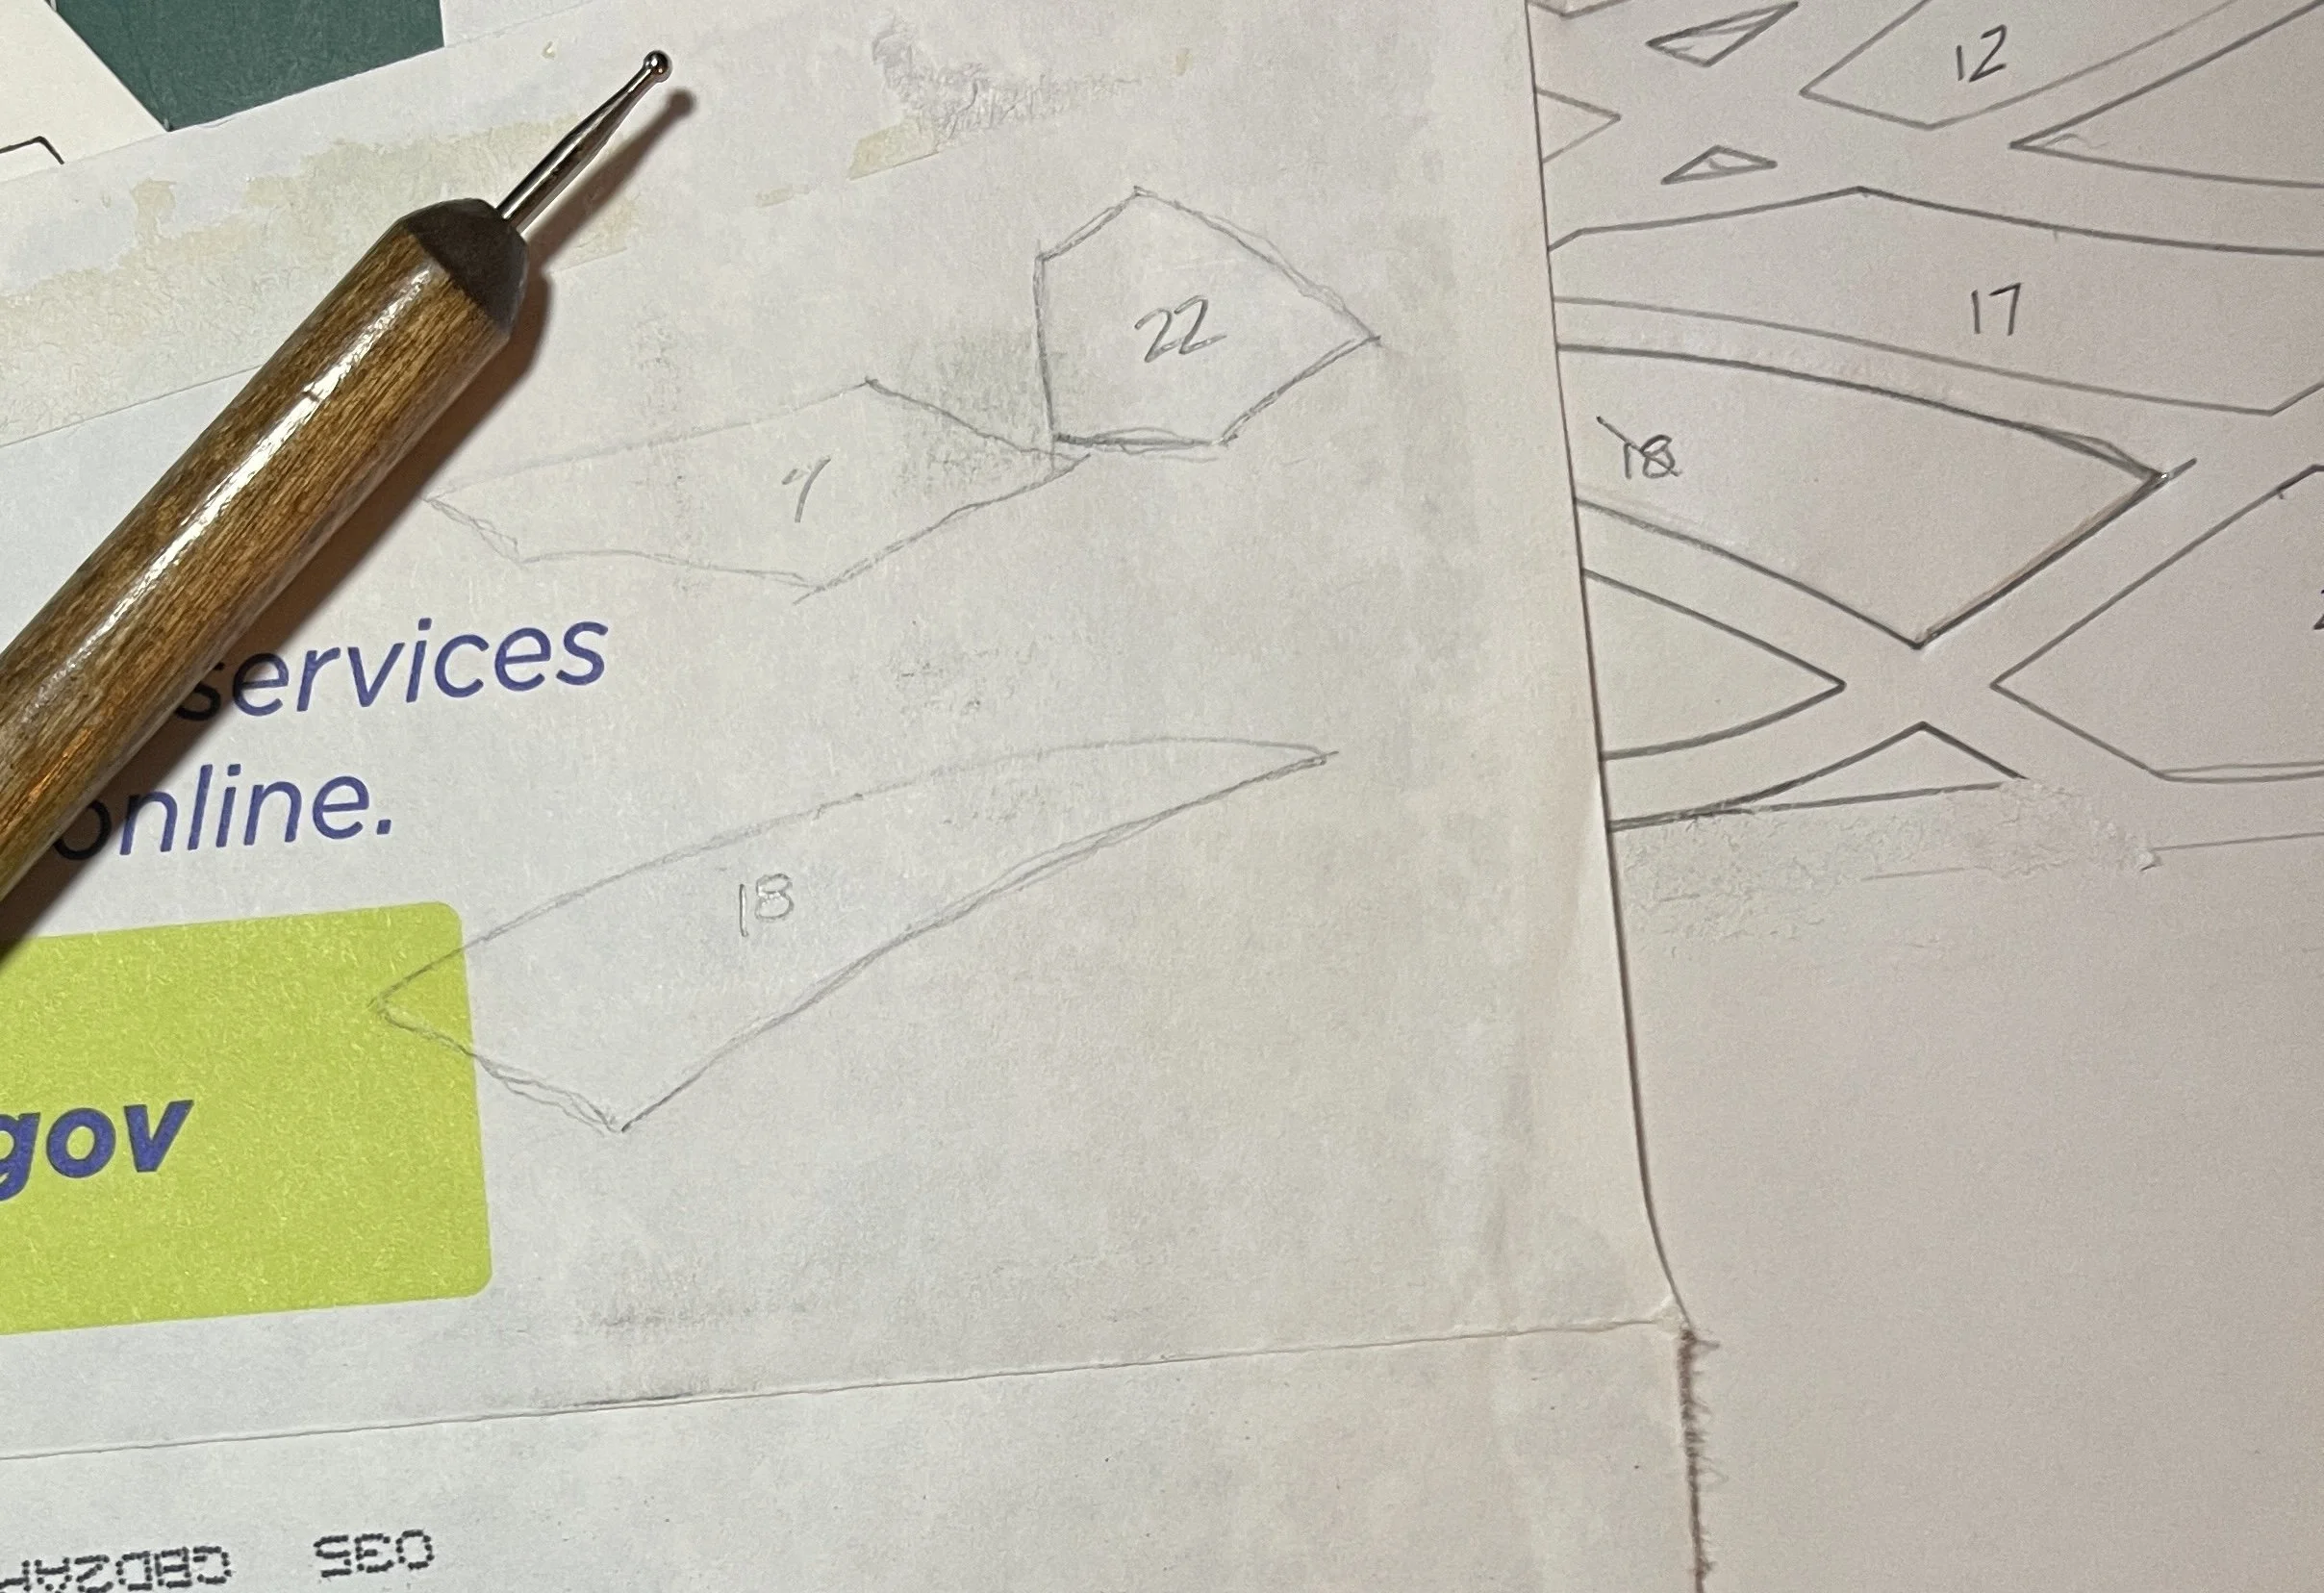
By tracing the shapes to fill each section on the back of the envelopes, once I flipped them over they were properly oriented to drop into the corresponding placement on the postcard. After tracing lightly with a pencil, I went over the pencil lines with a ball end stylus to emboss the line. To further “loosen the fibers” in the envelope paper, I then went over the embossed line with a fine point gel pen. After that, the pieces could nearly be torn from the envelopes - making a softer line on the edges before gluing them to the postcard.

After all of the pieces were glued in, it seemed like too much white space…. So, I decided to outline the sections with an Ultra Fine Point Sharpie marker. Who knew the standard Sharpie blue was the same color as “security envelope blue”? That tightened things up a bit, so I decided to add dotted lines to the broad white lines that separated the sections. BINGO!

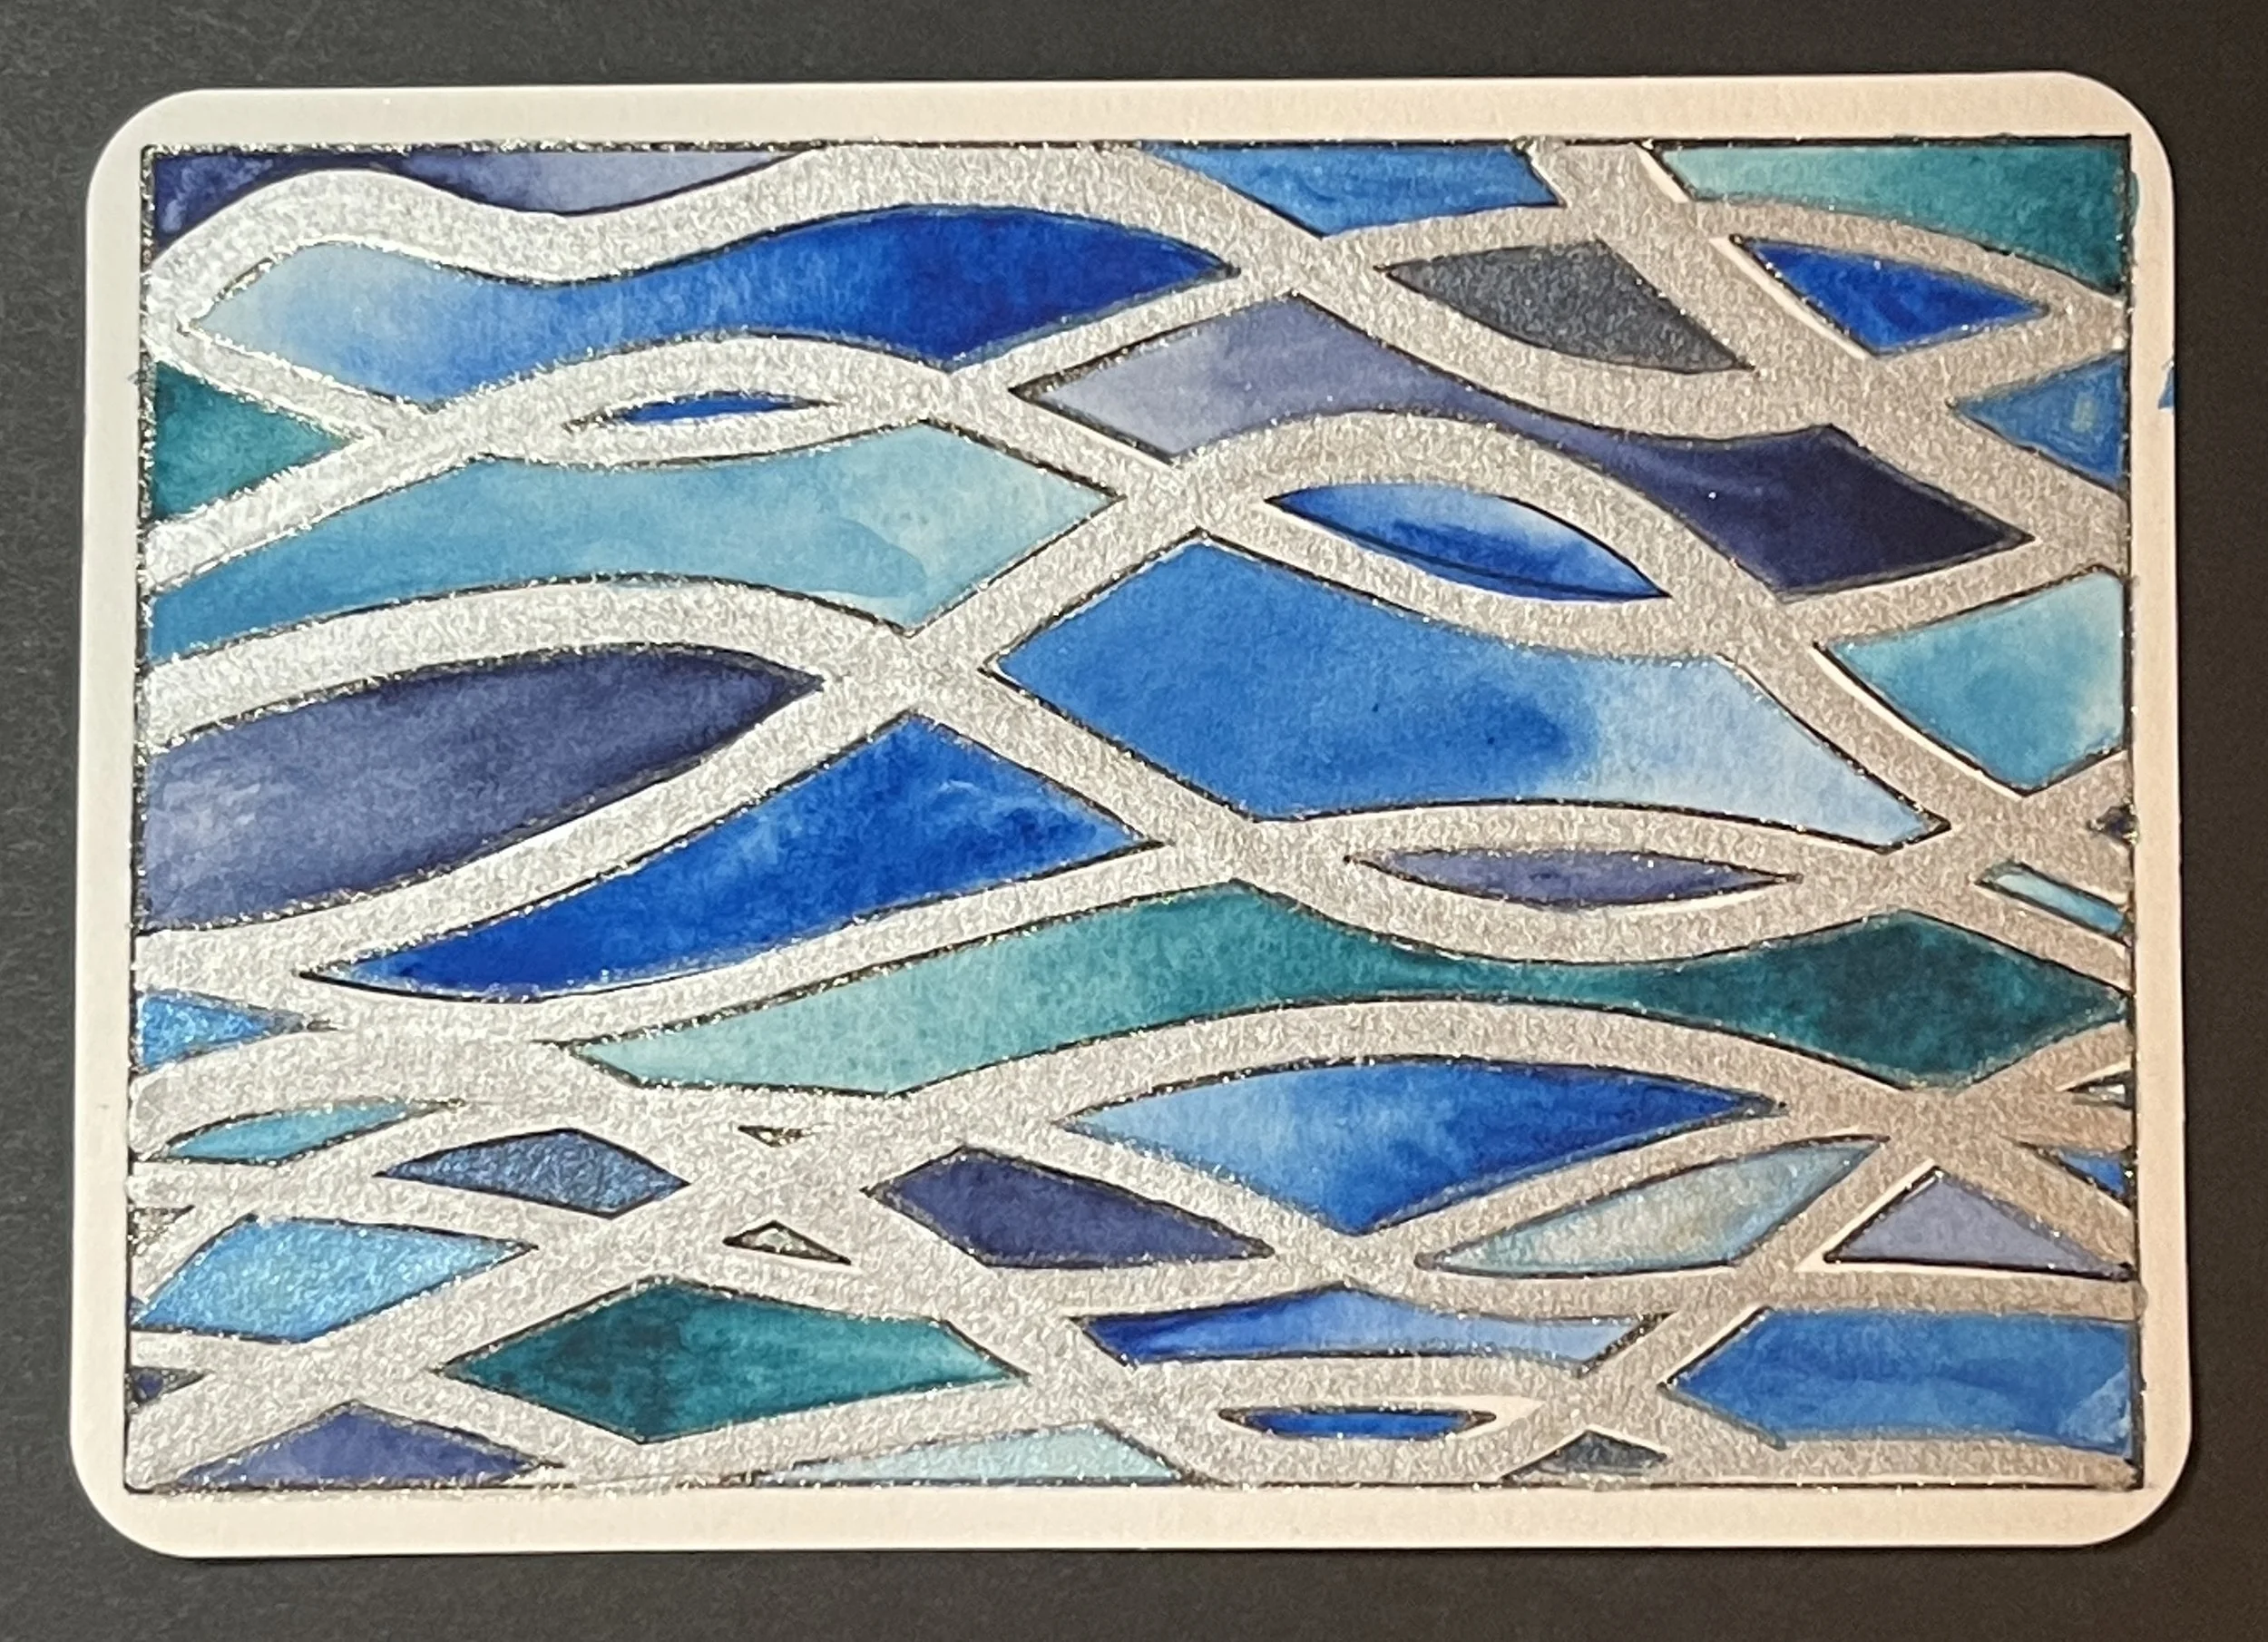
The set up for the 2nd card was much the same: mask the stencil with washi tape, trace inside each segment, and fill. This time, however, I opted for a watercolor fill using a small set of pan watercolors called “Ocean and Forest". Of course, I only had eyes for blues ;)
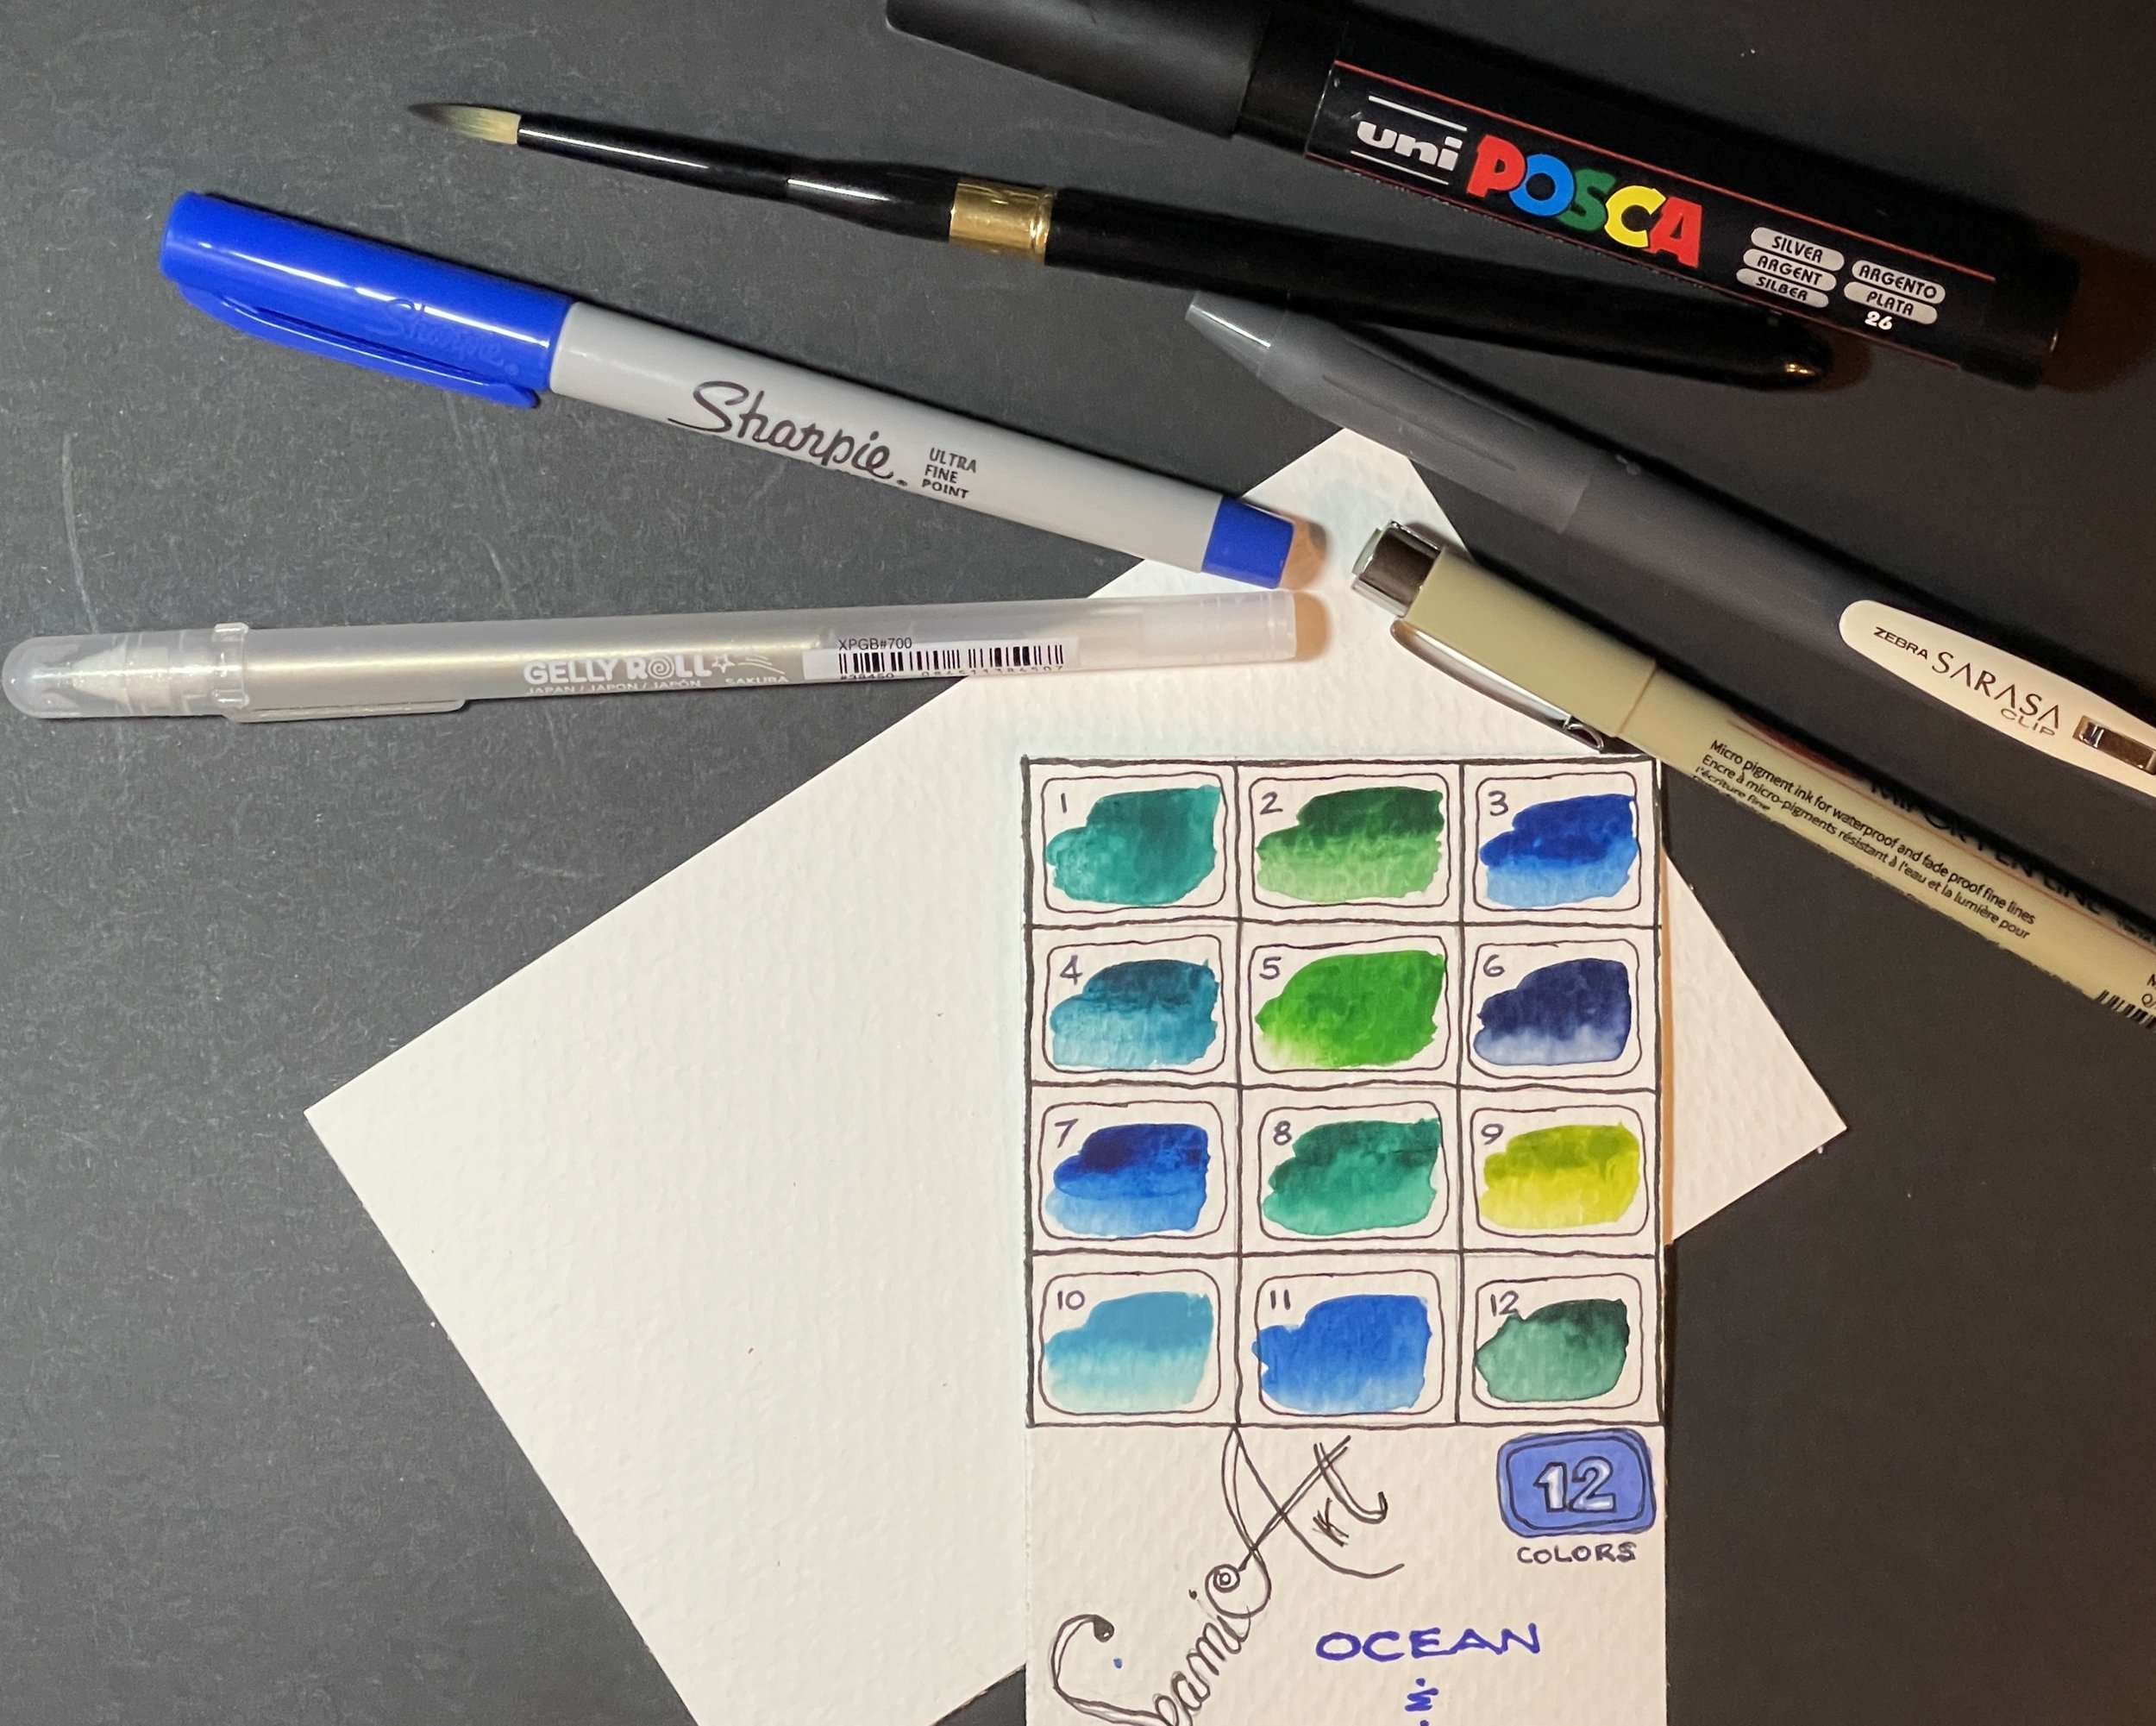
After filling all of the sections with varying shades & washes of blue, I outlined each with a slightly shimmery gel pen. Once again, the white areas in-between seemed too stark. This time, I filled the white stripes with a silver acrylic paint marker. Much better - I then added a darker, glittery outline. BAM! With the slightest movement under the light, it almost looks like the waves are undulating across the surface of the card.
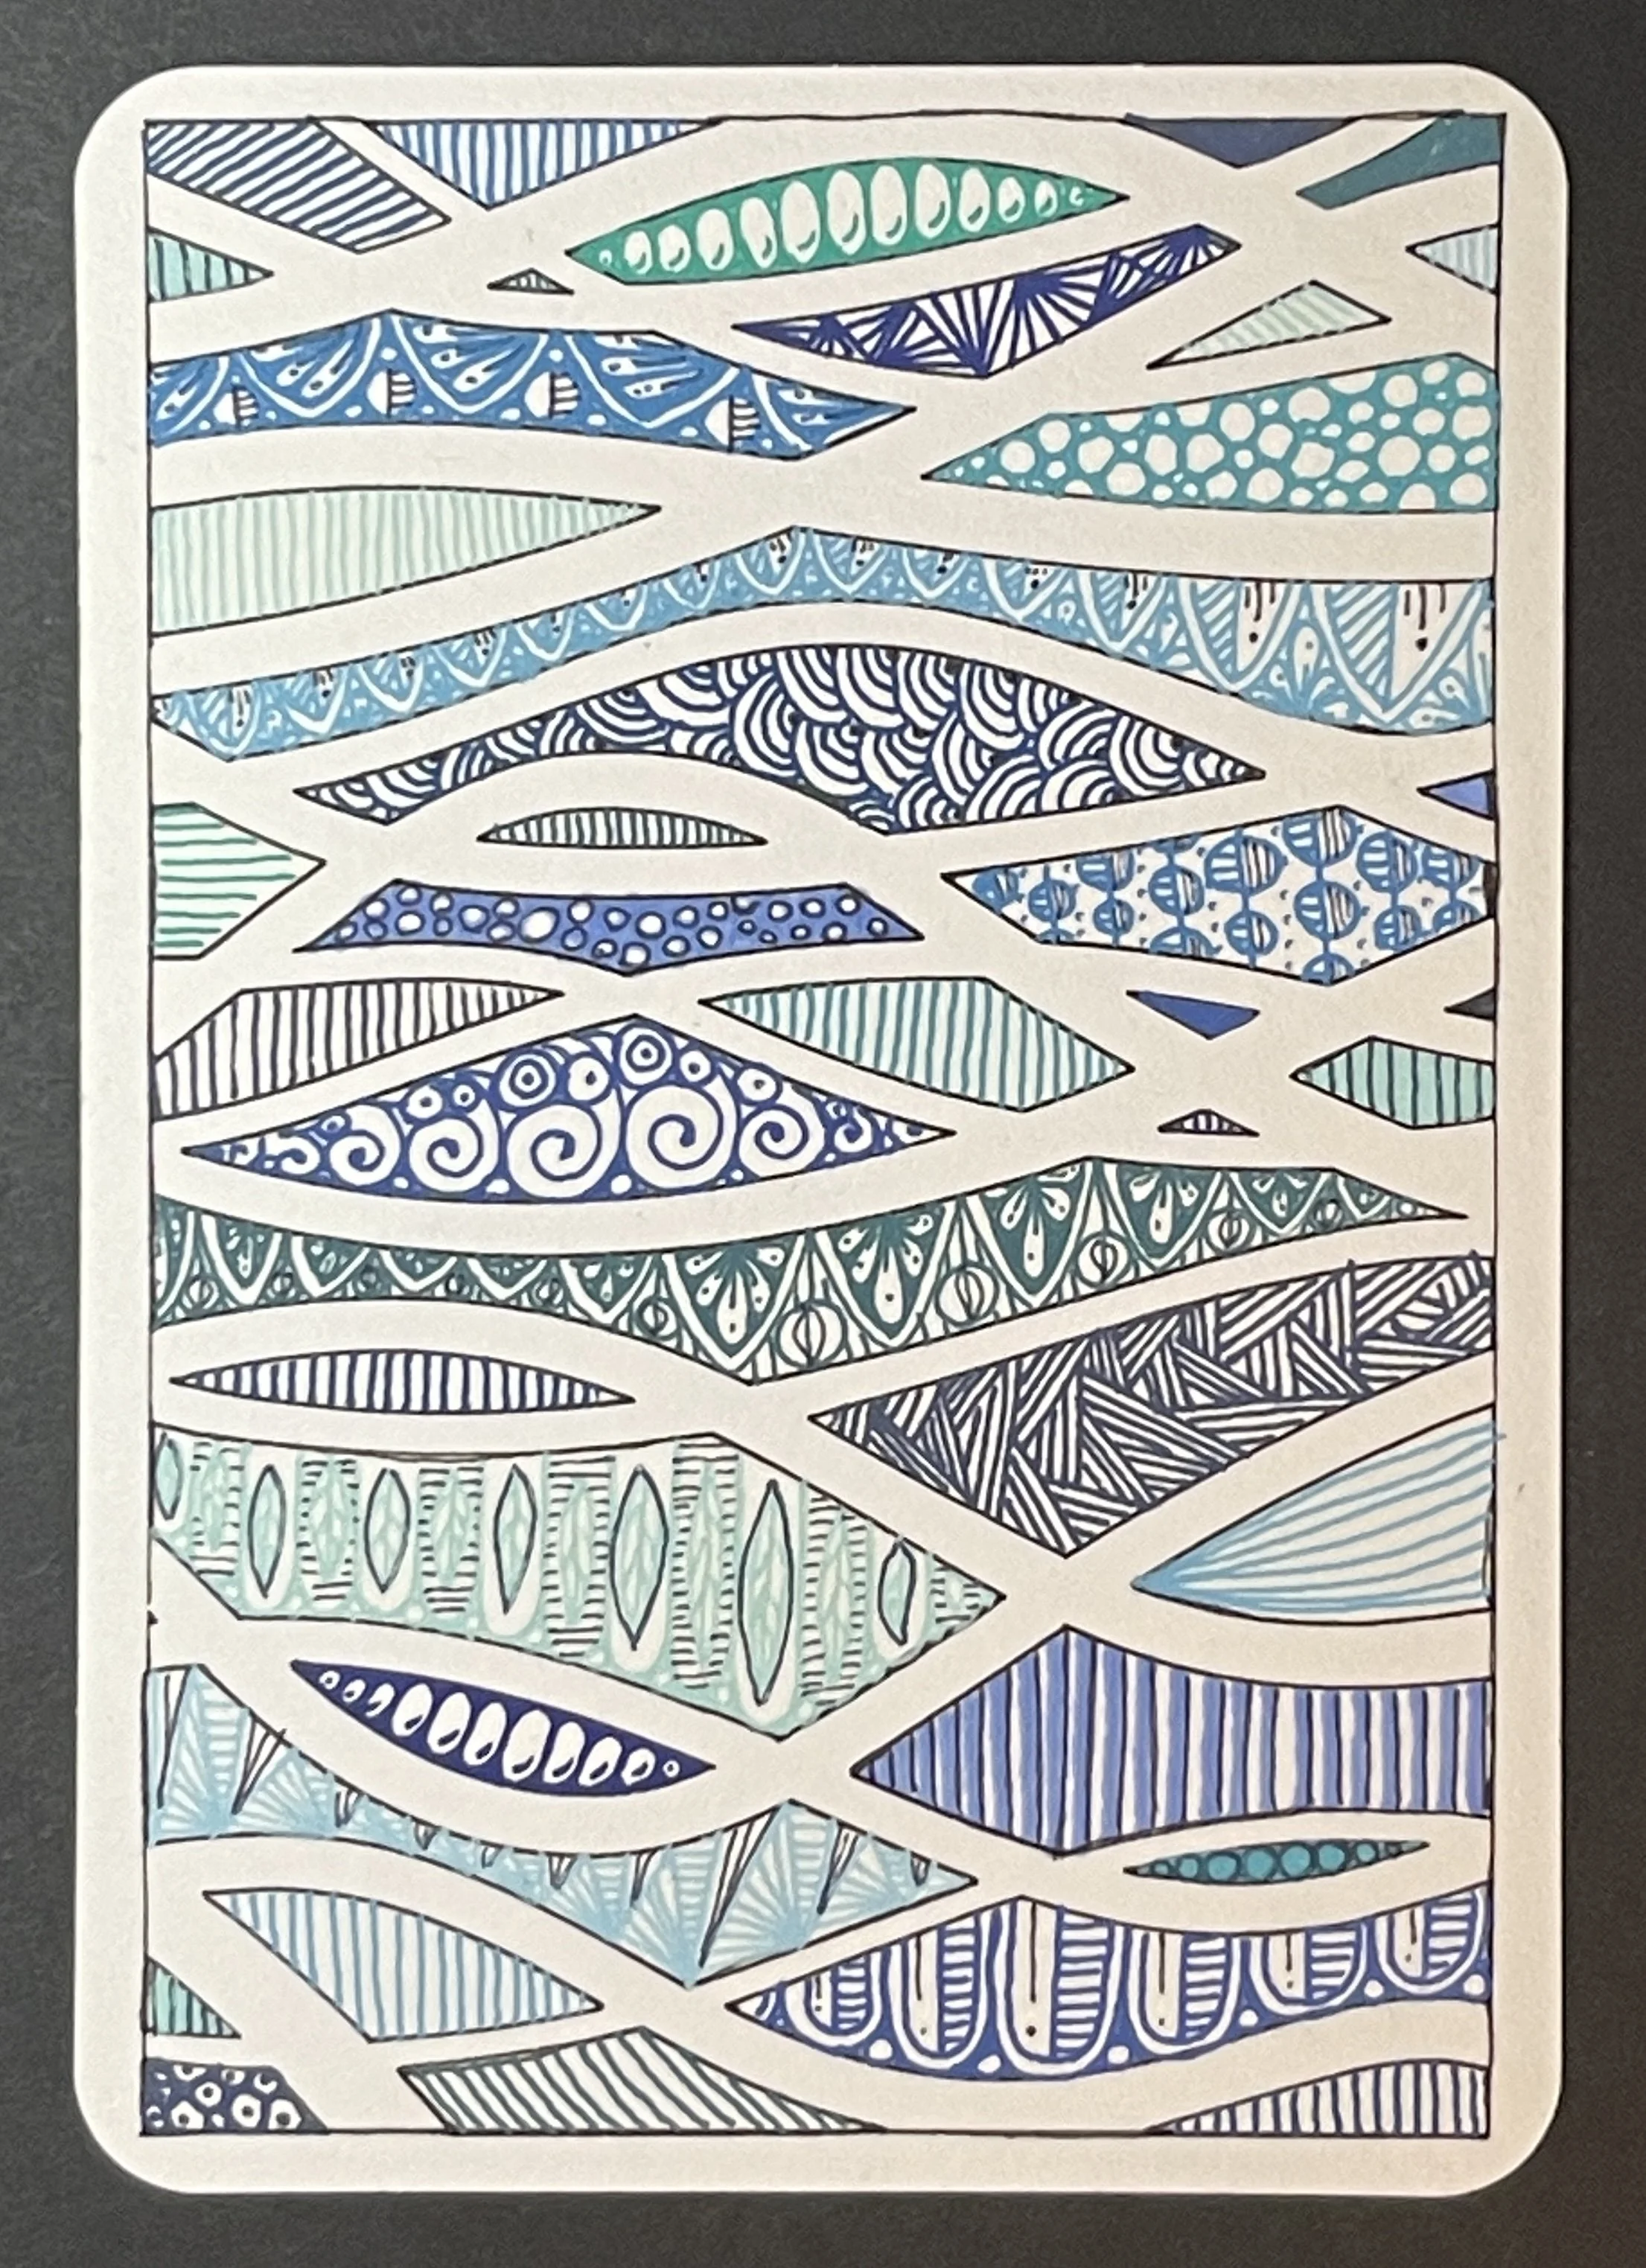
For the last one, I decided to switch the orientation from landscape to portrait. The setup was much the same: anchor the card to the stencil with washi tape, trace the openings, and fill. This time, I opted to doodle my way to bliss. Using an assortment of blue hued gel pens, I filled each section with a different pattern/color. At the end, I added extra depth/dimension by adding extra fine lines in a neutral grey. Once all of the sections were filled, I was quite pleased with the remaining open space. It provided relief between the various patterns. Each section was outlined in the same grey, lending cohesion to the overall design while providing a subtle visual link between them all.
So, that’s a wrap on this episode of ToTs. Will you take on the challenge of One Stencil Three Ways? Admittedly, the security envelope thing was beyond fiddly; however, I thoroughly enjoyed the practice of creating three very different postcards with the same underlying image. You needn’t replicate my efforts. You could do this exercise with any medium: colored pencils, Sharpie markers, tissue paper, pastels, acrylic paints/markers, crayons…. Like all things creative, the possibilities are endless! I do hope that this has inspired you to look at your materials a bit differently. Further, I hope that you are inspired to join us in The Celebration of Sapphire and create a postcard of your own.
Looking for additional inspiration? Join us on Facebook in The International Mail Art Celebration of Sapphire group to see all of the submissions we have received so far. We can’t wait to see what you come up with*!

Michelle will be back in a couple of weeks with our next ToTs. Until then, stay safe and keep on creating beauty.
~ plw
*and no dilly-dallying - December 31st will be here before we know it!