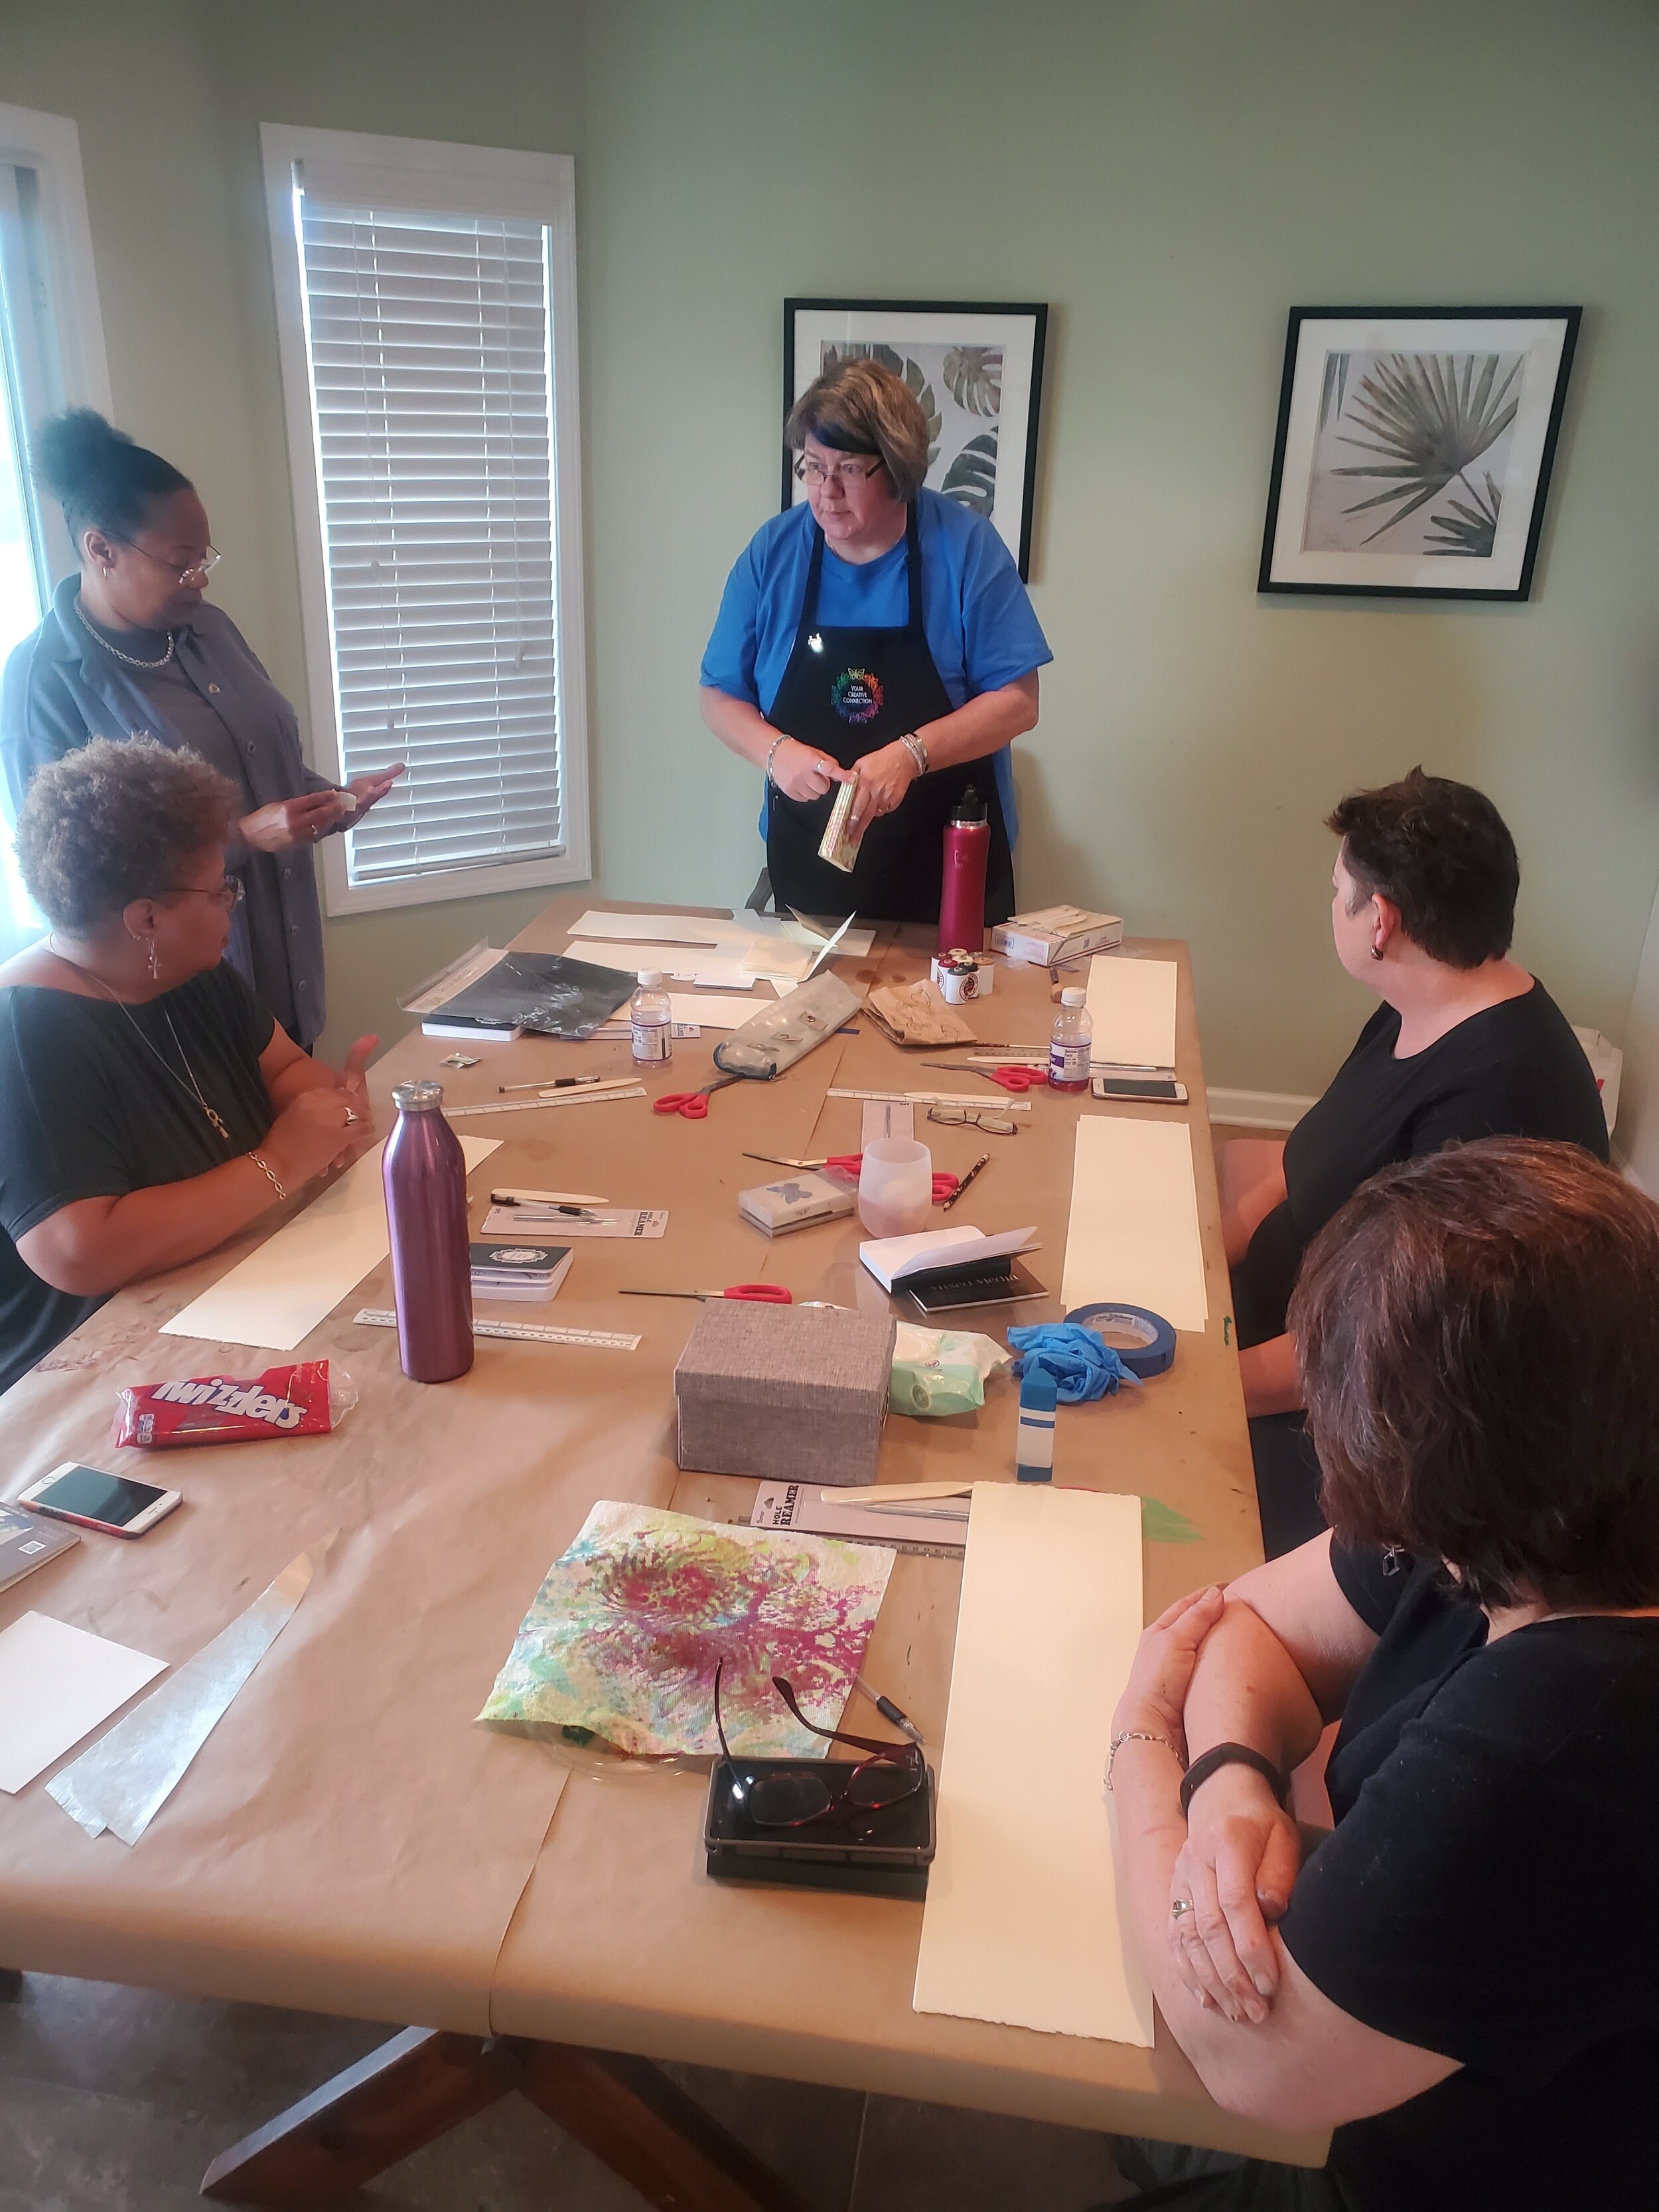
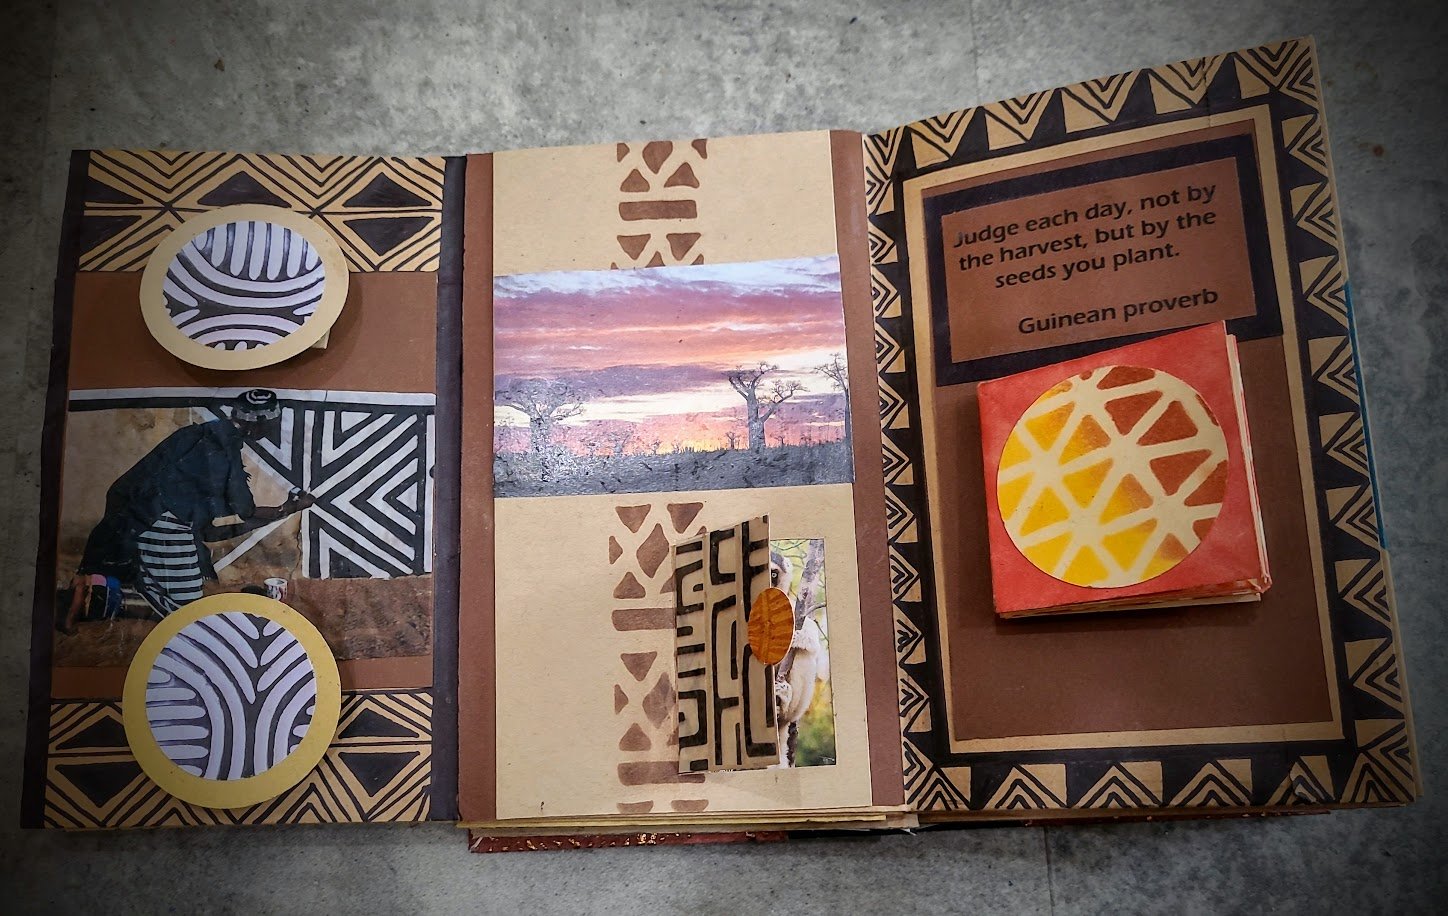
In my Studio Session, we explored more ways to add visual interest by manipulating and personalizing the images we’d found to include in our interactive books. I demonstrated how to achieve image transfers with packing tape and water; a handy way to preserve and modify found treasures. And, to create movement and a sense of fun, we cut ‘doors’ or ‘windows’ into our pages, or added accordion folded tabs to achieve simple pop-up action. As with Penny’s session the day before, we were so intent upon the learning and sharing that we didn’t capture pictures of this process, but below is a photo of my book with pop-ups on the left and the “lemur flap” door in the center.
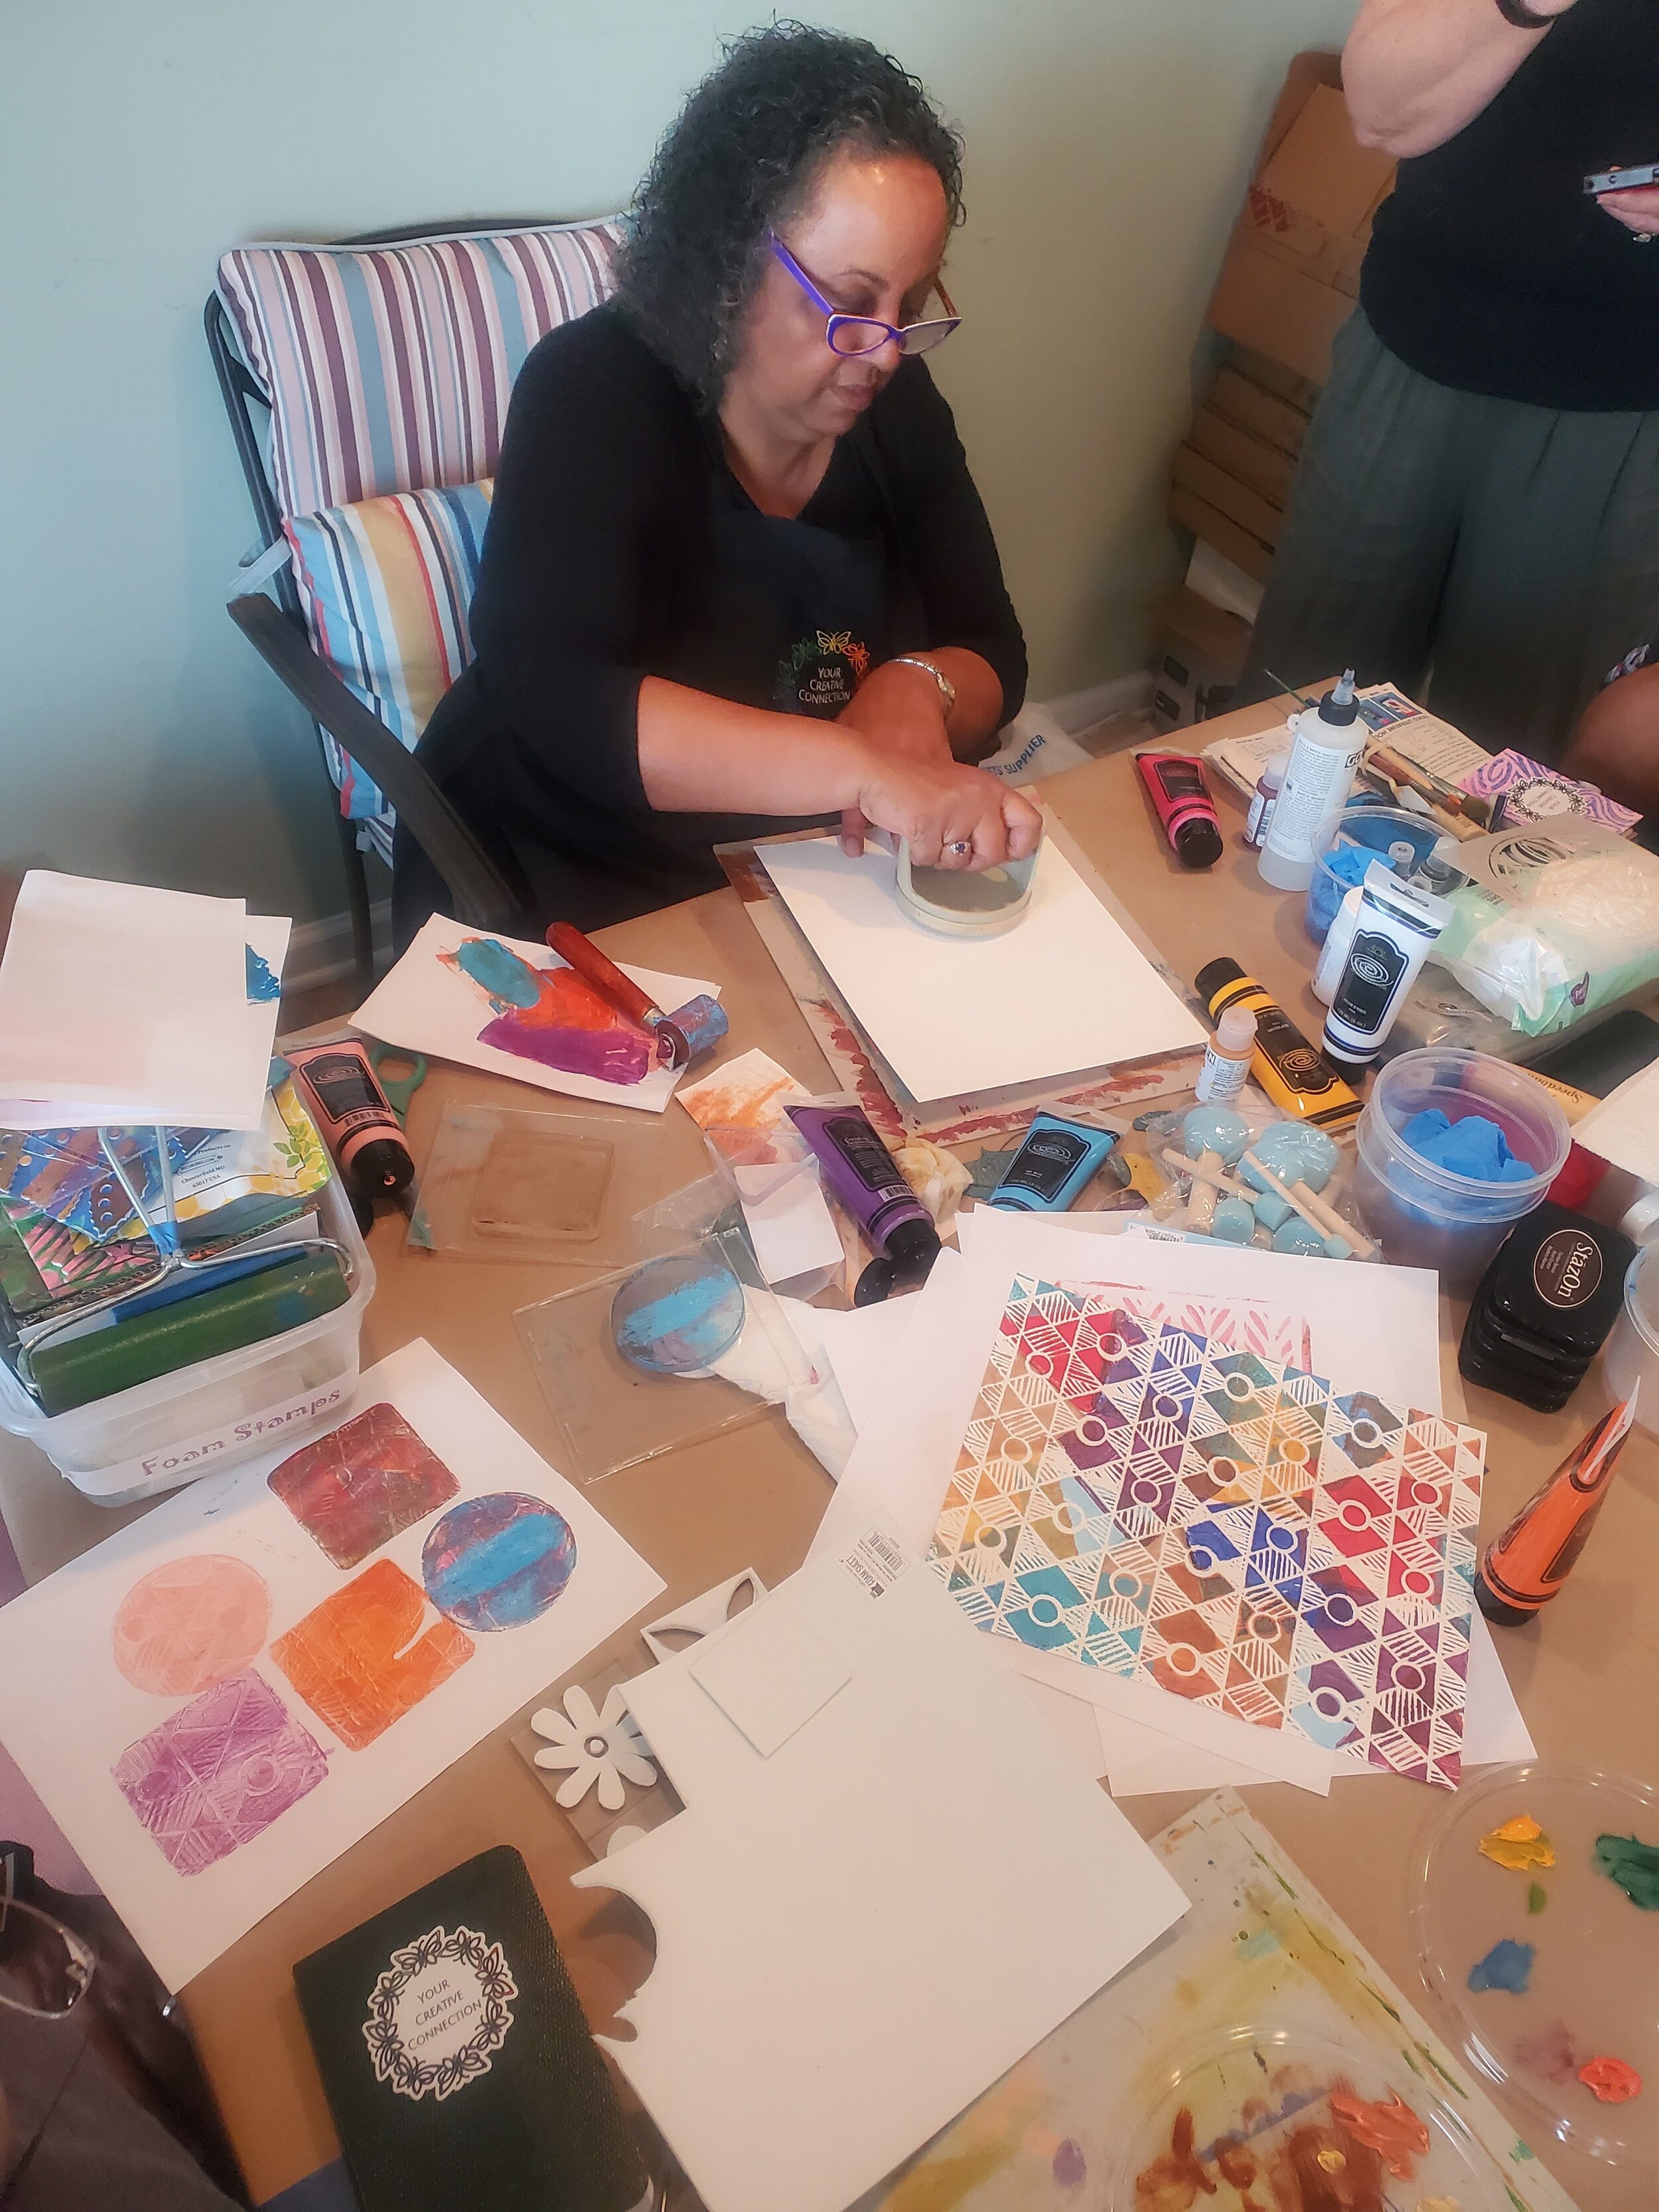
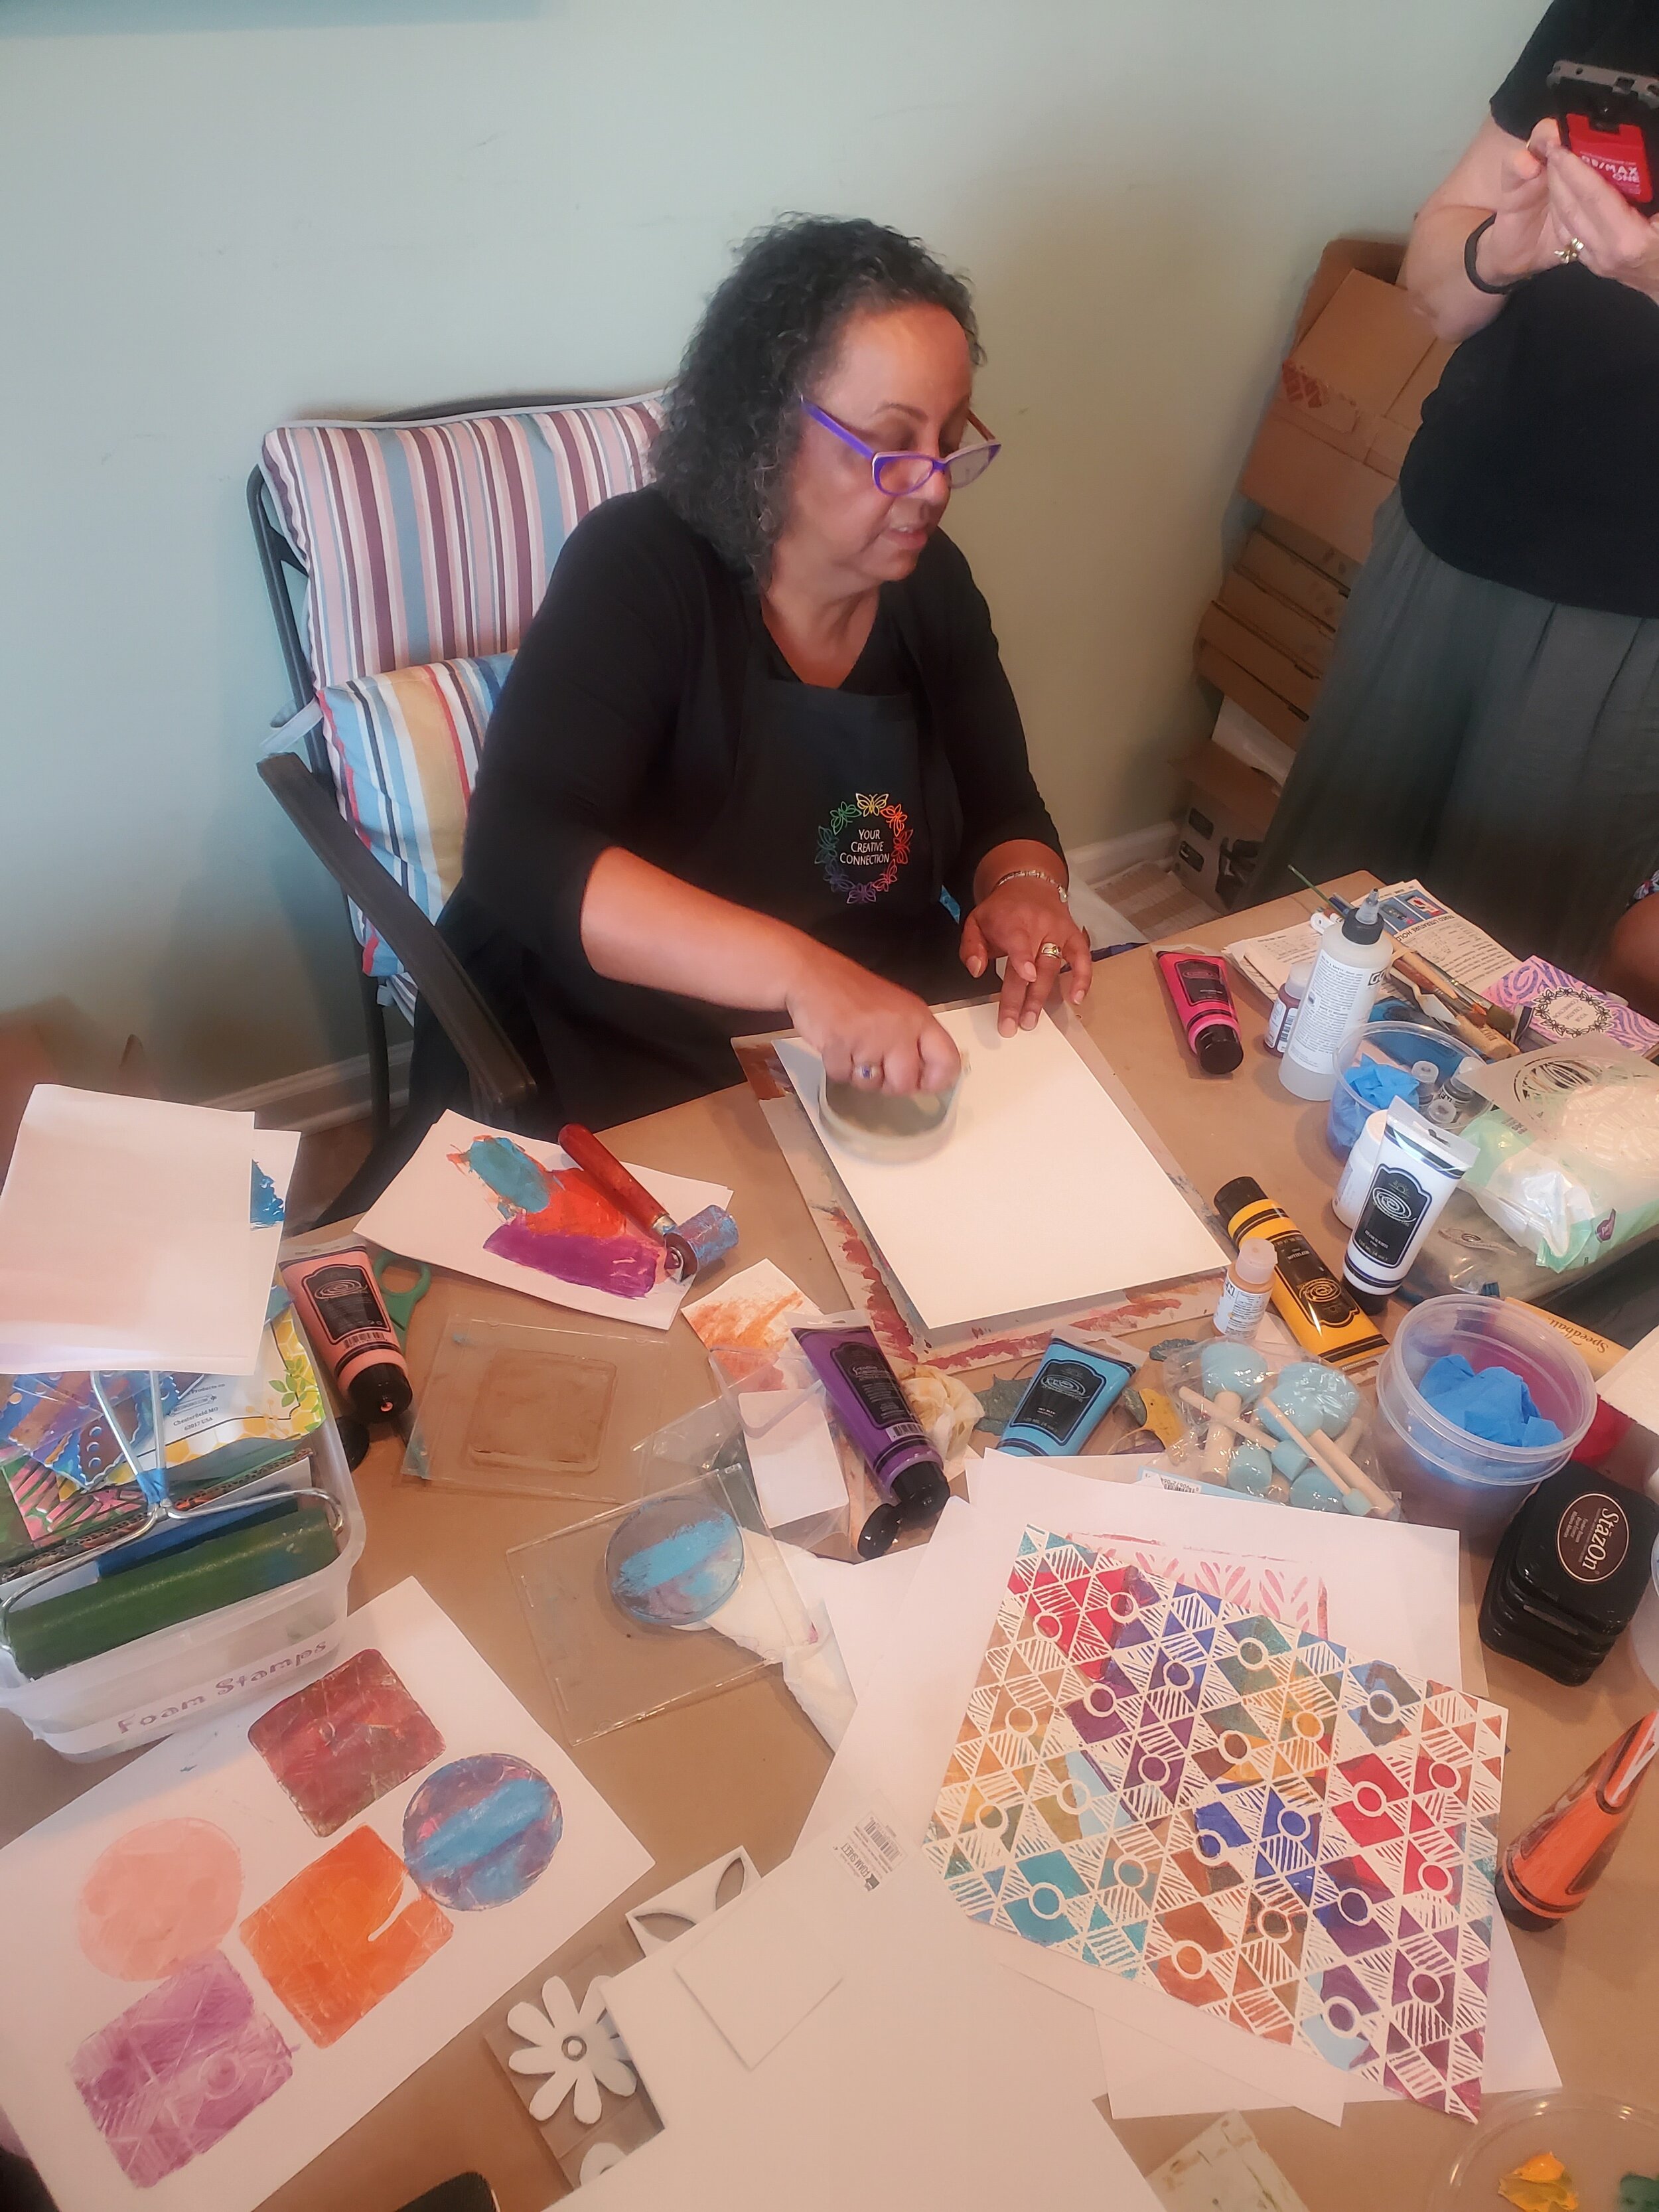
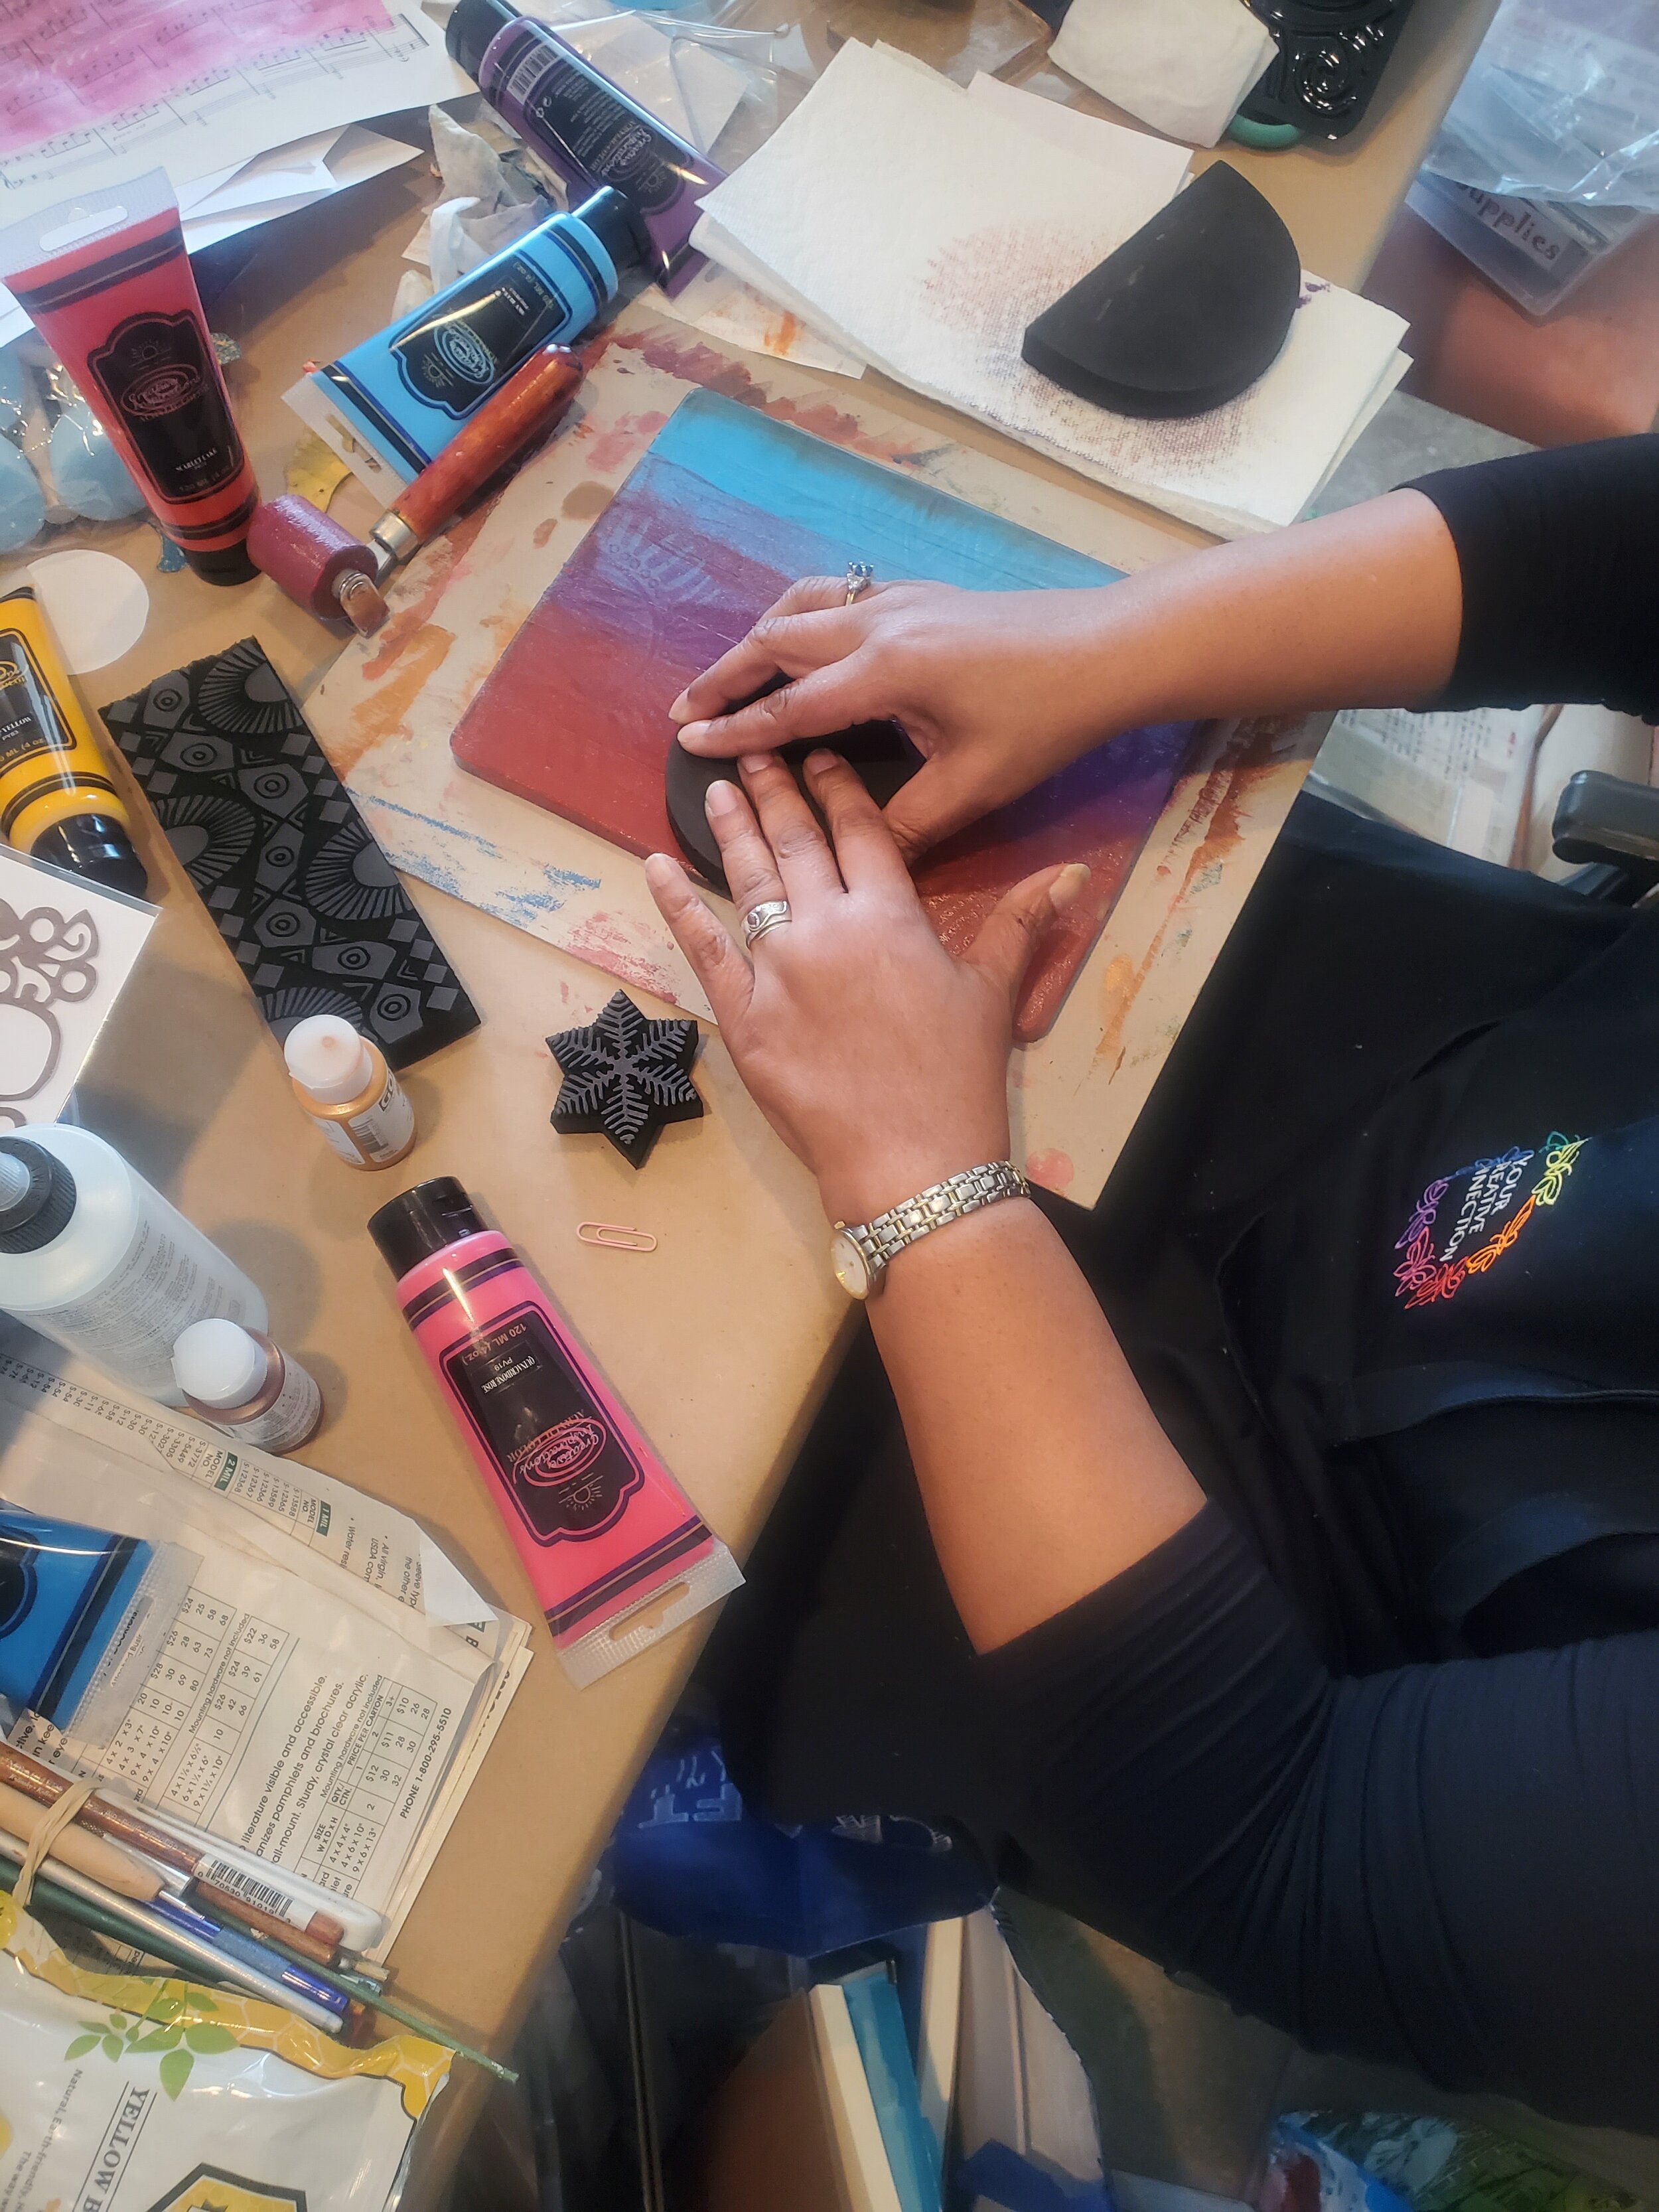
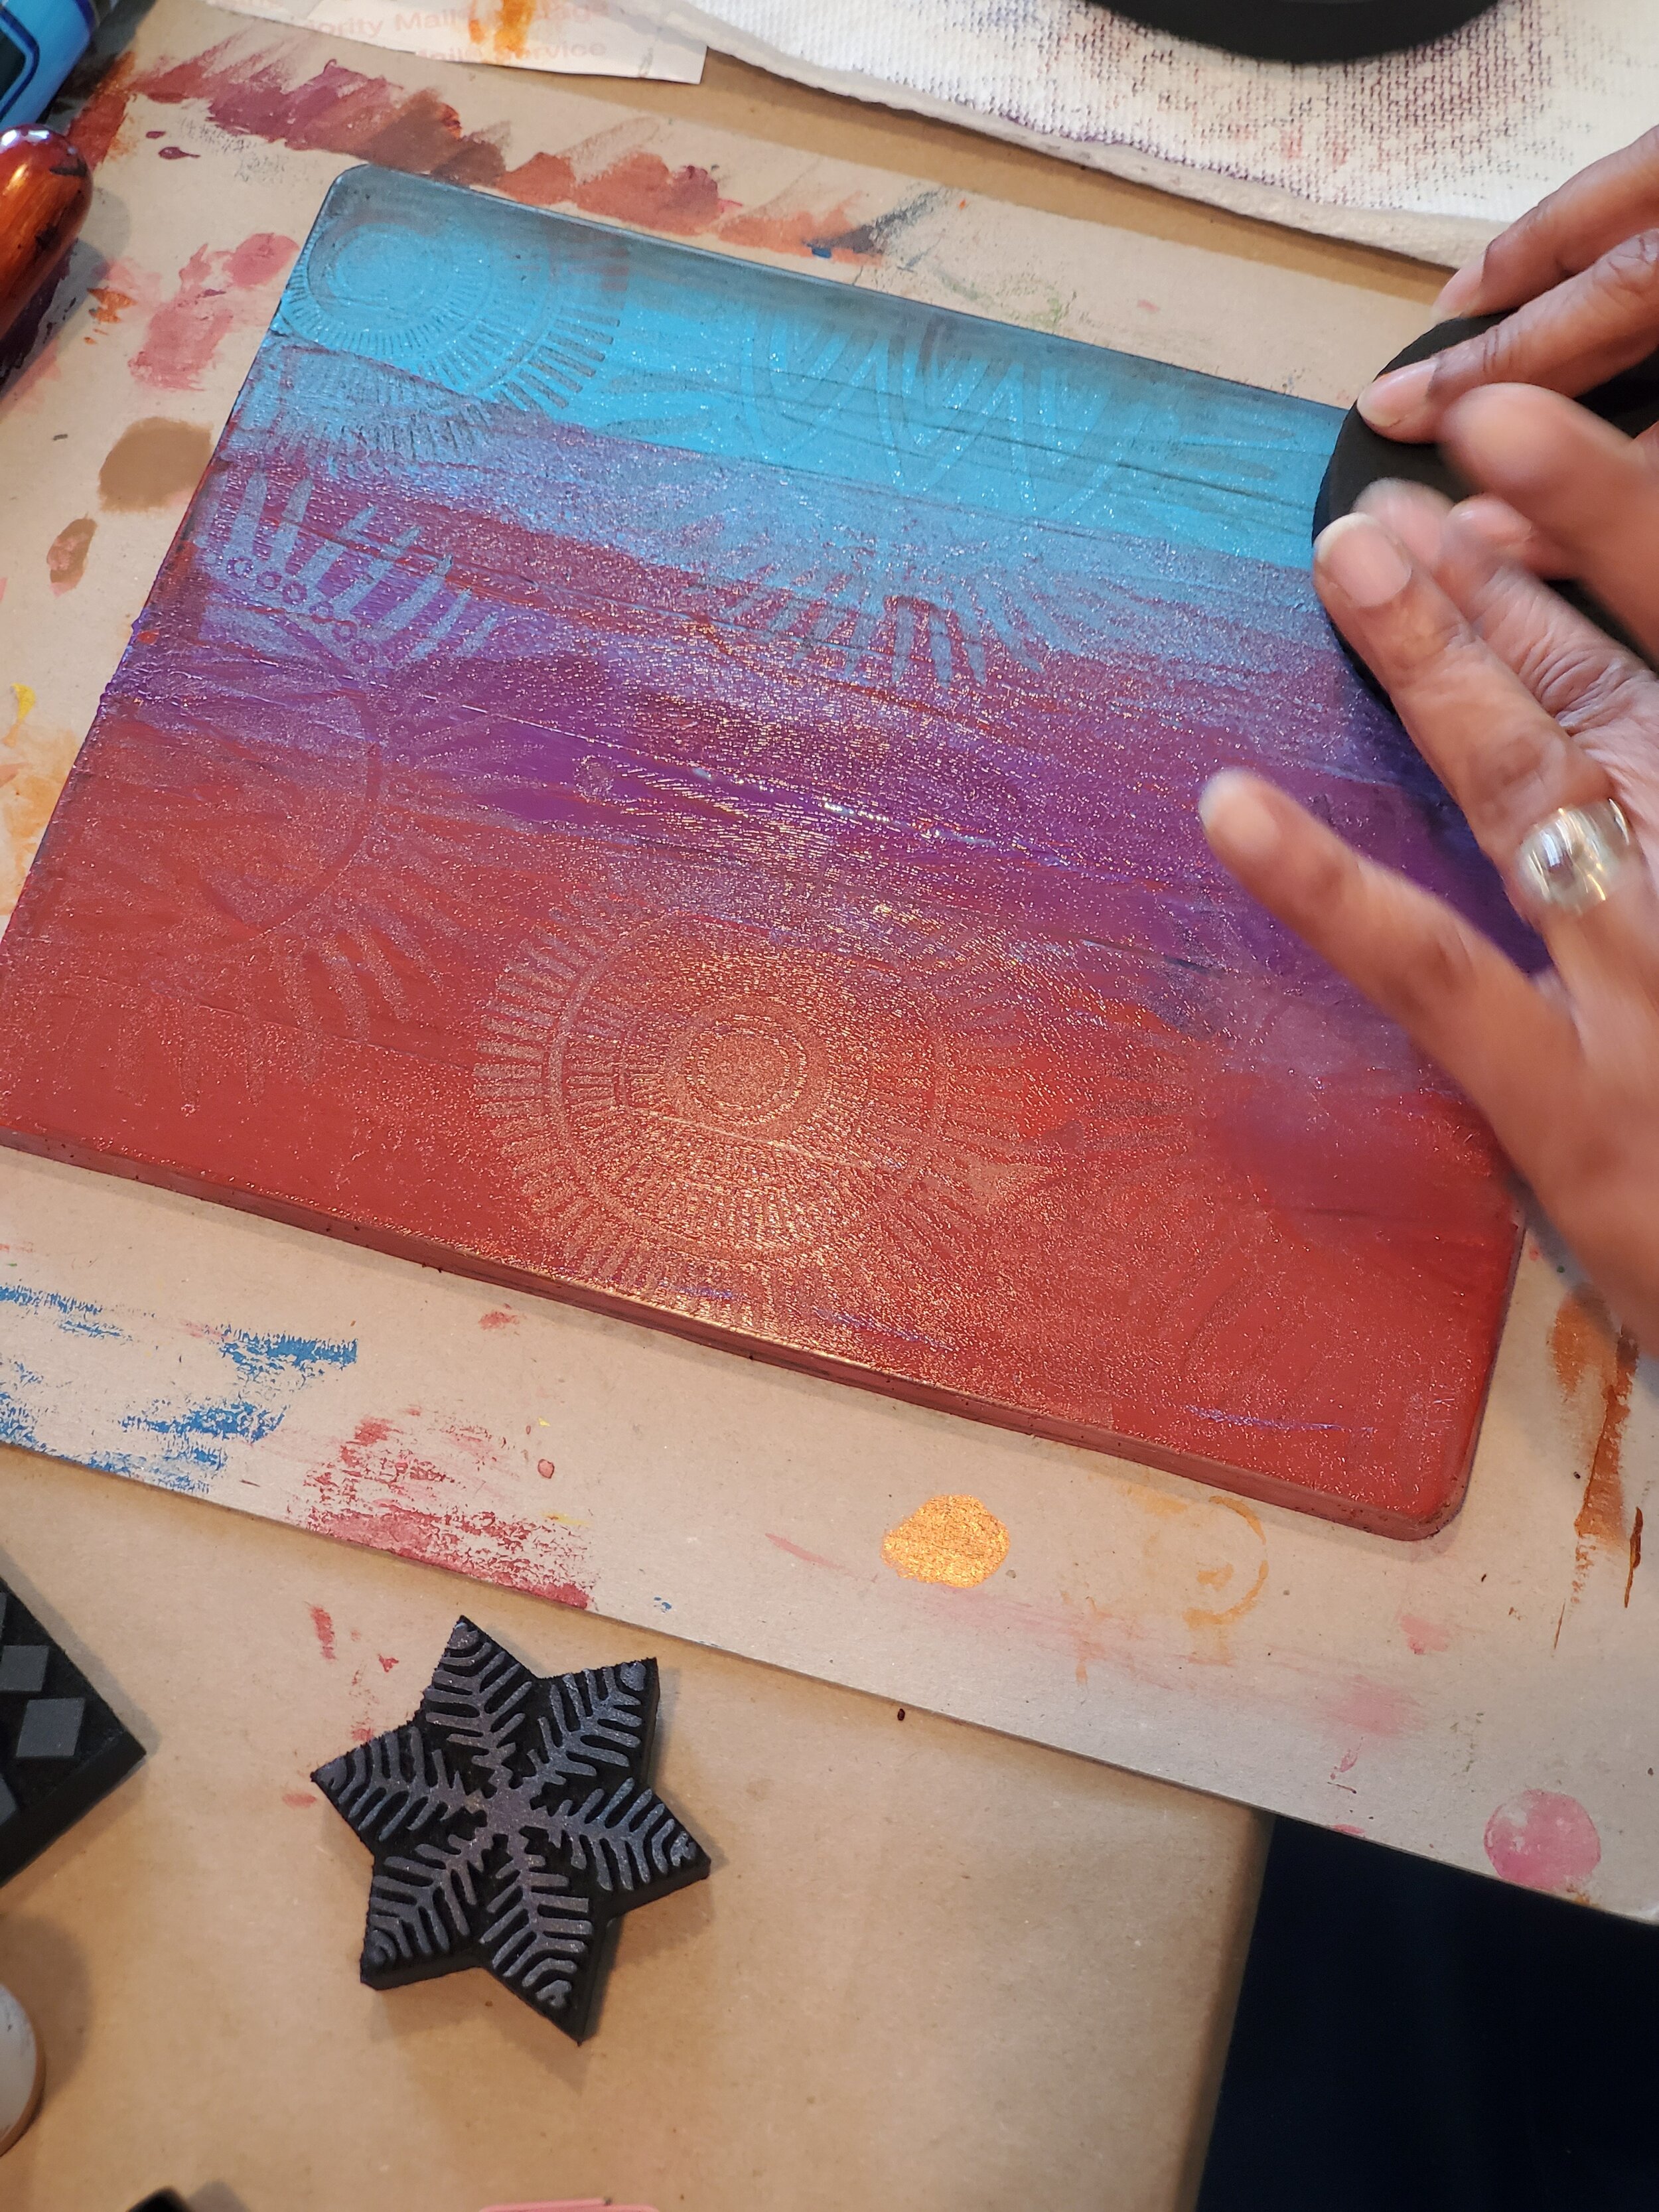
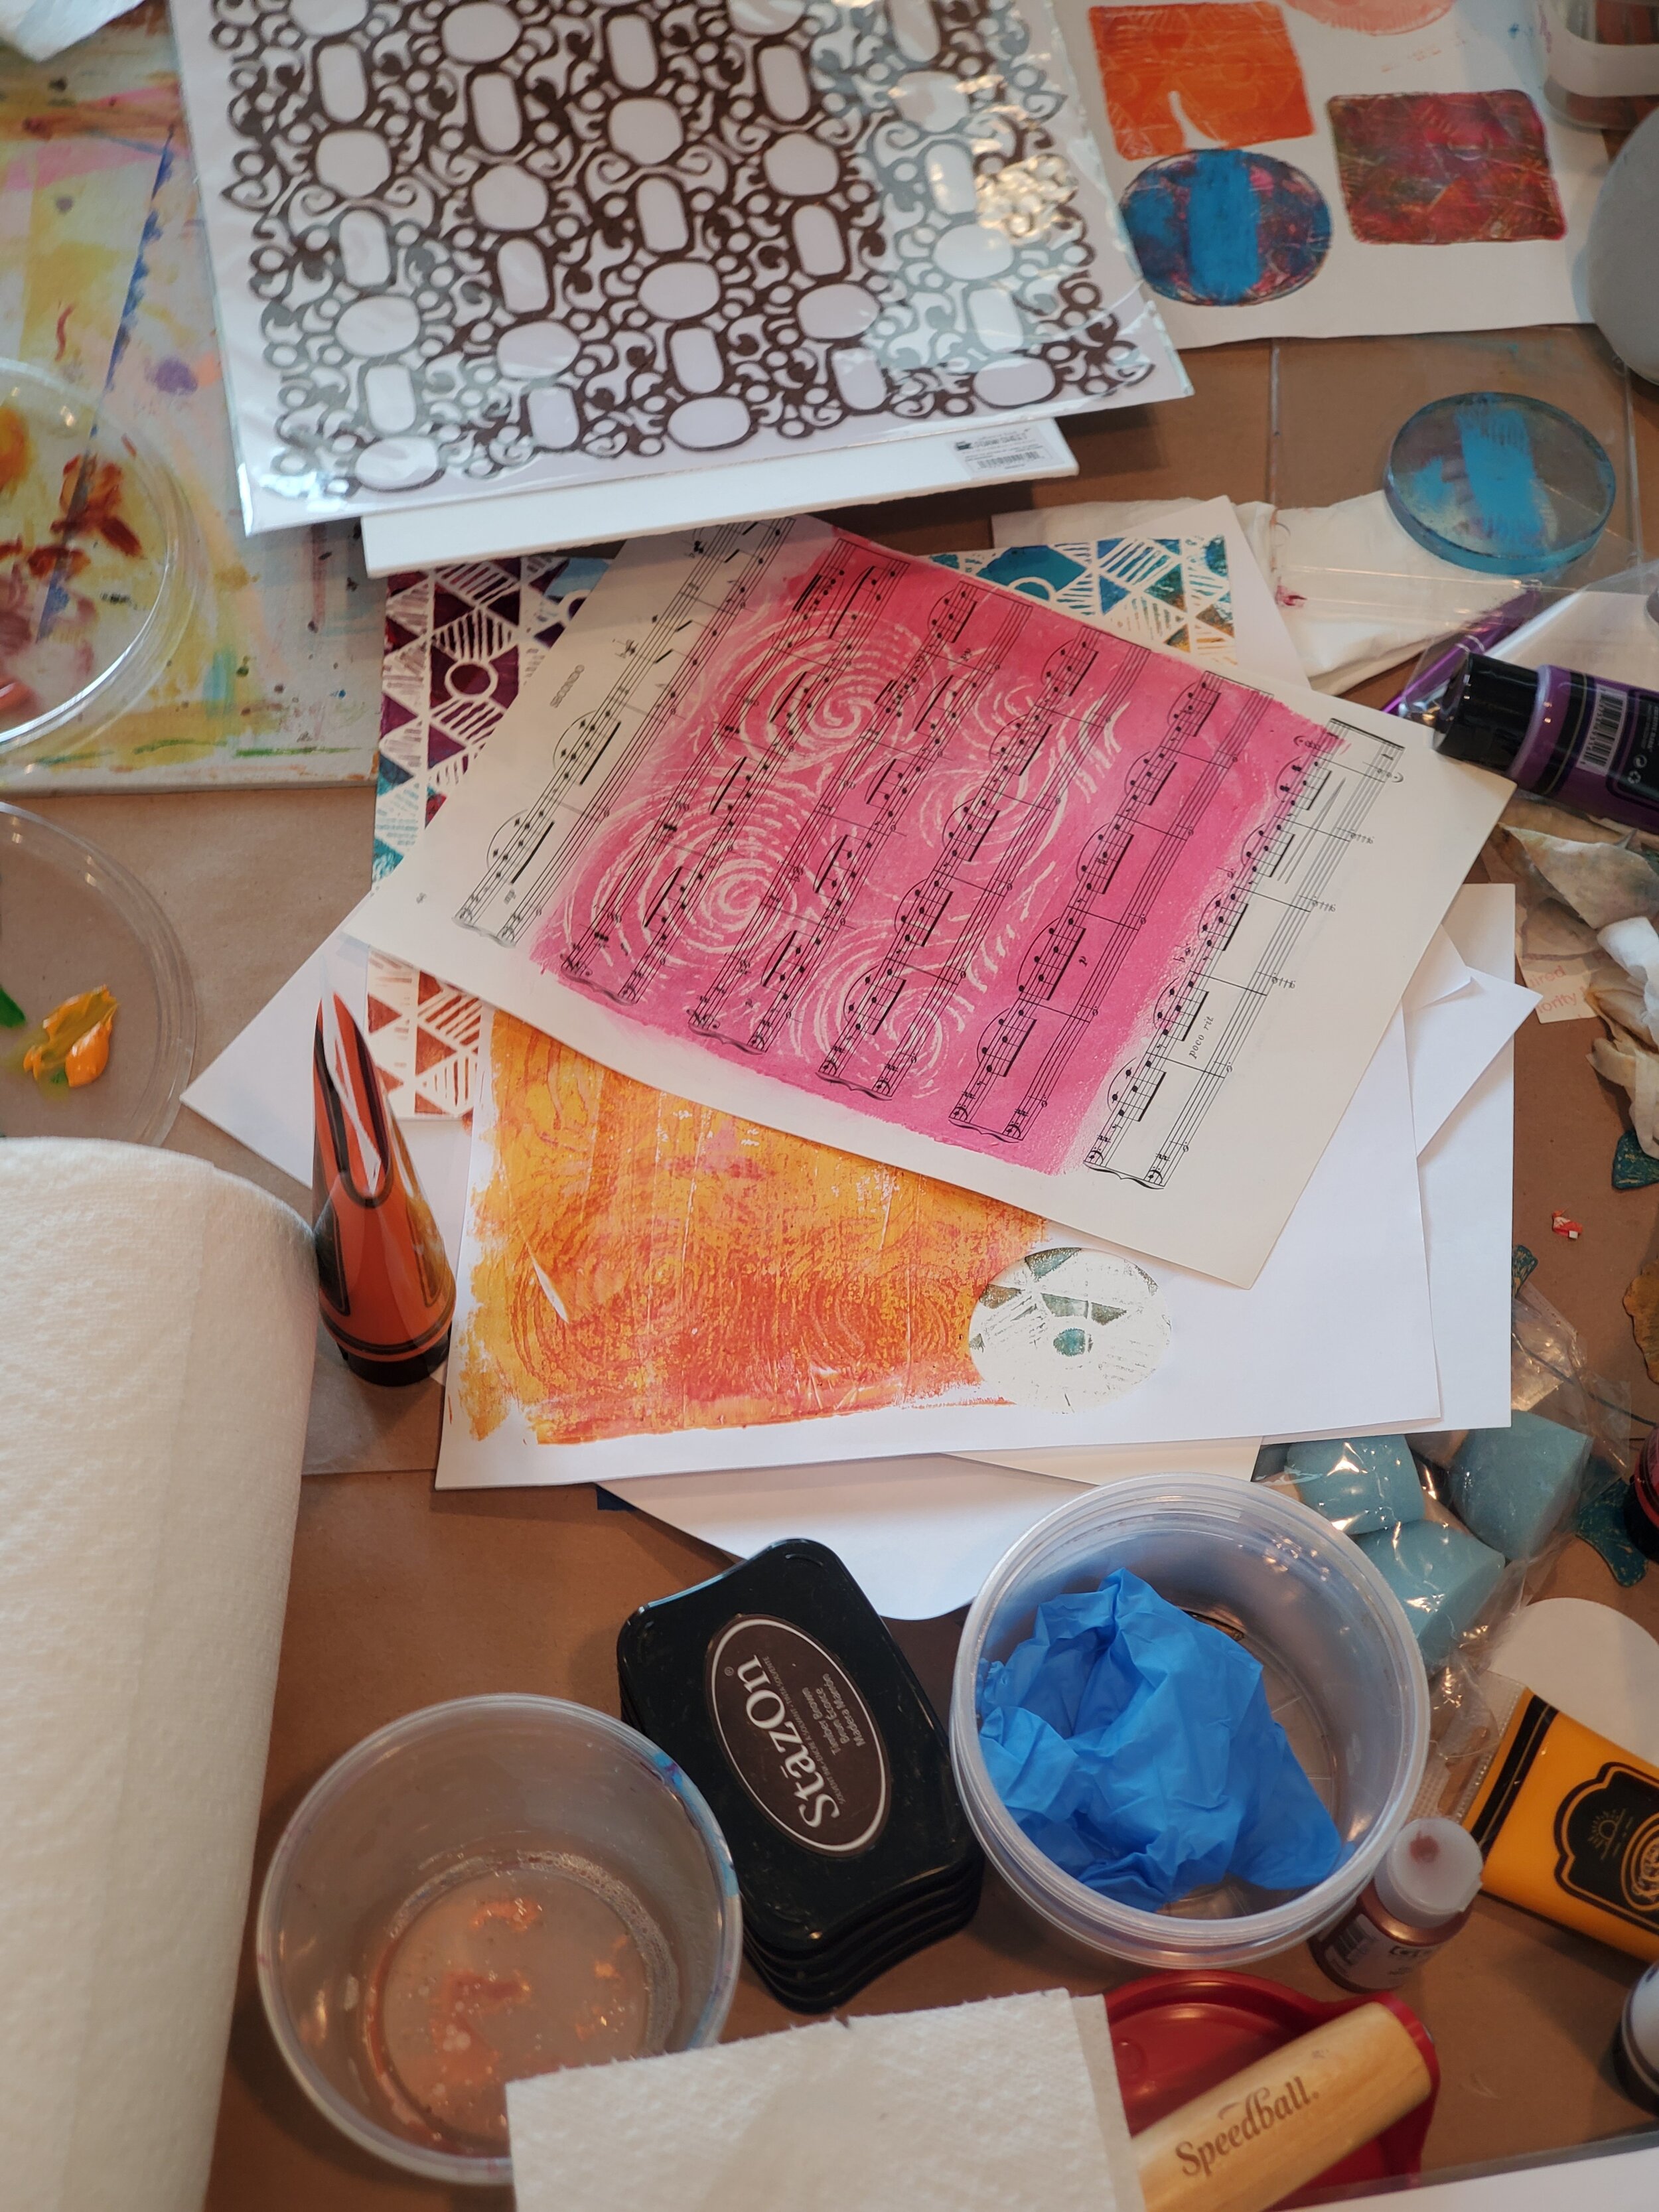
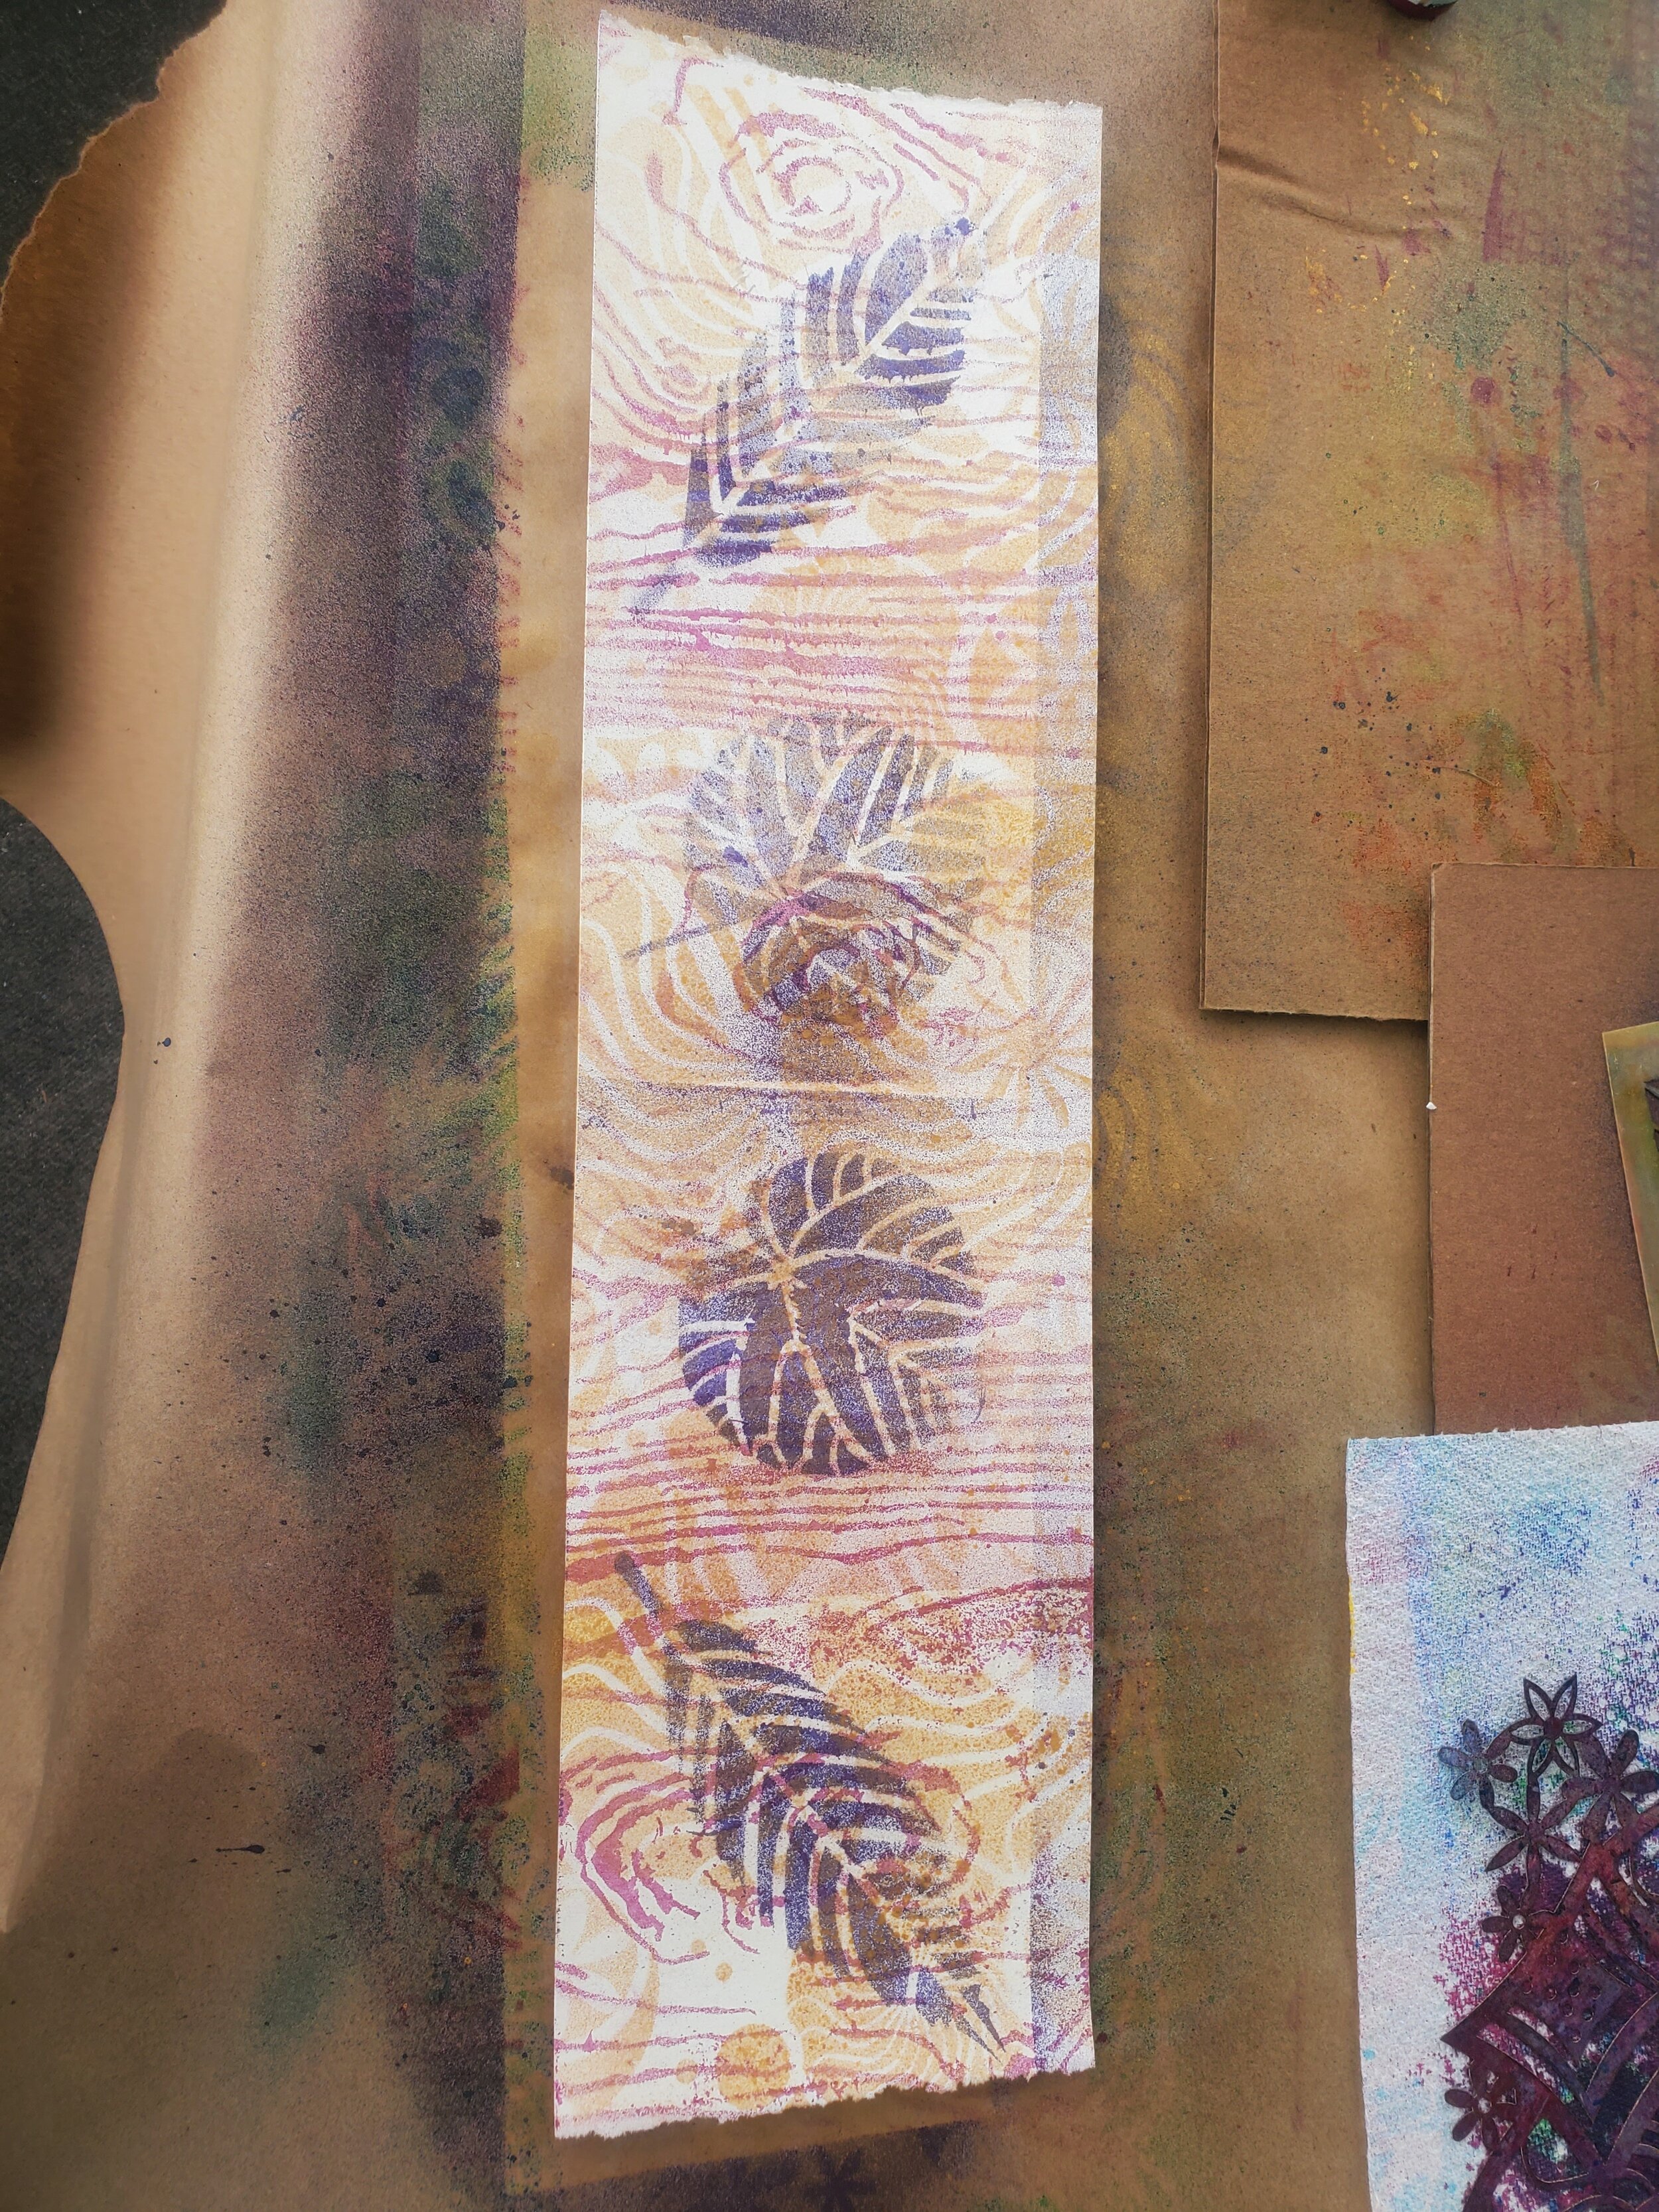
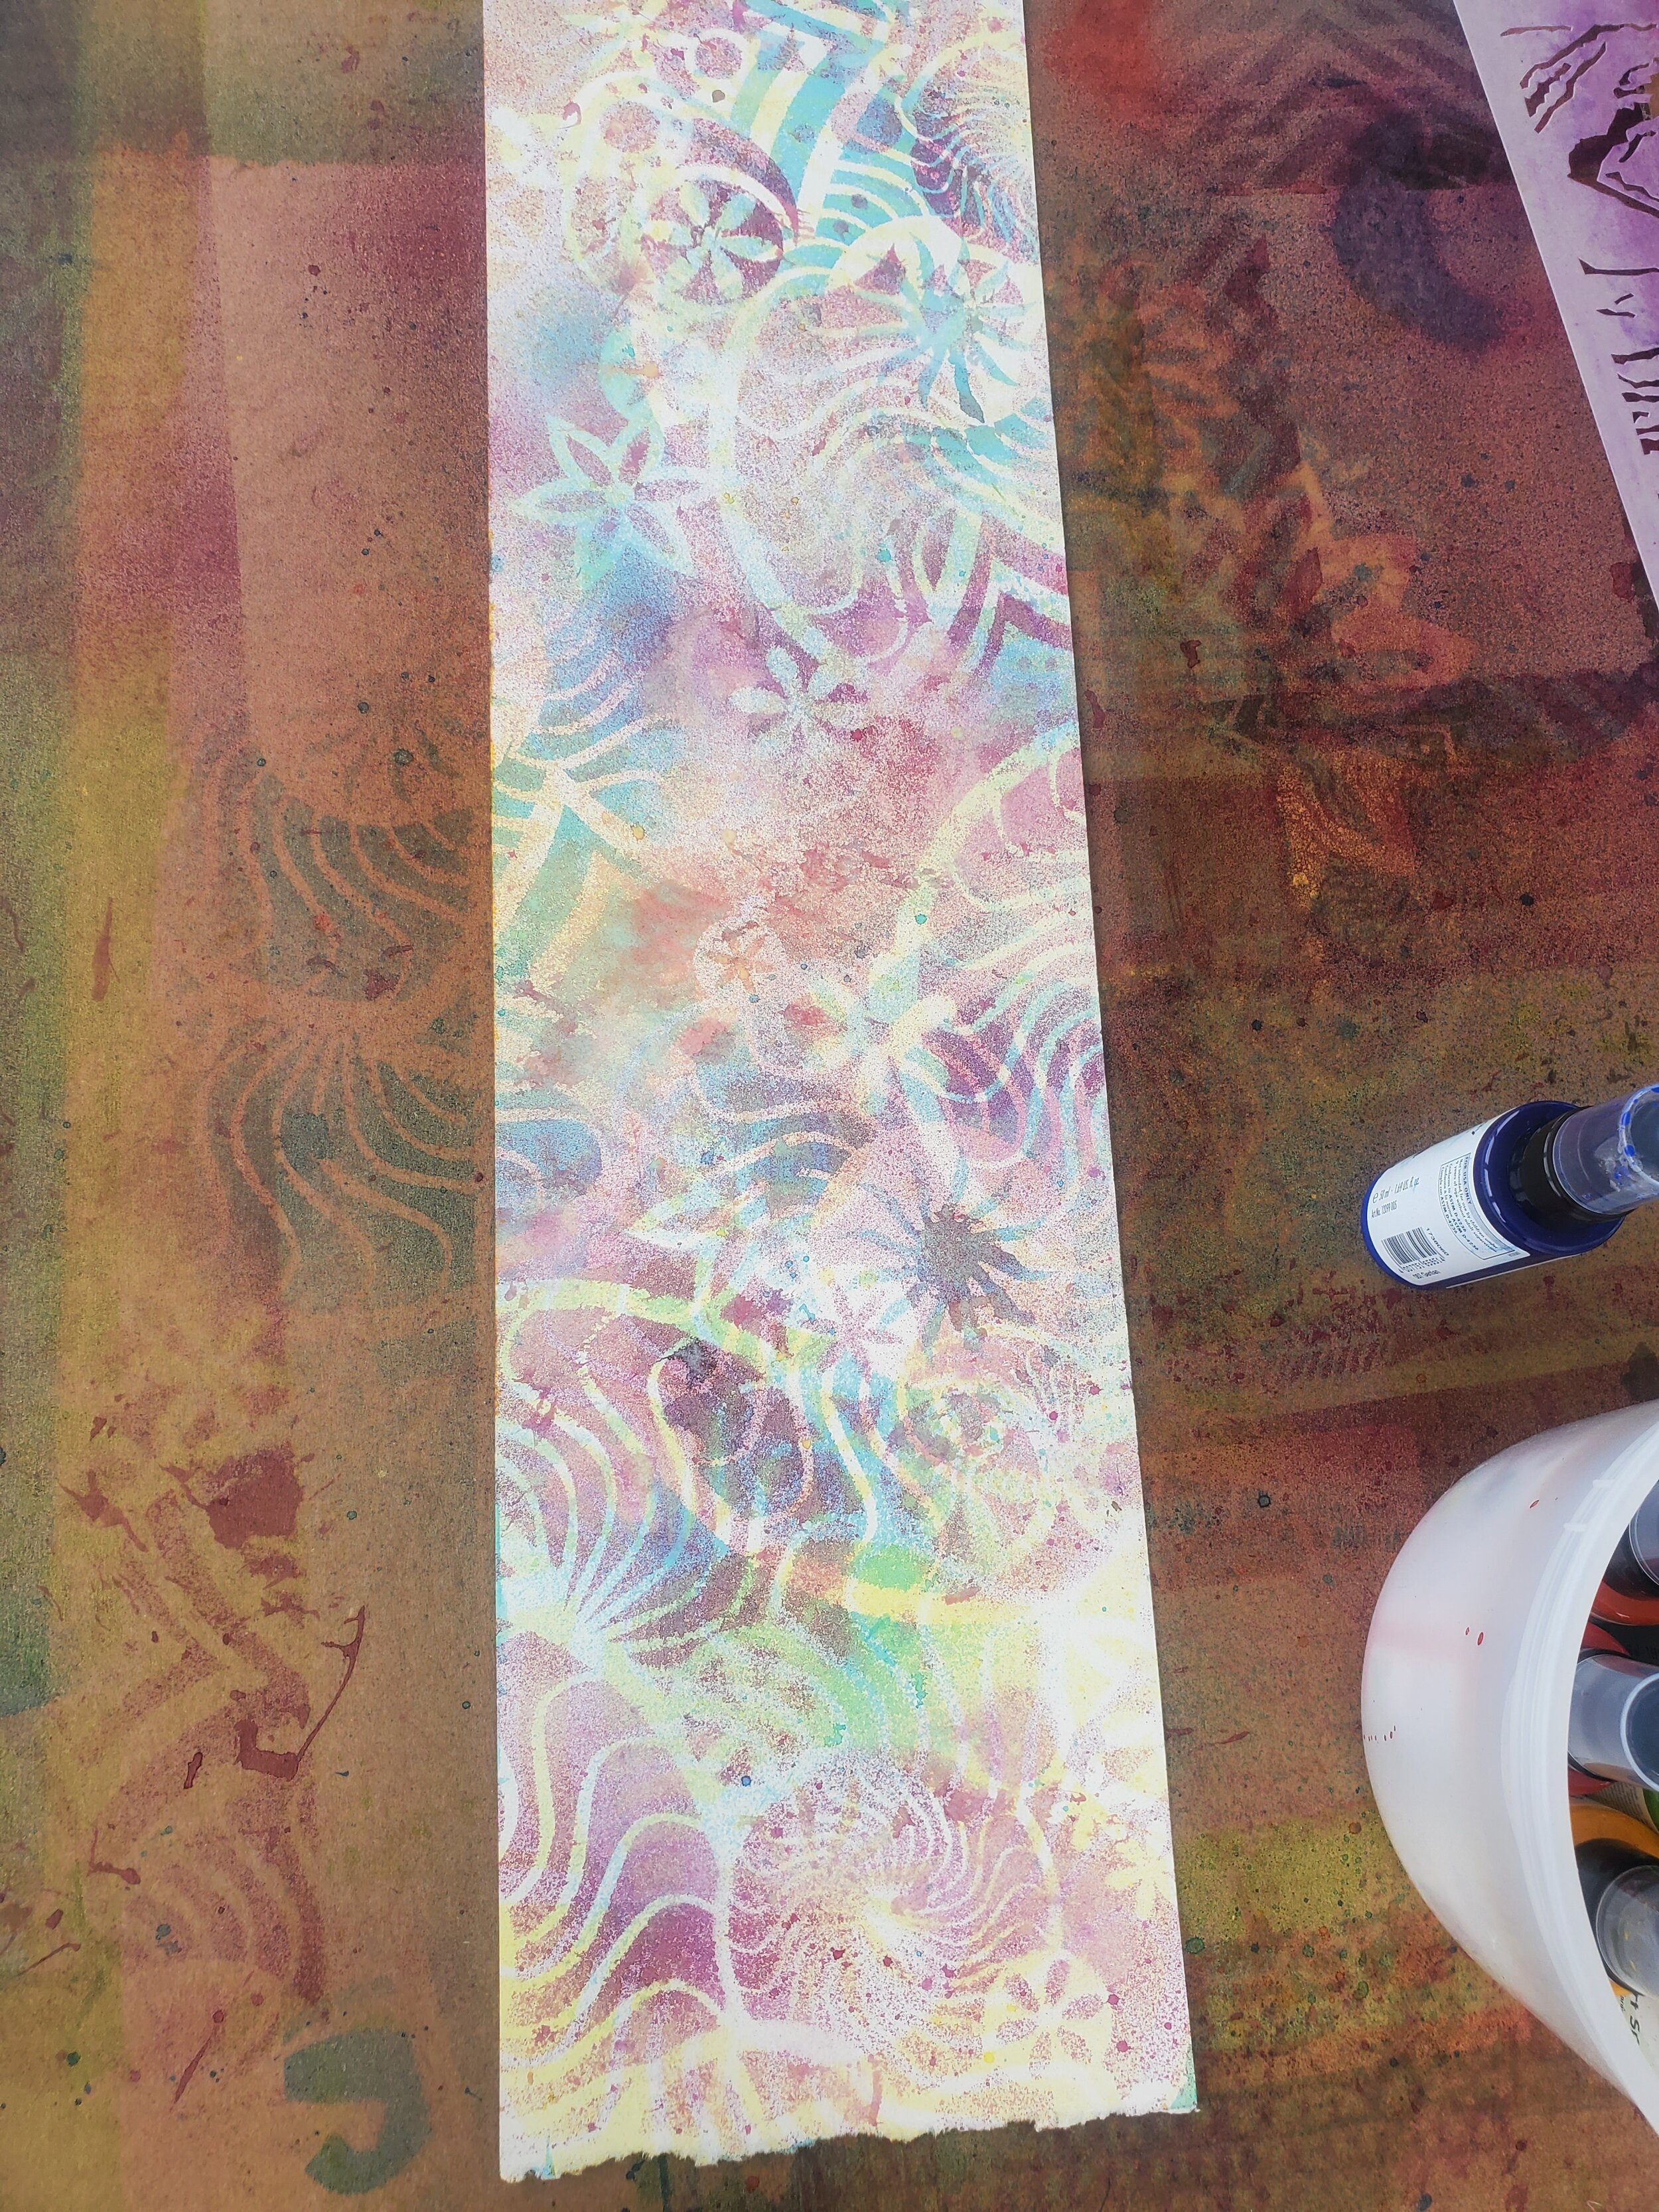
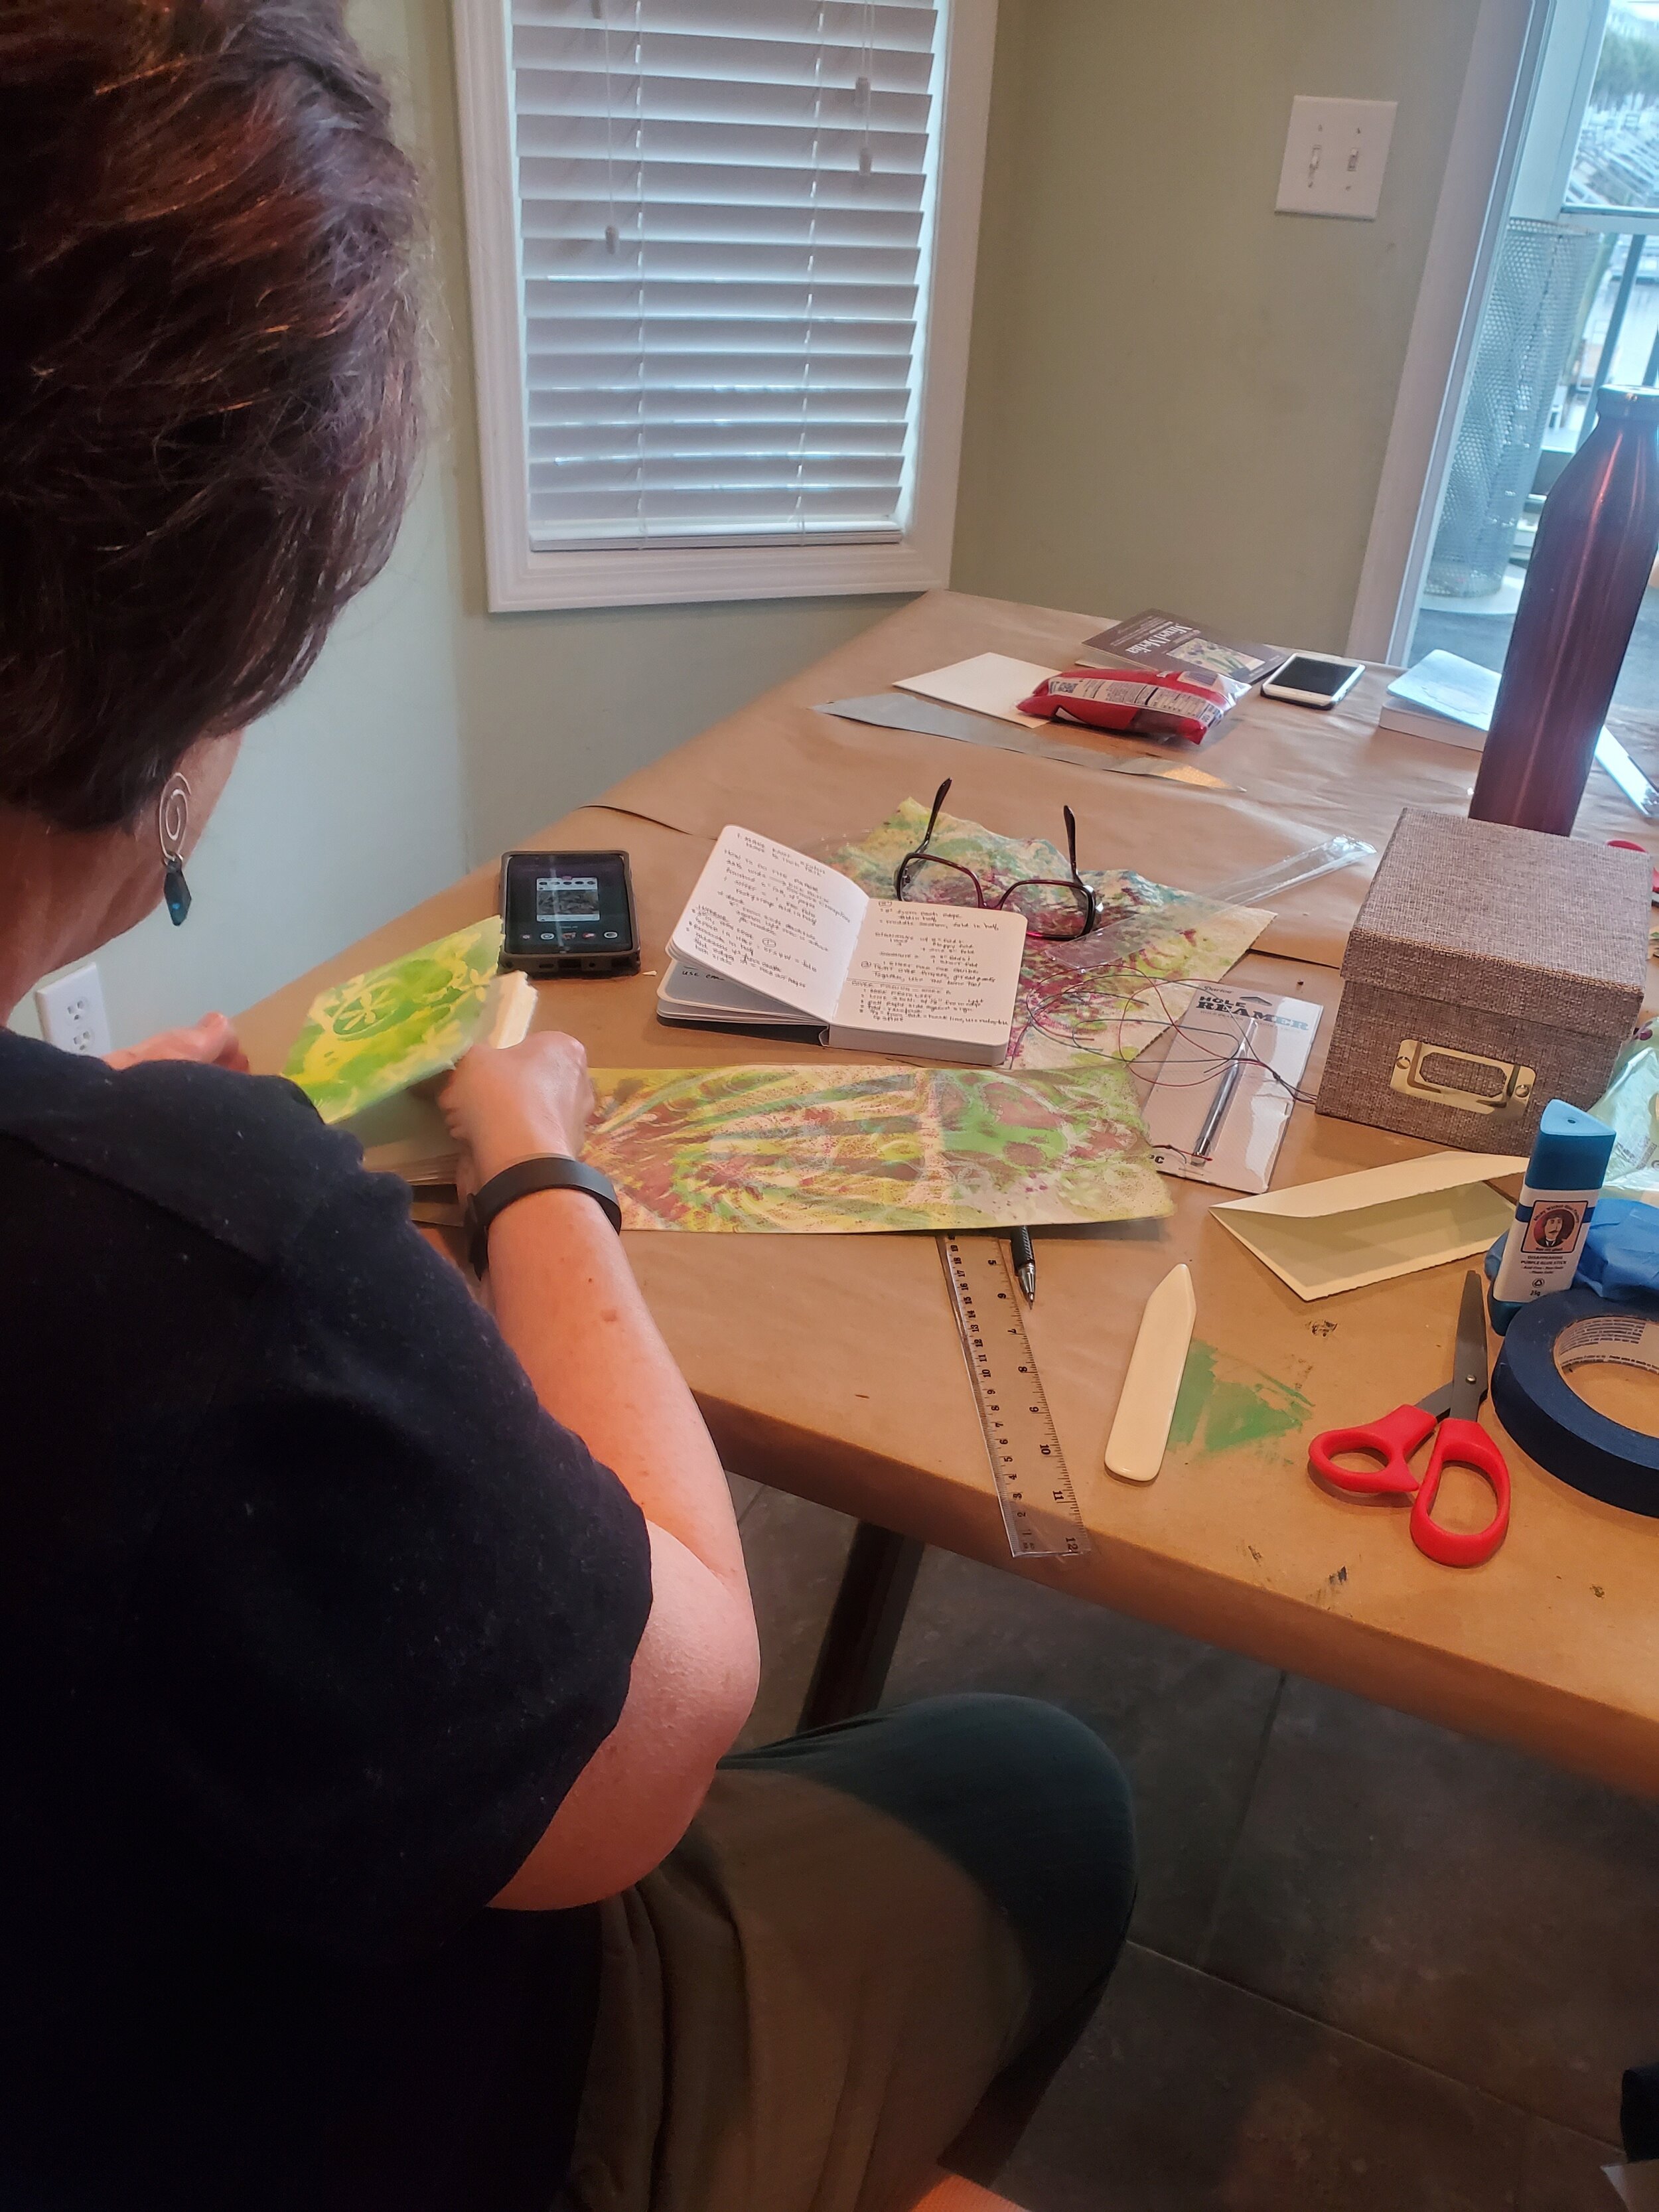
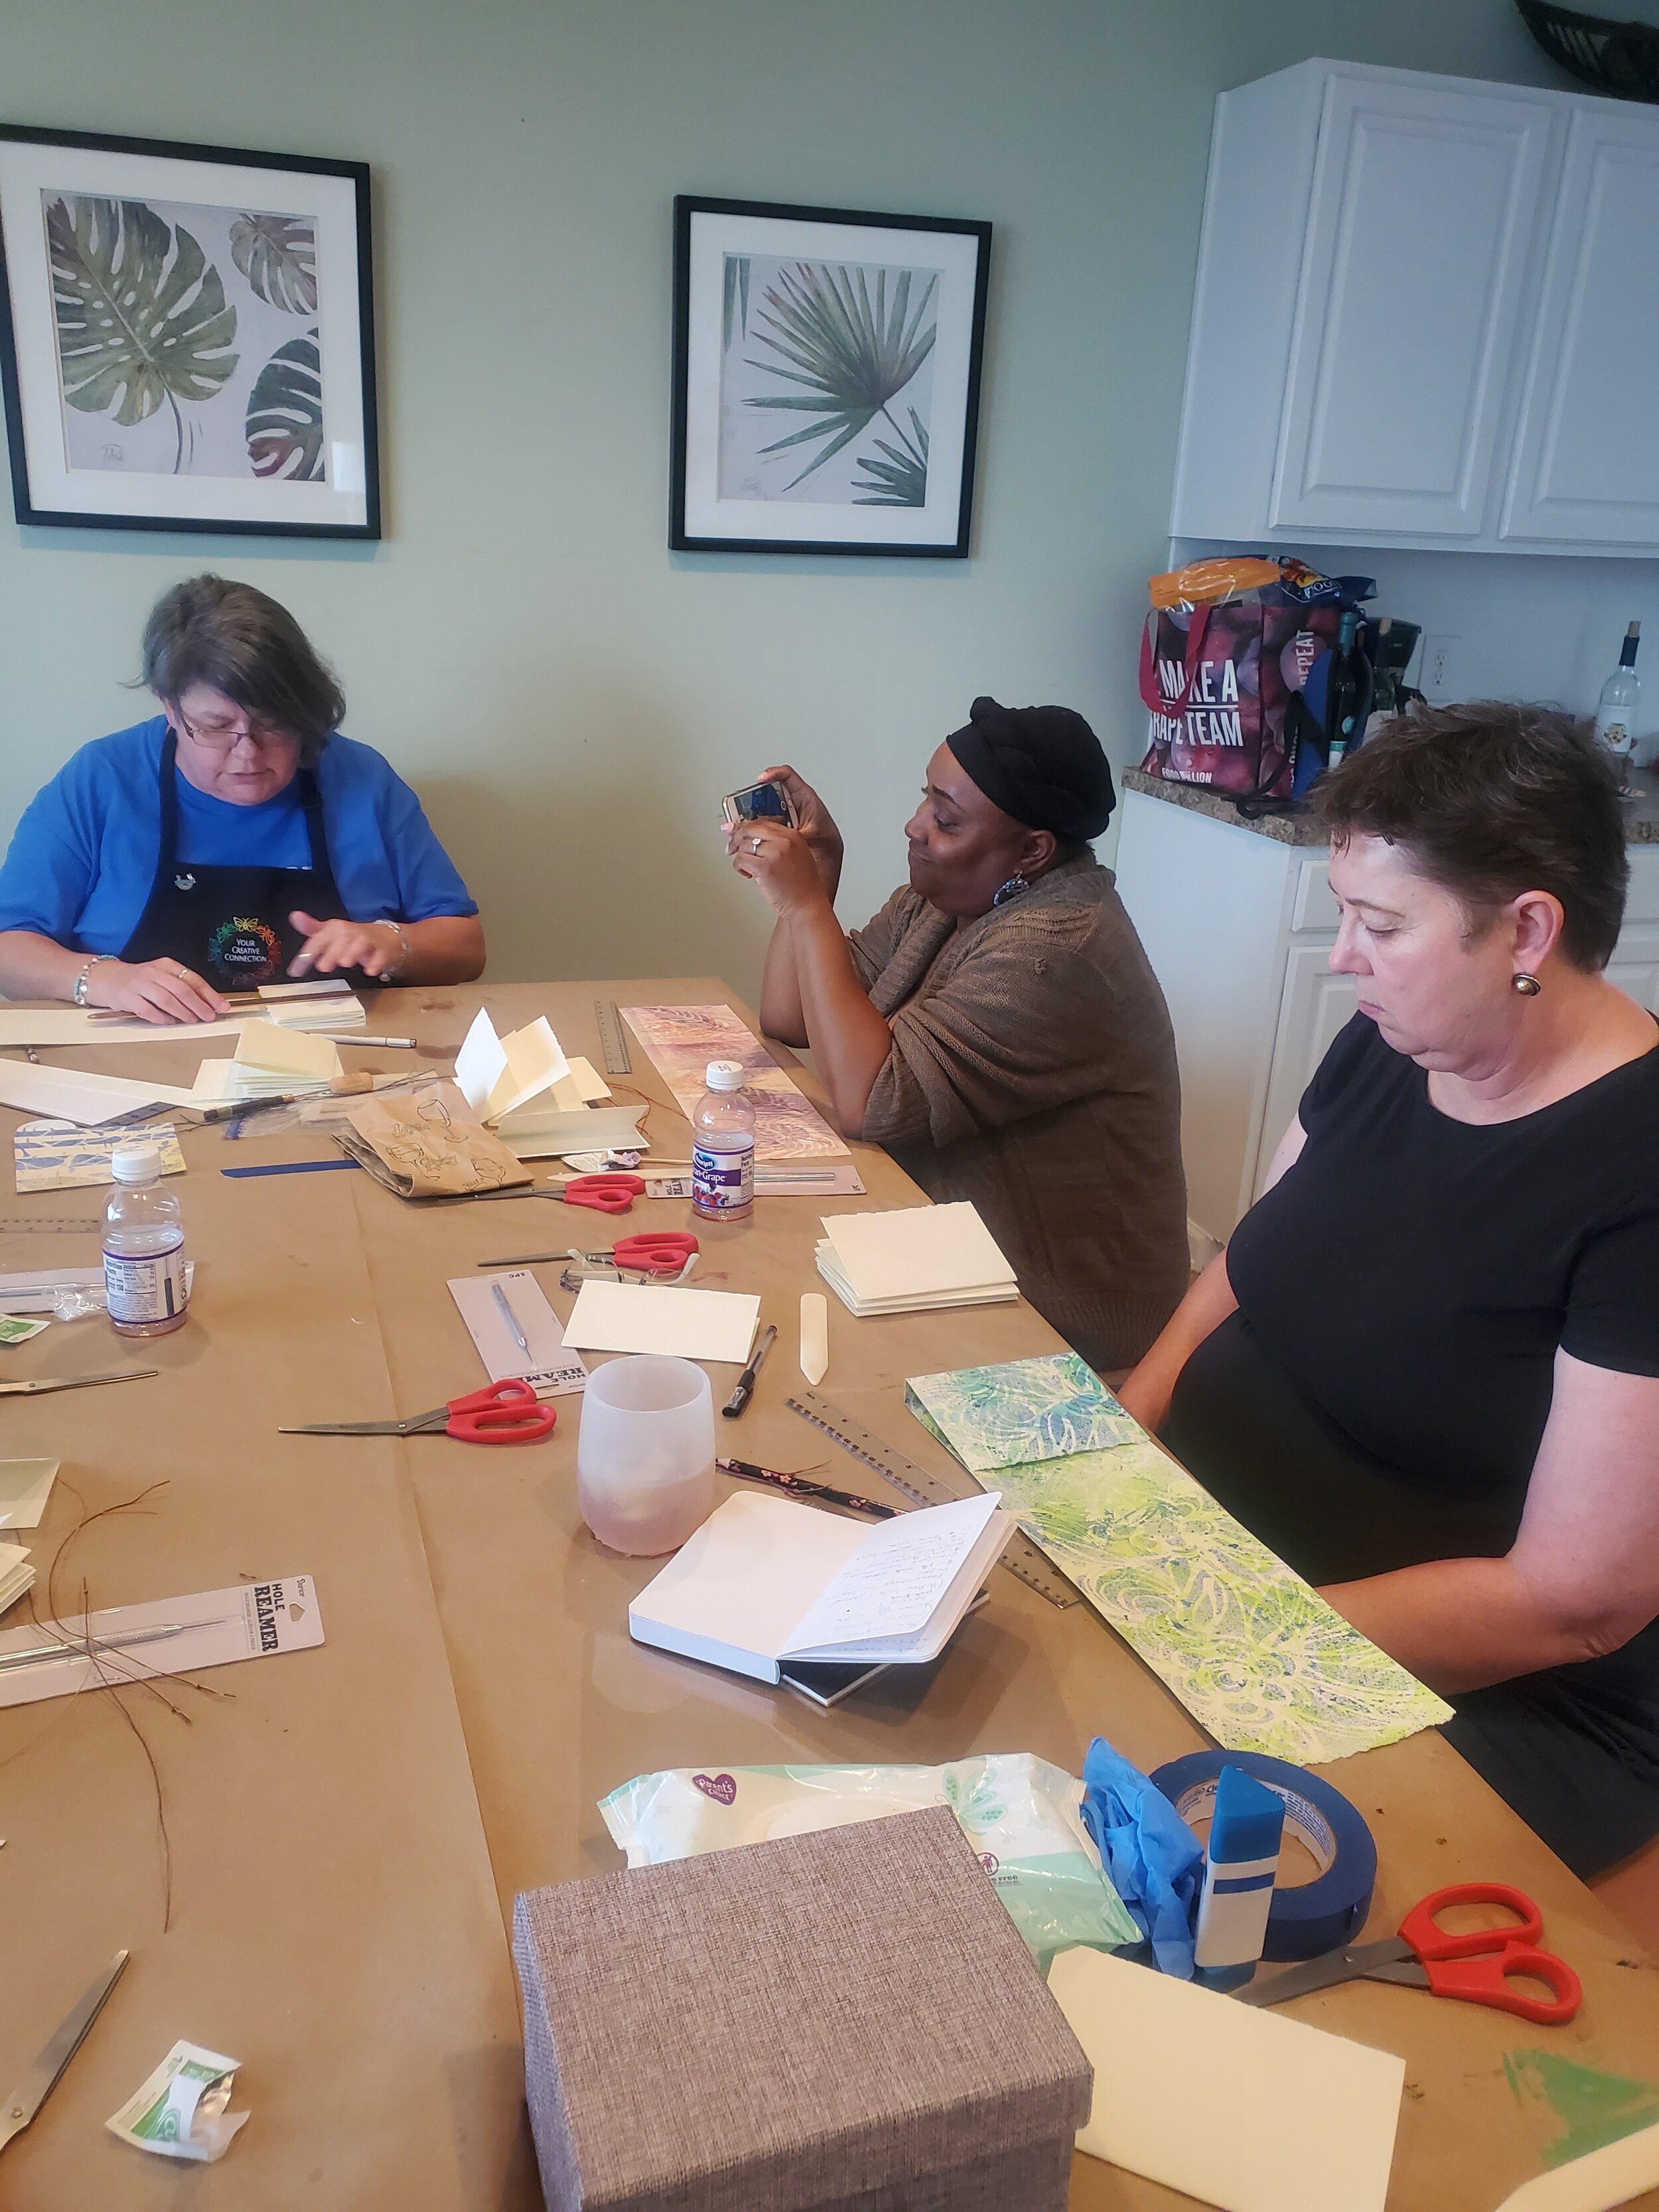
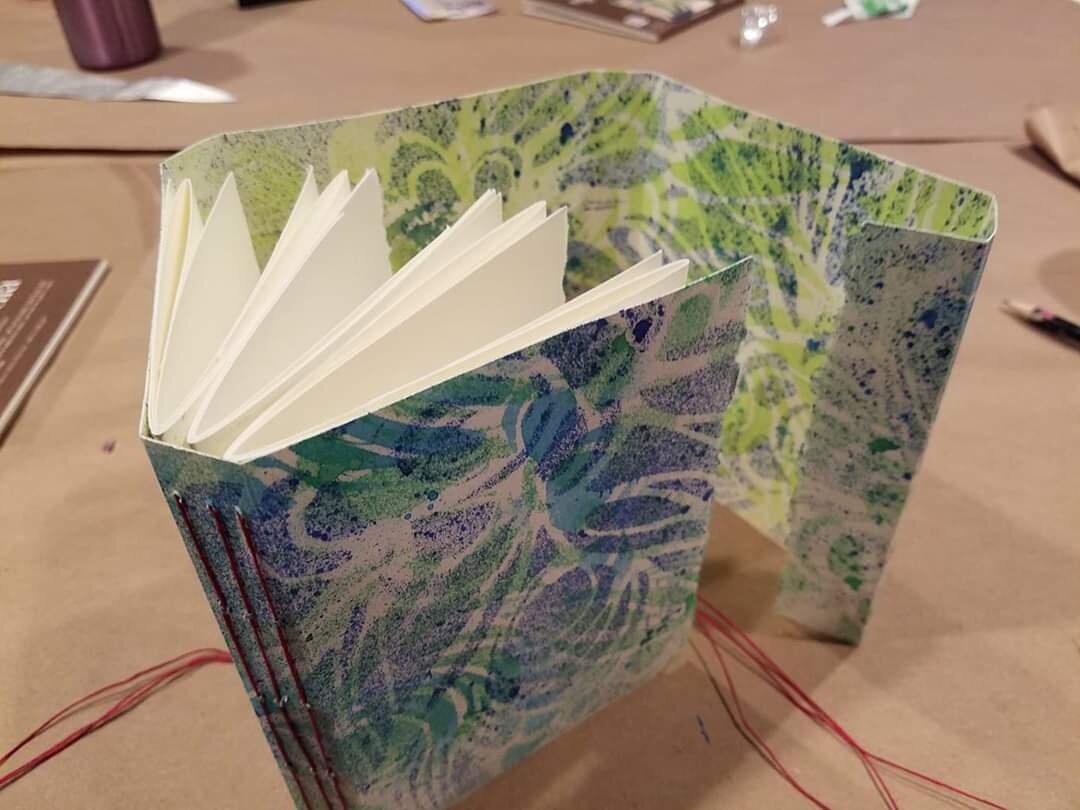
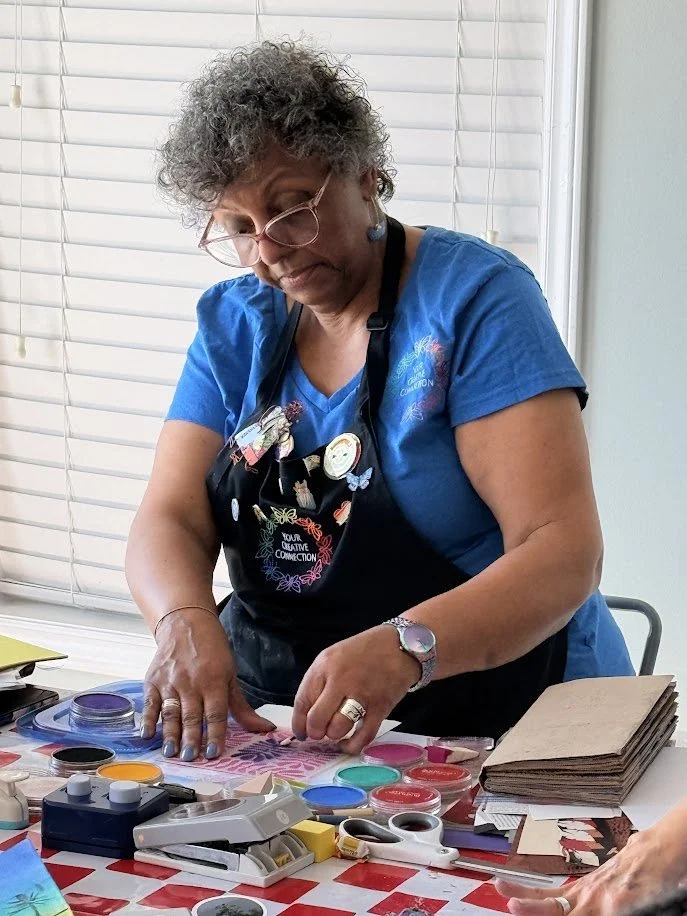
Next up, back by popular demand, was another way to use Gelli plates (a hallmark of Seaside Sessions; there are so many cool things that can be done with Gelli plates that we’ll probably never run out of new techniques to share!). This time, we combined stencils and PanPastels to gorgeous effect. I could see our Creative Explorers’ creative brains working overtime as I showed how to create ombre blends and vivid color combinations through the stencils directly atop the plate. In my own book, I used Pan Pastel ombre backgrounds on each verso page (this was the design decision which unified my book; once I figured it out, it all came together quickly after that).
After another Salad-Palooza lunch, with vegetarian couscous salad and Penny’s yummy pea salad joining the lineup, there was time for a brief bit of sunbathing on the deck before the afternoon session.

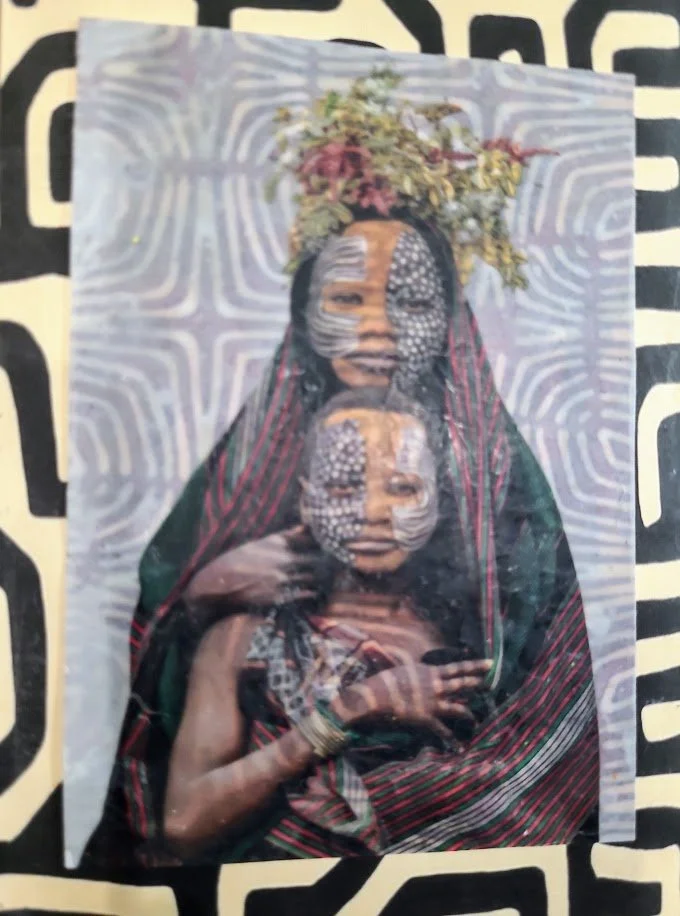
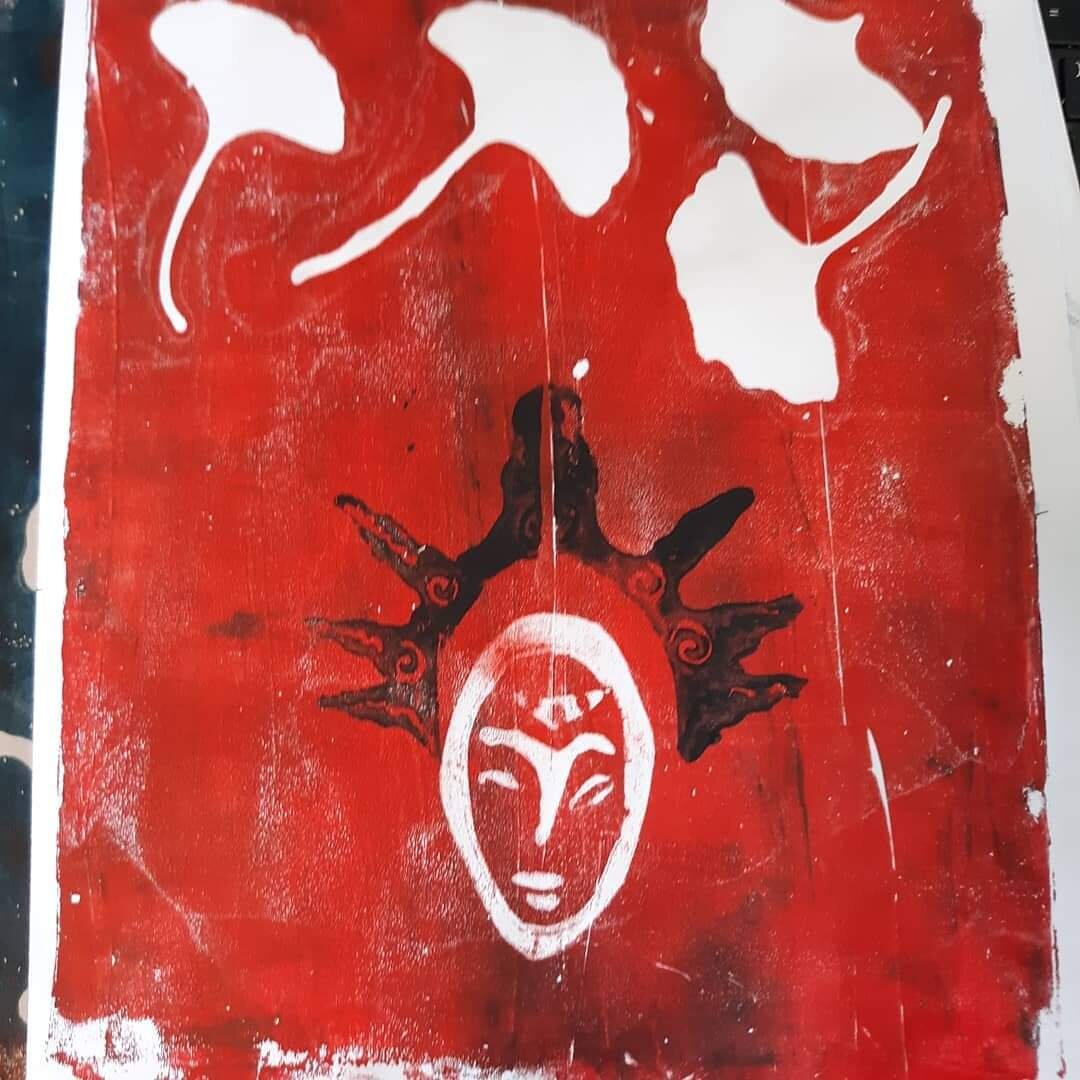
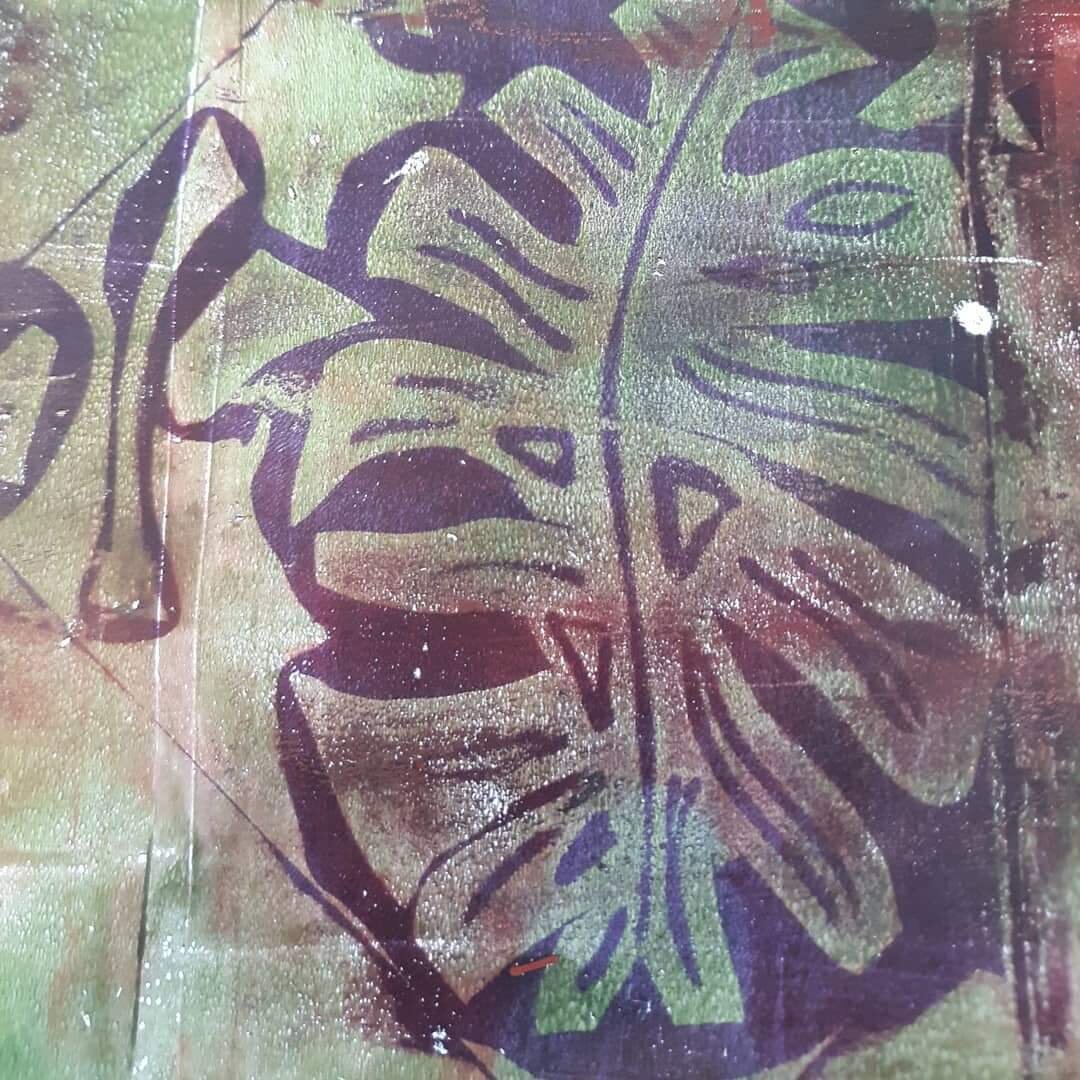
This is the fusion of a photograph and a graphic textile image. Note how the textile design has ‘come through’ onto the boy’s body. I really love this effect!
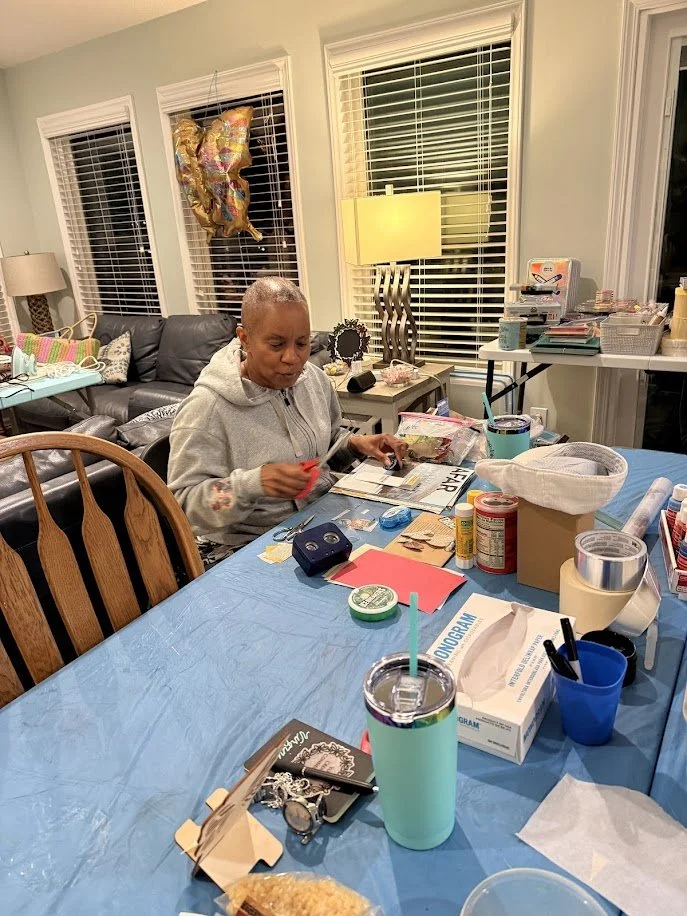
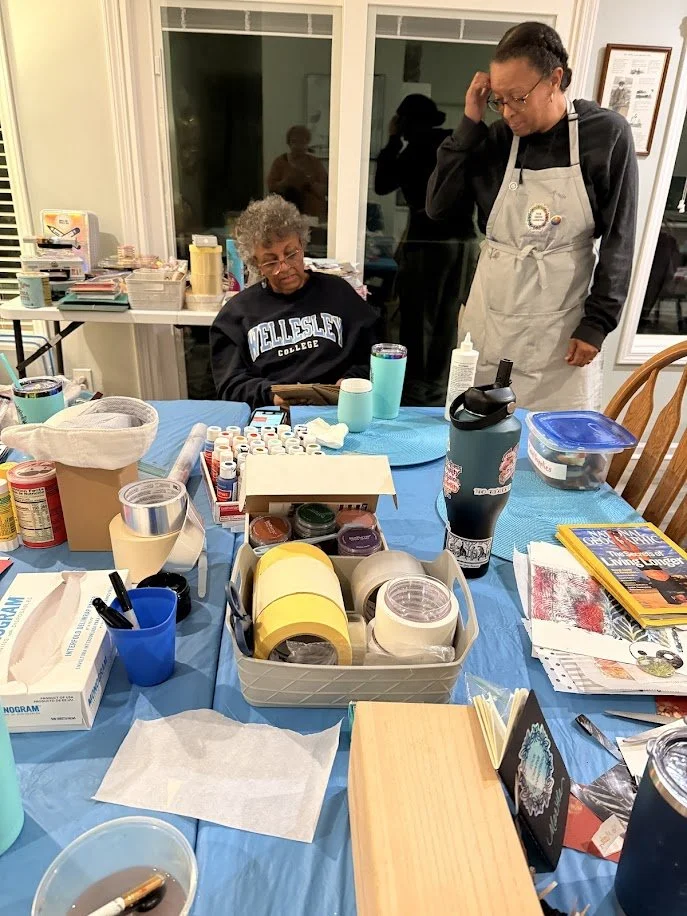
With everyone eager to begin to apply what they’d learned today and the day before, there was one more cool technique to share: beeswax fusion prints. My gift to each Creative Explorer was a personalized pouch with a stick of pure beeswax, parchment paper, and the cutest mini cheese grater we’ve ever seen! To fuse two magazine photos, I showed how beeswax is grated onto both, then each photo is placed between two sheets of parchment paper. Then, I used a warm iron to gently melt the wax onto the photo. Once the parchment paper is removed, the waxed photo remains. To complete the fusion, more wax is grated over both waxed photos, then ironed again. The result is a partially translucent, almost mysterious cast over the combined photos, as you can see at left.
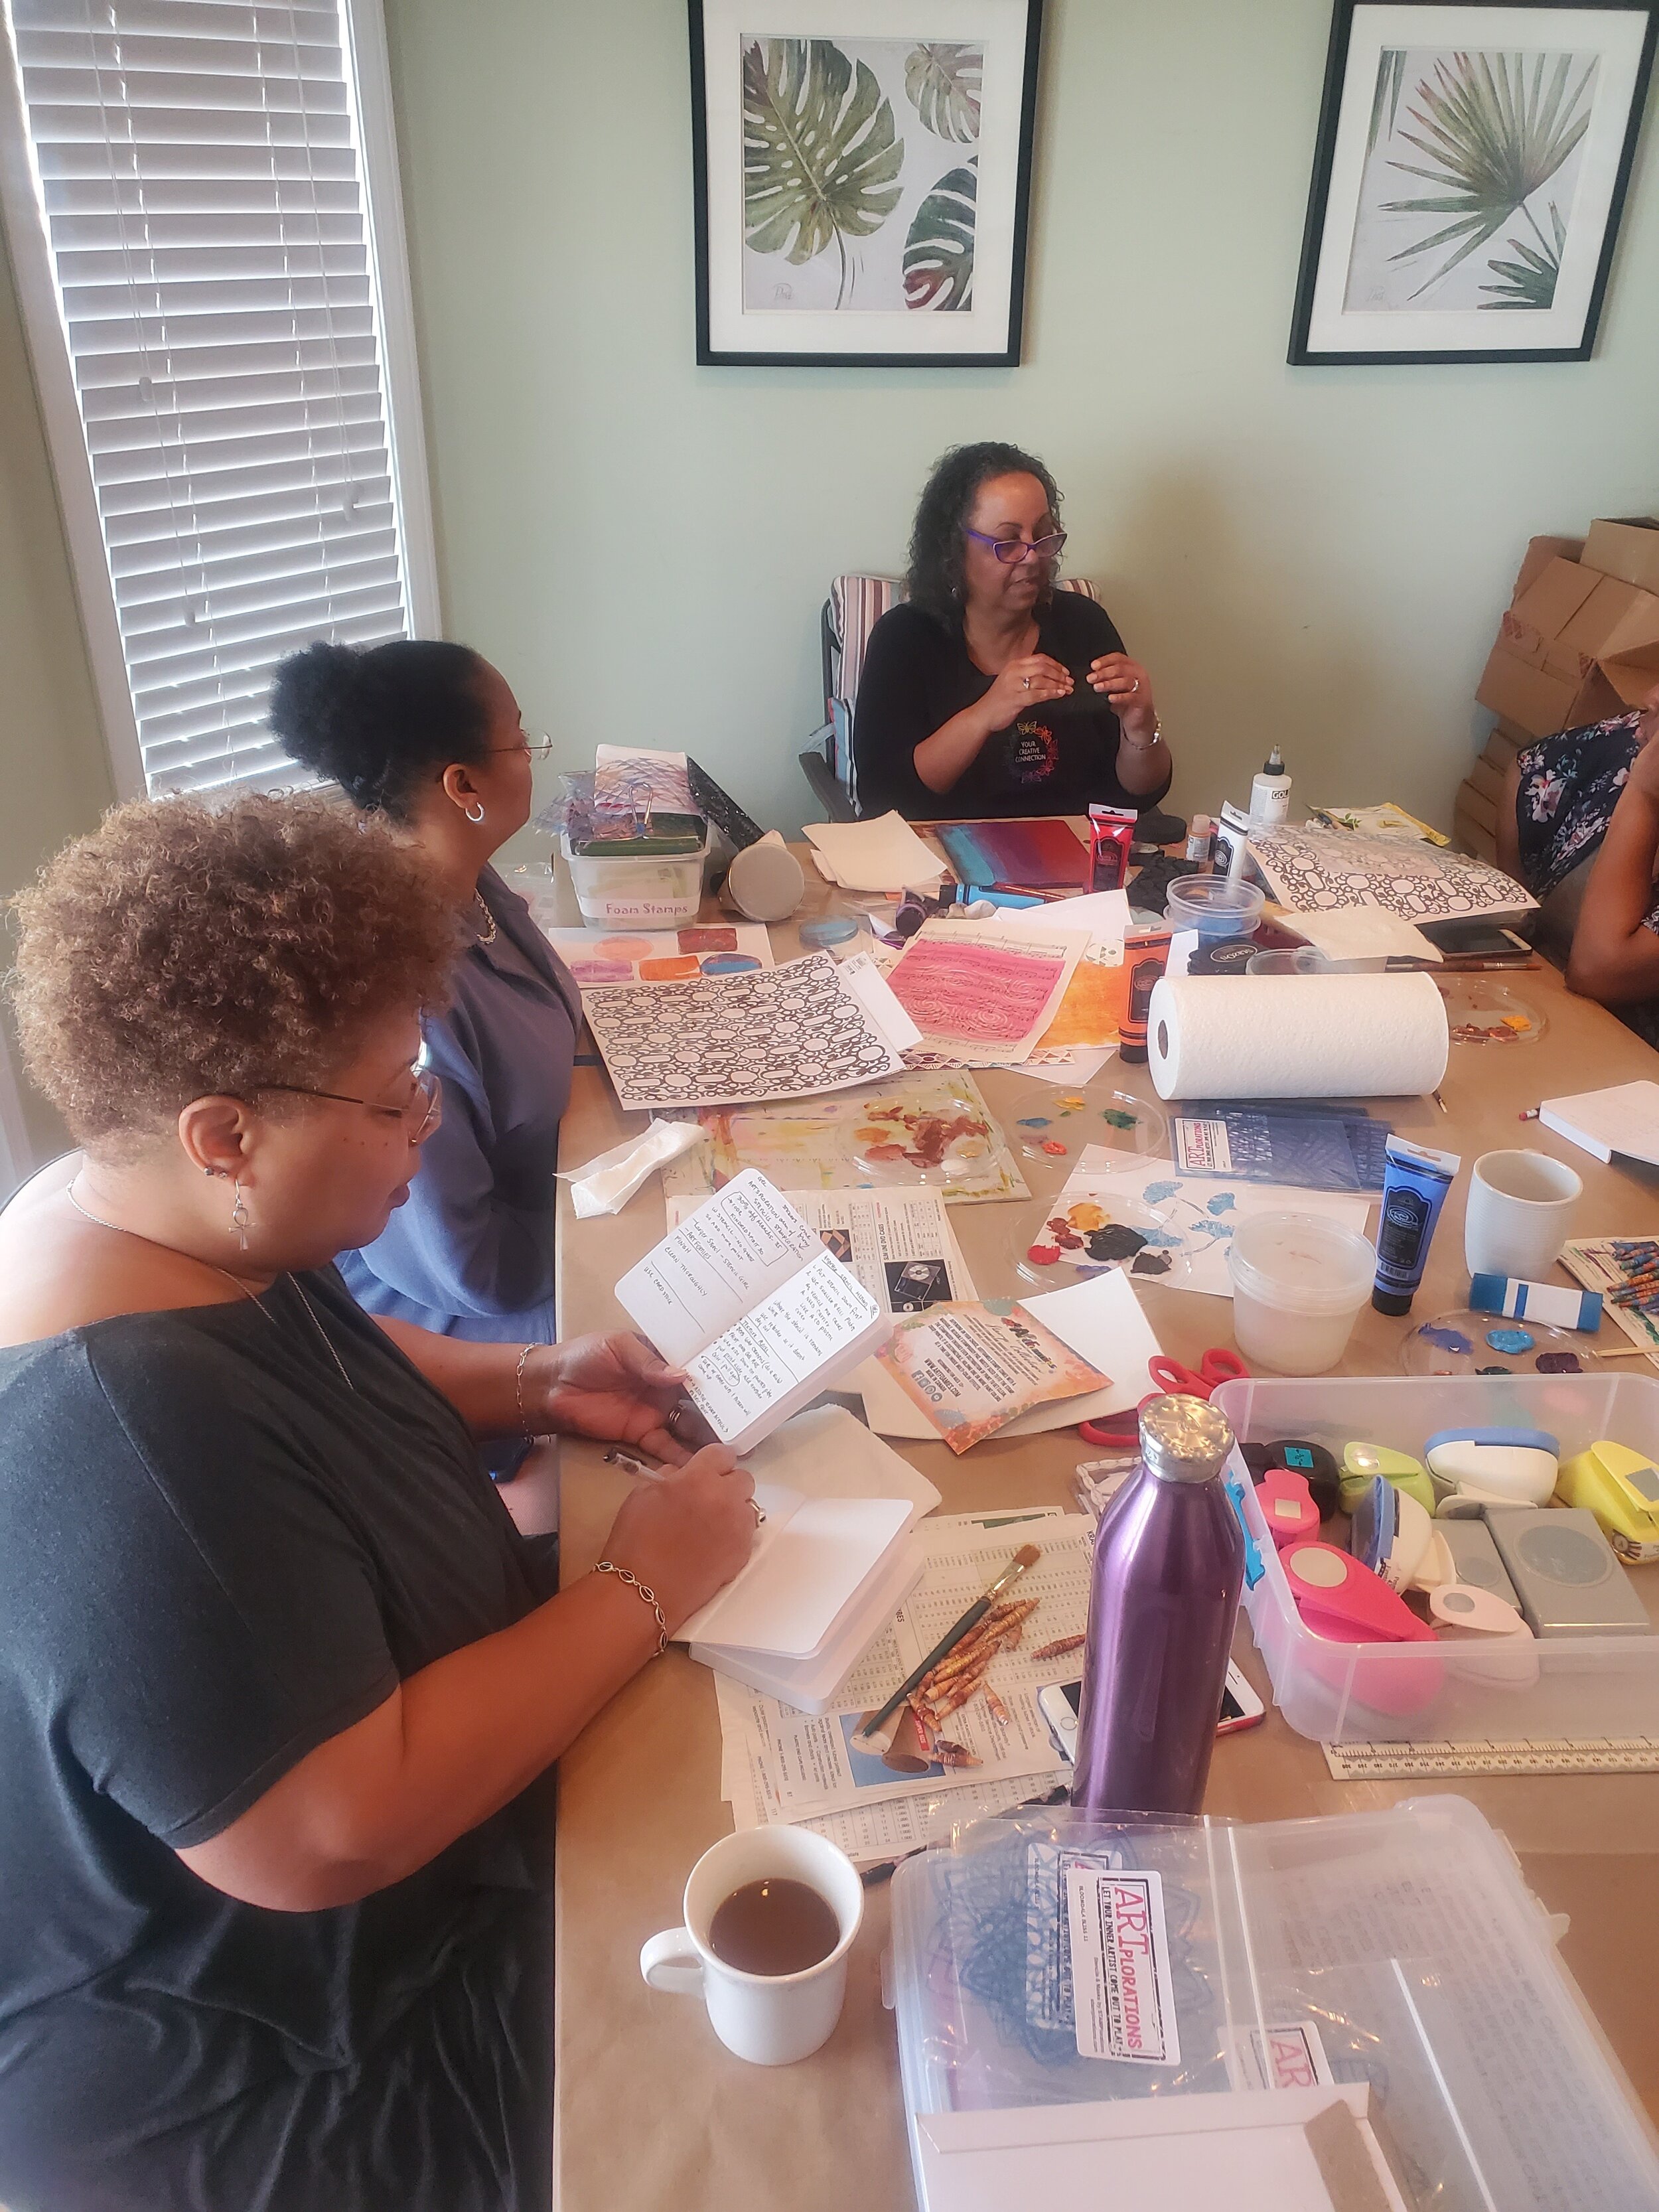
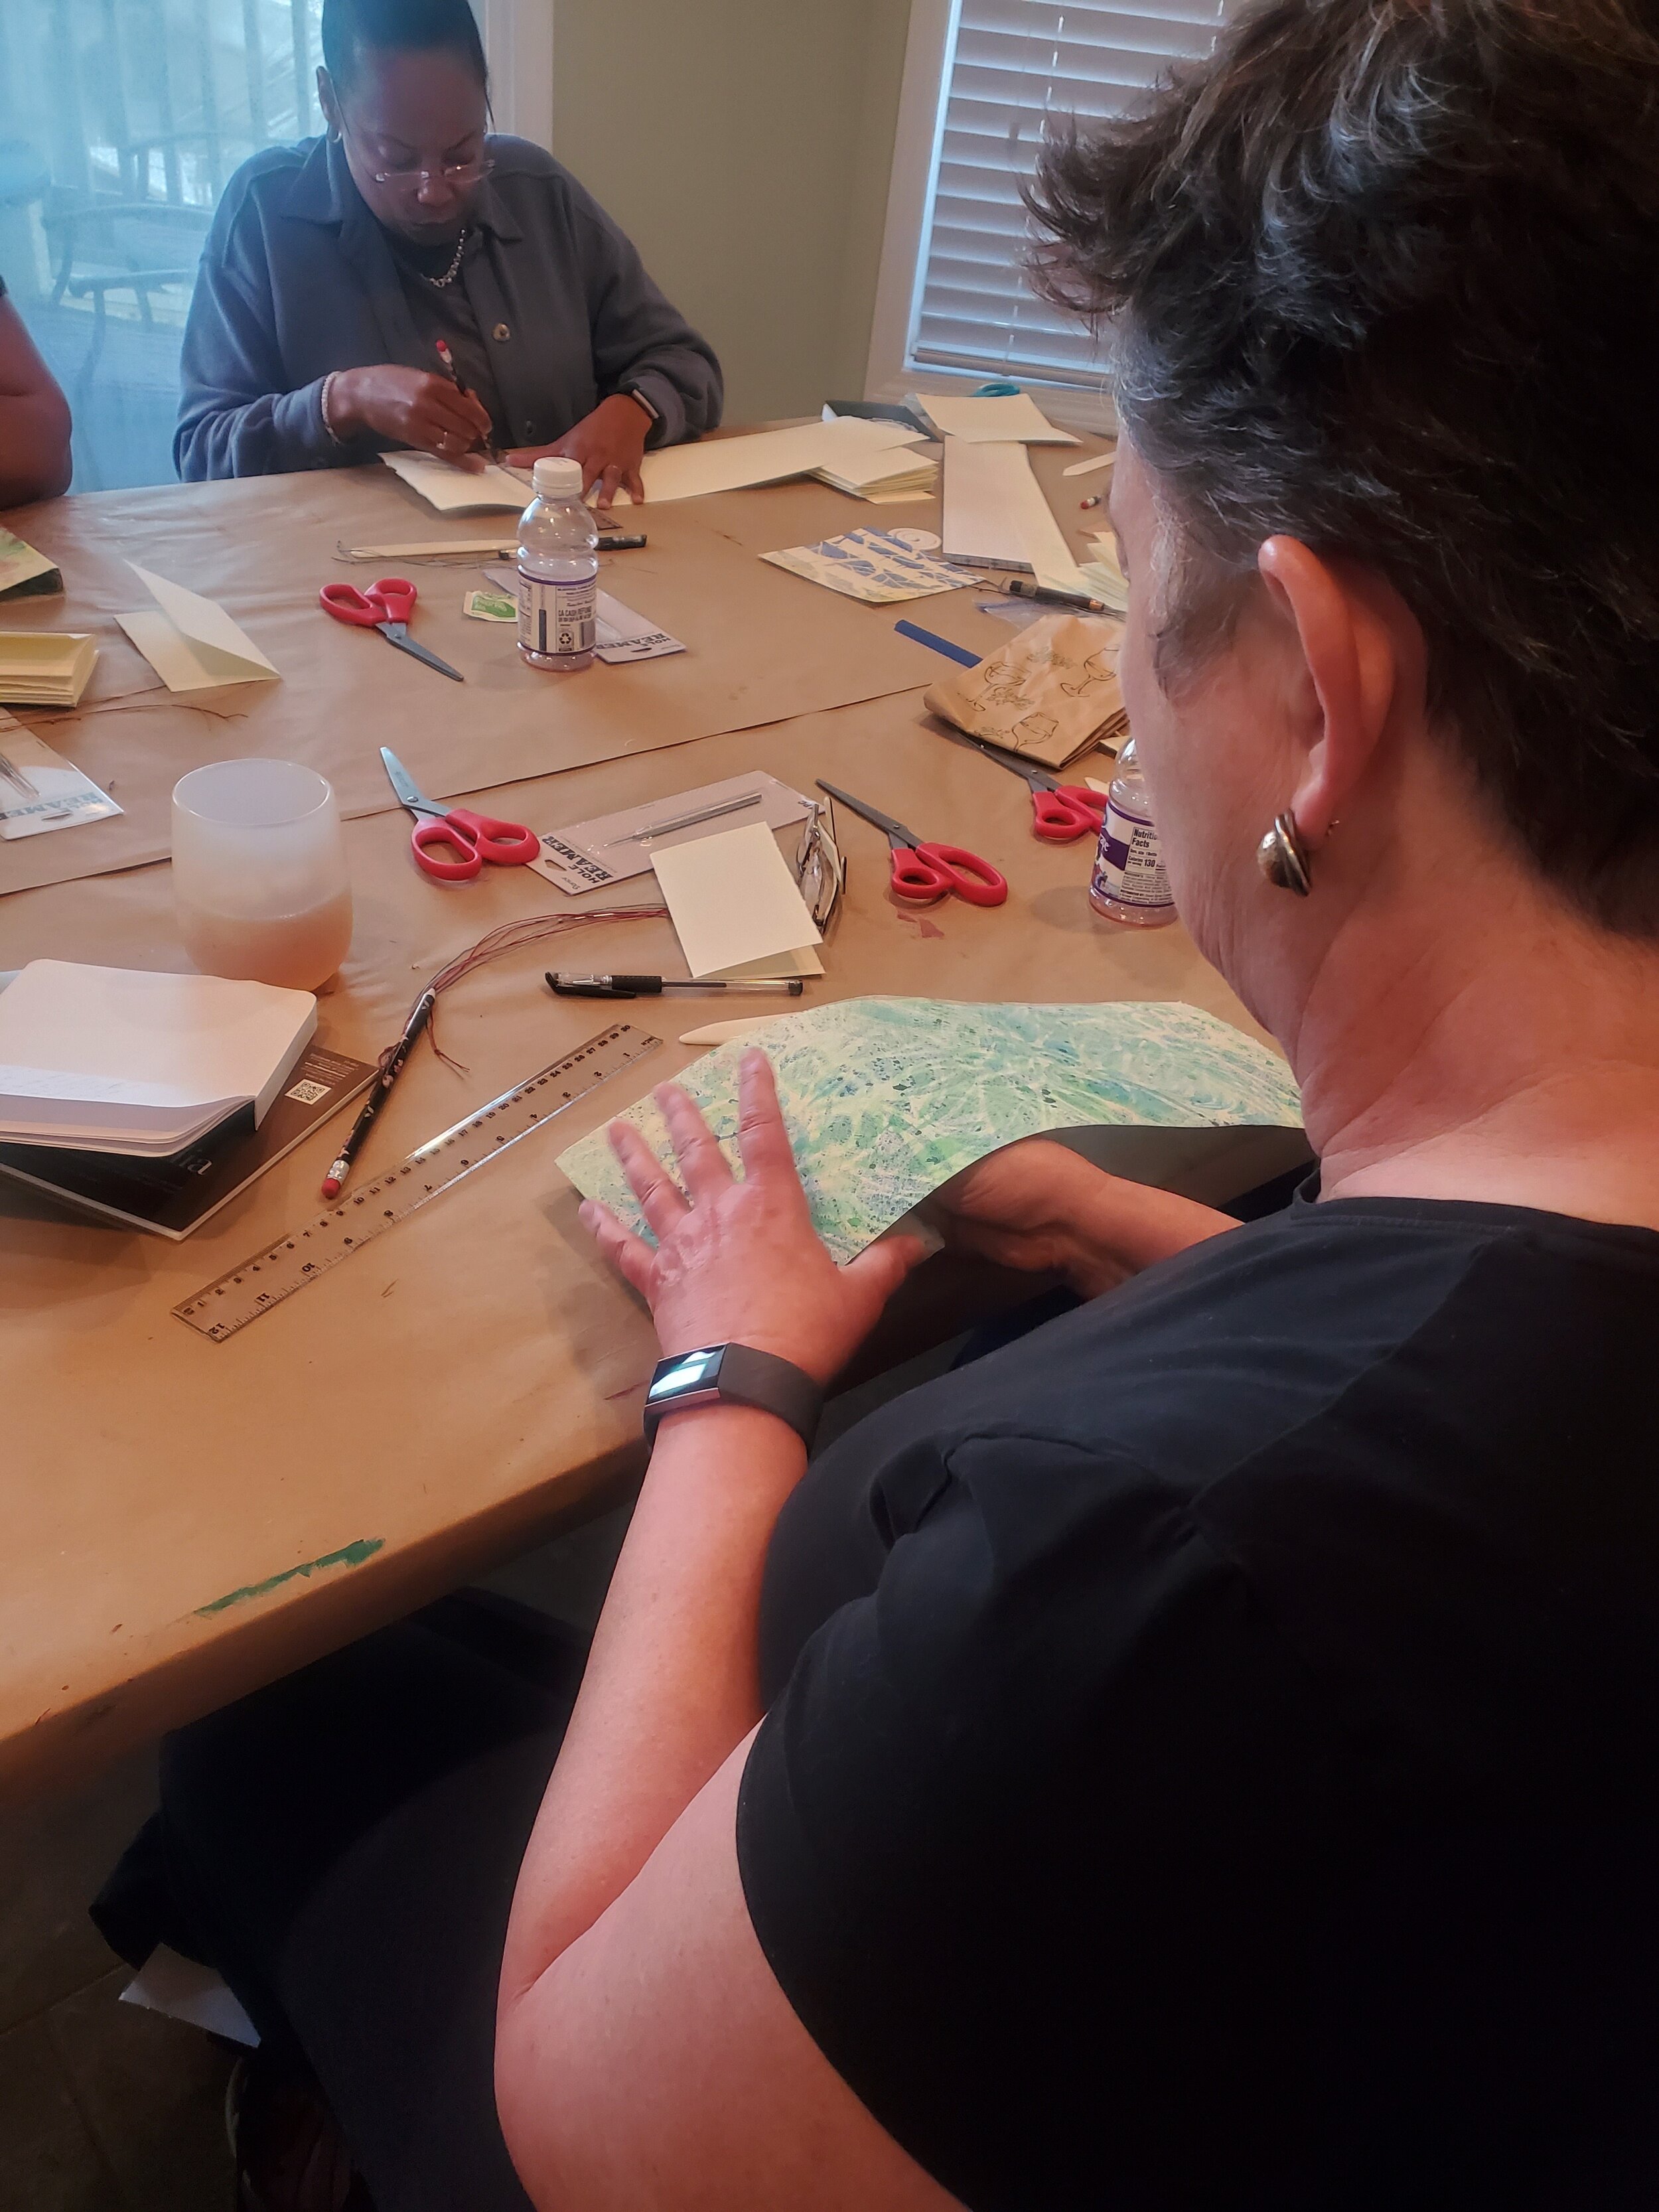
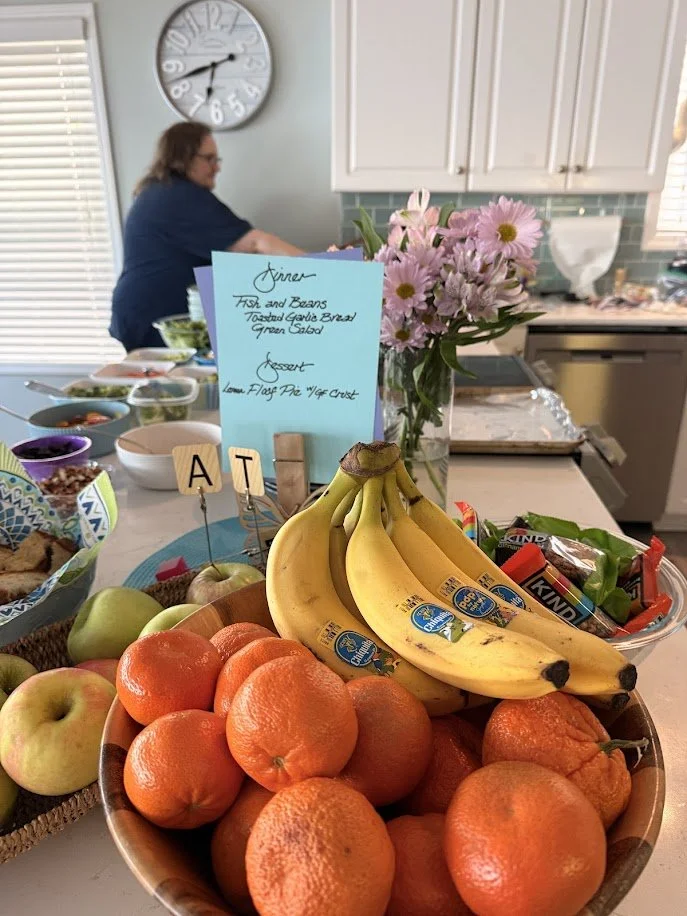
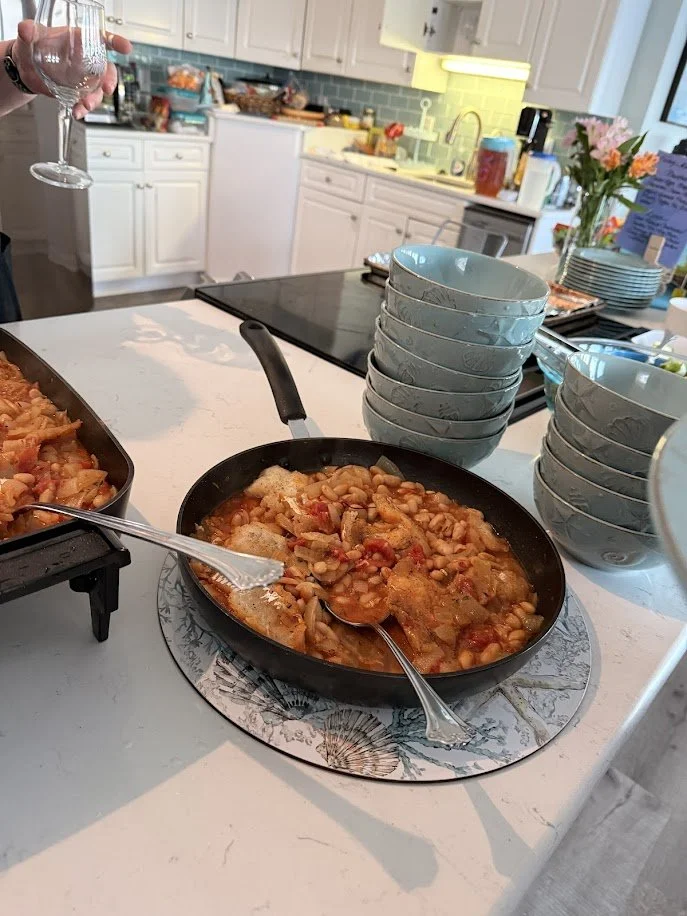
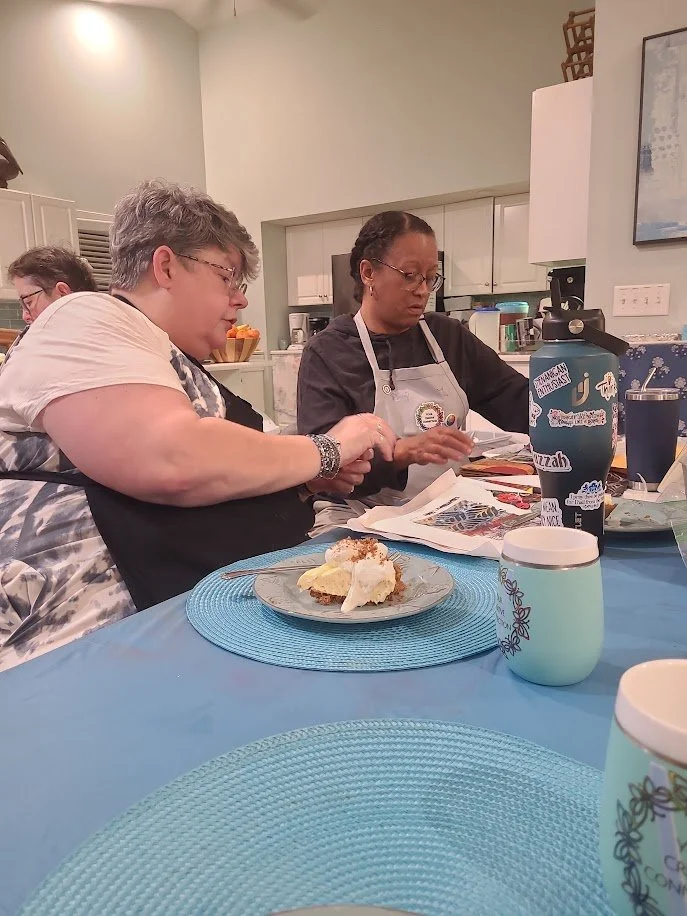
While Penny prepared a delectable dinner of fish and beans (which seemed to disappear in a flash!) crusty garlic bread, and a fabulous lemony floof (another Seaside Sessions favorite) for dessert, work continued on making our books our own. After dinner and into Open Studio in the evening, everyone was well on the way to realizing her theme, and as always, the magic of sharing, assessing, and collaborating took place among us to great effect!
After another successful day full of learning, creativity, camaraderie and fun, it was time to turn in. What surprises were in store for tomorrow?
Tune in to discover what came next, on our final full day together….
Until next time,
Michelle